Are Water Heaters Easy to Replace? A Comprehensive Guide for Homeowners
Replacing a water heater can feel like a daunting task for many homeowners. It’s not just about swapping out an…

Ever stepped into the shower expecting warm water, only to be greeted by a freezing surprise? A malfunctioning hot water heater can throw off your entire day. In this guide, we’ll walk you through the basics of how to troubleshoot a hot water heater so you can get back to enjoying hot showers and clean dishes without a hitch.
The heating element is the heart of your water heater. For electric heaters, this is a metal coil inside the tank that heats the water. In gas heaters, a burner at the bottom of the tank does the job. Without this component, your water will stay cold no matter how long you wait. Think of it like the stove burner that heats your pot of soup—it’s essential for turning cold water into hot.
The thermostat acts like the brain of your water heater. It monitors the water temperature inside the tank and tells the heating element or burner when to turn on or off. If the water gets too cool, the thermostat kicks in to heat it back up. You can adjust the thermostat if your water is too hot or not warm enough. A good setting for most homes is around 120°F to 140°F.
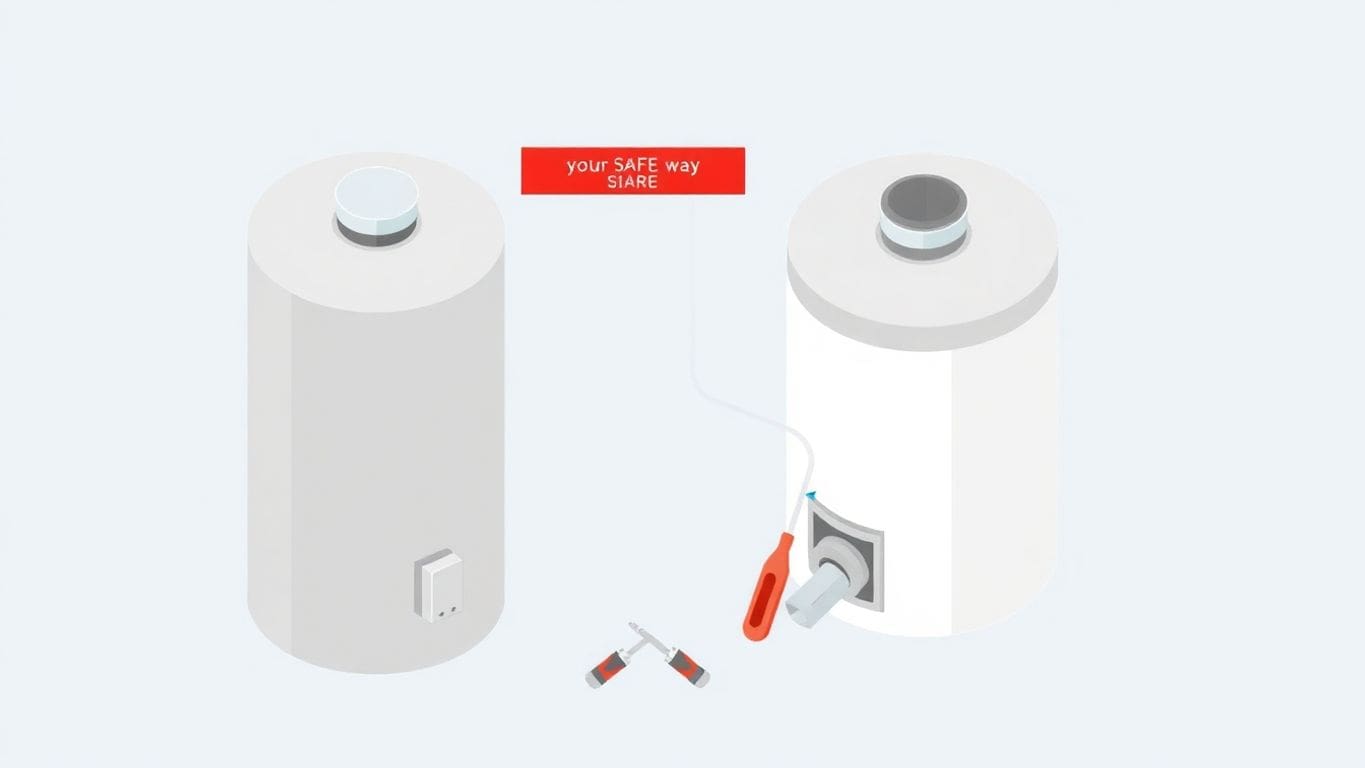
The anode rod is a long metal stick inside your water heater tank. Its job is to attract rust-causing minerals in the water, protecting the tank from corrosion. Over time, the rod wears out and needs replacing. If you skip this step, your tank could rust and eventually leak. Regularly checking the anode rod can add years to your water heater’s life.
A water heater might seem complicated, but understanding these parts can help you spot issues early and keep your hot water flowing smoothly.

If your water heater isn’t producing any hot water, it’s a clear sign something’s wrong. This could mean the power source isn’t working—like a tripped circuit breaker for electric heaters or an extinguished pilot light for gas models. Always start by checking these basics. If they’re fine, the issue might be with the heating element or gas valve.
Does your water go from warm to cold and back again? This can be super frustrating. It’s often caused by a faulty thermostat or sediment buildup in the tank. Sediment can mess with how evenly the water heats. Flushing the tank might help, but if not, the thermostat could need replacing.
Hearing popping, banging, or rumbling sounds? These noises usually mean there’s sediment buildup at the bottom of the tank. When the sediment heats up and moves around, it makes those sounds. Over time, this can make your water heater less efficient and even lead to damage. Flushing the tank can often solve this problem.
Regular maintenance can catch these issues early and keep your water heater running smoothly.
First, check if your water heater is getting power. If it’s an electric heater, head to your breaker box. Look for the circuit labeled for the water heater. If it’s tripped, flip it back on. If it trips again, there may be a bigger electrical issue. Always be cautious when dealing with electricity.
If the breaker is fine, check the heater’s power switch. Some units have a dedicated on/off switch. Make sure it’s turned on. Lastly, test the outlet with another device to ensure it’s working properly.
For gas heaters, the pilot light is key. If your water is cold, the pilot light might have gone out. Open the access panel on your heater to see if it’s lit. If it’s not, follow these steps:
If the pilot won’t stay lit, the thermocouple—a small safety device—might need replacing. This is a job you may want to leave to a professional.
Electric water heaters have a safety feature called a high-temperature limit switch. If the water gets too hot, this switch trips and shuts off the heater. To reset it:
If resetting the button doesn’t work, the thermostat or heating element might be faulty and need replacement.
By following these steps, you can often solve the issue of no hot water. If none of these fixes work, it’s time to call a professional. Sometimes, the problem is deeper than a DIY solution can handle.
If your water isn’t staying hot long enough, the thermostat might be set too low. Most water heaters let you adjust the temperature. Turn it up a little—just a few degrees—and test it over the next day or two. Be careful not to set it too high, as this can cause scalding. A good range is around 120°F to 140°F.
For electric heaters, the heating elements might be the problem. These are the parts that warm the water. If one of them is broken, your water heater won’t work properly. Check both the upper and lower elements. If you’re unsure how to do this, you might need a multimeter or professional help.
Over time, sediment from your water can collect at the bottom of the tank. This makes your heater work harder and reduces its efficiency. To fix this, you’ll need to flush the tank:
Regularly flushing your tank can extend the life of your water heater and prevent future issues.
If you’ve tried these steps and still have problems, it might be time to call a professional. Sometimes, the issue is more complex, like a failing thermostat or internal damage to the tank.
Low hot water pressure is often caused by sediment buildup. Over time, minerals like calcium and magnesium from hard water can clog your pipes. This reduces the water flow, making your hot water pressure feel weak. To check for this, inspect your pipes for any visible buildup or call a plumber if you’re unsure. Regularly flushing your water heater can help prevent this issue.
Another cause of low pressure could be blockages inside the water heater tank. Sediment can settle at the bottom of the tank, restricting water flow. To fix this, you’ll need to flush the tank. Here’s how:
Sometimes, the issue lies in the water heater’s valves. The shut-off valve or pressure relief valve might not be working correctly. Check to ensure these valves are fully open and not damaged. If you notice any leaks or malfunctions, replacing the valve might be the best option.
Tip: If your water heater is over 10 years old and experiencing frequent issues, it might be time to consider upgrading to a more energy-efficient model.
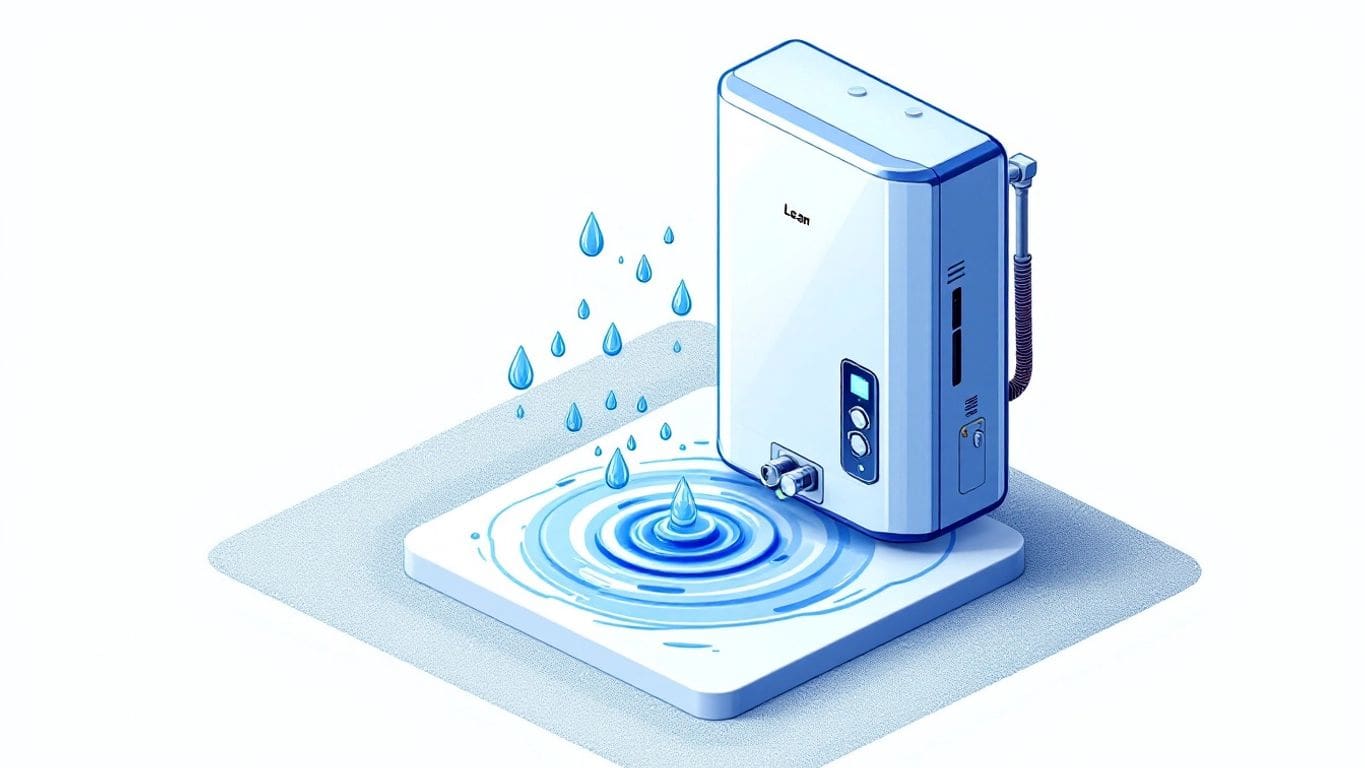
When your water heater starts leaking, the first step is figuring out where the water is coming from. This is key to solving the problem. Common areas to inspect include:
Once you’ve pinpointed the source, you can decide whether it’s a simple fix or something that needs professional help.
If the leak is from the pressure relief valve, it’s often because the valve is worn out or stuck. To replace it:
Pro tip: Always use the right tools to avoid damaging the new valve.
Sometimes, leaks can indicate bigger problems, like a failing tank. If you notice:
It’s time to call an expert. A professional can assess whether you need repairs or a full replacement. Don’t wait too long—leaks can lead to water damage and higher bills.
A leaking water heater isn’t just annoying—it can hint at serious problems. Address leaks quickly to avoid bigger headaches.
Over time, sediment can build up at the bottom of your water heater tank. This sediment reduces the efficiency of your heater and can even lead to damage. To prevent this, you should flush the tank at least once a year. Here’s how:
This simple step can save you a lot of trouble down the line.
The anode rod is a metal rod inside your tank that prevents rust. Over time, it wears out and needs replacing. Check it every two to three years. If it looks corroded or thin, replace it. A healthy anode rod can extend the life of your water heater by years.
Don’t wait for something to break. Schedule a professional inspection at least once a year. A plumber can spot small issues before they become big problems. They’ll check things like the thermostat, pressure relief valve, and heating elements to ensure everything is in good shape.
Taking care of your water heater isn’t hard, but it makes a big difference. A little effort now can save you from costly repairs later.
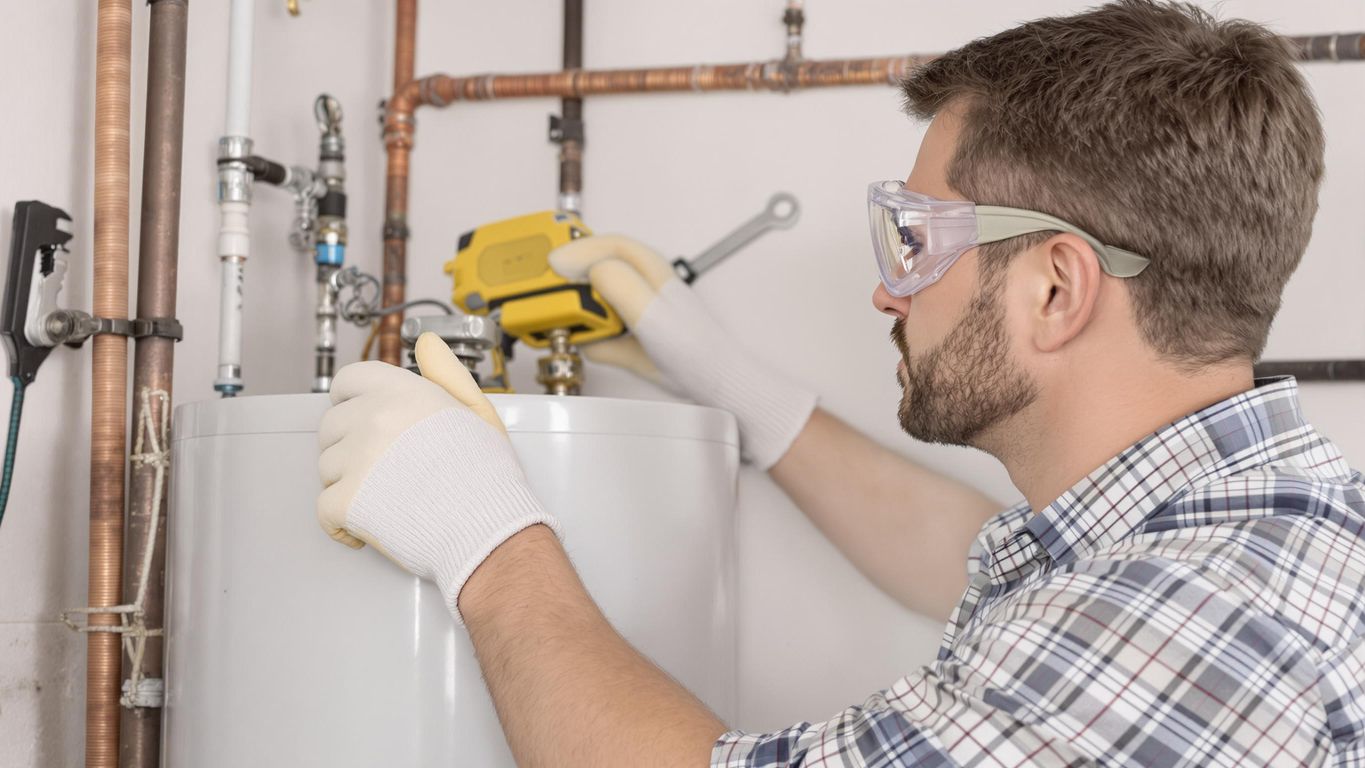
Before starting any work on your hot water heater, always turn off the power or gas supply. For electric heaters, switch off the breaker at your electrical panel. For gas heaters, turn the gas valve to the "off" position. This step helps prevent electrical shocks or accidental gas leaks while you work.
Be cautious when working around hot water or steam. Even a small splash can cause burns. Let the water cool down before you drain the tank or inspect any parts. Wear gloves and long sleeves for added protection.
Some problems are too complex or risky for DIY fixes. If you notice a gas leak, major leaks in the tank, or if you’re unsure about the issue, call a licensed plumber. Attempting to fix these problems yourself can lead to more damage or safety hazards.
Safety first! Taking the right precautions can save you from injuries and costly mistakes. Remember, it’s okay to ask for help when needed.
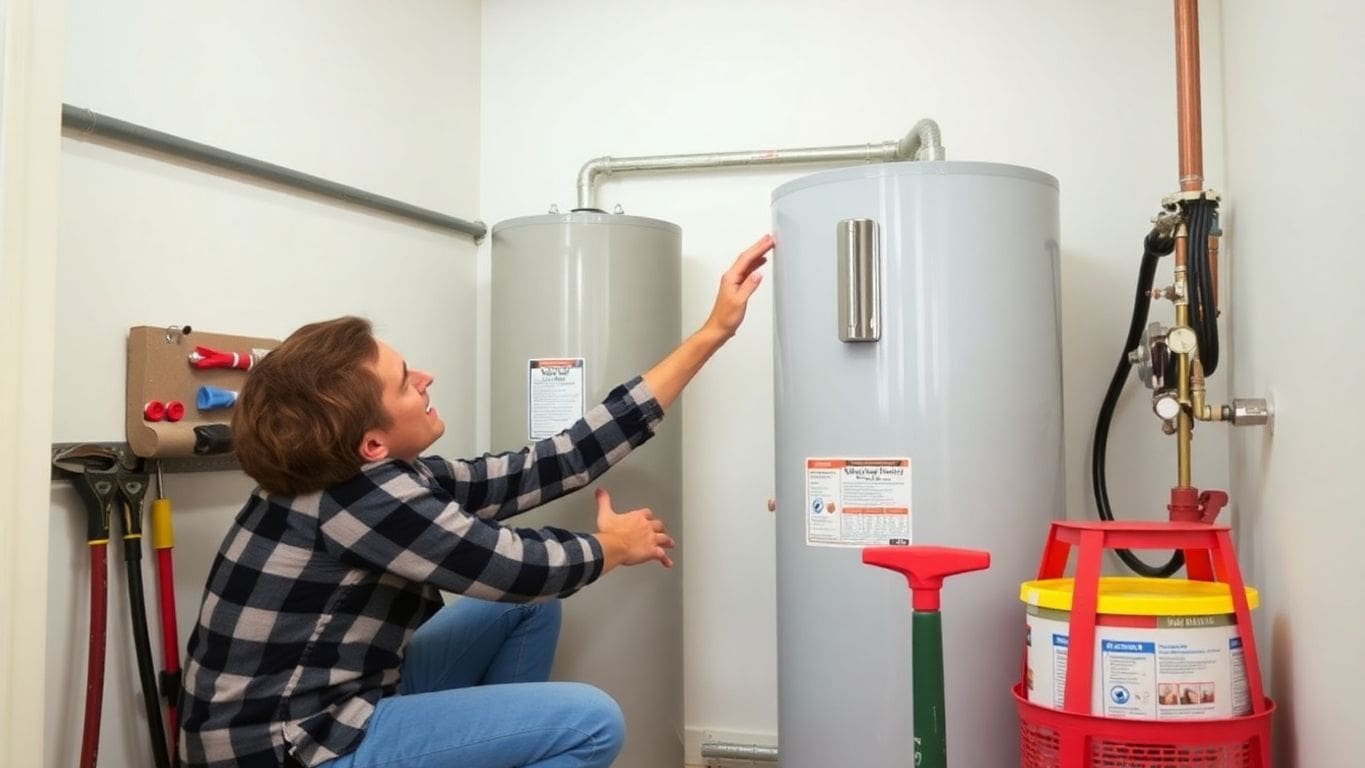
Sometimes, fixing your water heater just isn’t worth it. If your unit is over 10-15 years old and constantly breaking down, it might be time to let it go. Frequent repairs can add up quickly, costing more than a new heater in the long run. Other signs include rust-colored water, loud banging noises, or major leaks. These problems often mean the tank itself is failing, which usually isn’t fixable.
Here’s a simple way to decide: compare the cost of repairs to the price of a new heater. If a repair is more than half the cost of replacement, it’s usually smarter to replace it.
| Scenario | Estimated Cost |
|---|---|
| Minor repair (e.g., thermostat) | $150-$300 |
| Major repair (e.g., tank leak) | $500-$1,000+ |
| New water heater installation | $800-$2,500 |
Keep in mind, newer models are often more energy-efficient, which can save you money on utility bills over time.
If you decide to replace your water heater, look for an energy-efficient model. Tankless water heaters, for example, heat water only when you need it, saving energy. Heat pump models use less electricity by pulling heat from the air. Though these options might cost more upfront, they can lower your bills significantly over the years.
Replacing your water heater is a big decision, but it can also be an opportunity to upgrade to something better and more efficient for your home.
In summary, think about the age of your heater, the cost of repairs, and the benefits of upgrading. If you’re unsure, don’t hesitate to call a professional for advice.
Over time, minerals like calcium and magnesium can settle at the bottom of your water heater tank. This sediment acts as a barrier between the heating element and the water, making it harder for the heater to do its job. This means your water heater has to work harder and use more energy, which can increase your utility bills. You might also notice slower heating or even inconsistent water temperatures.
Getting rid of sediment is a straightforward process. Here’s how you can do it:
This simple maintenance task can improve your heater’s efficiency and extend its lifespan.
To keep sediment from building up again, consider these tips:
Regular maintenance is the key to keeping your water heater in top shape. Don’t wait until problems arise—stay ahead of them!
Gas and electric water heaters work differently, and so do their troubleshooting methods. For gas heaters, you’ll often deal with issues like the pilot light going out or a faulty gas valve. Electric heaters, on the other hand, may have problems with the heating elements or tripped circuit breakers. Knowing the type of heater you have is the first step to solving the problem effectively.
Gas water heaters rely on a burner and pilot light to heat water. If your water isn’t getting hot:
Electric water heaters use heating elements to warm the water. If you’re not getting hot water:
Tip: Always turn off the power to your water heater before inspecting or fixing it. This keeps you safe from electric shock.
By understanding these differences, you can troubleshoot your water heater with confidence. Whether it’s gas or electric, a little know-how goes a long way!
Keeping your water heater’s thermostat at the right temperature is simple but important. Most experts recommend setting it to around 120°F. This prevents overheating, which can wear out the heater faster. It also saves energy and reduces the risk of scalding. If you’re unsure how to adjust the thermostat, check your heater’s manual for guidance.
Over time, parts like the anode rod or heating elements can wear out. The anode rod, for example, protects your tank from rust but needs replacing every 3-5 years. Ignoring this can lead to tank corrosion, which is expensive to fix. Regularly inspect these parts and replace them as needed to avoid bigger problems down the line.
If your water heater is nearing the end of its life—usually after 10-15 years—it might be time to upgrade. High-efficiency models, like heat pump or tankless water heaters, not only last longer but also use less energy. While the upfront cost is higher, the long-term savings on energy bills are worth it. Plus, these models are better for the environment.
Regular maintenance and timely upgrades can save you money and keep your water heater running smoothly for years. If you notice signs like rusty water or inconsistent temperatures, it’s time to take action.
For more tips on when to replace an older unit, check out this guide on water heater lifespan.
Look for a pilot light or gas burner. If you see one, it’s a gas heater. Electric heaters don’t have these and are powered by electricity.
First, turn off the water supply and power to the heater. Then, inspect for the source of the leak. If unsure, call a professional plumber.
Noises often come from sediment buildup in the tank. Flushing the tank can help reduce or eliminate these sounds.
It’s recommended to flush your water heater at least once a year to remove sediment and maintain efficiency.
Check the thermostat settings and inspect the heating elements. Sediment buildup in the tank could also be the cause.
Yes, but only if you’re comfortable with basic tools and safety precautions. Always turn off the power and drain the tank first.
Most water heaters last between 8 to 12 years. Regular maintenance can extend their lifespan.
If you smell gas, see extensive leaks, or are unsure about electrical components, it’s best to call a professional.