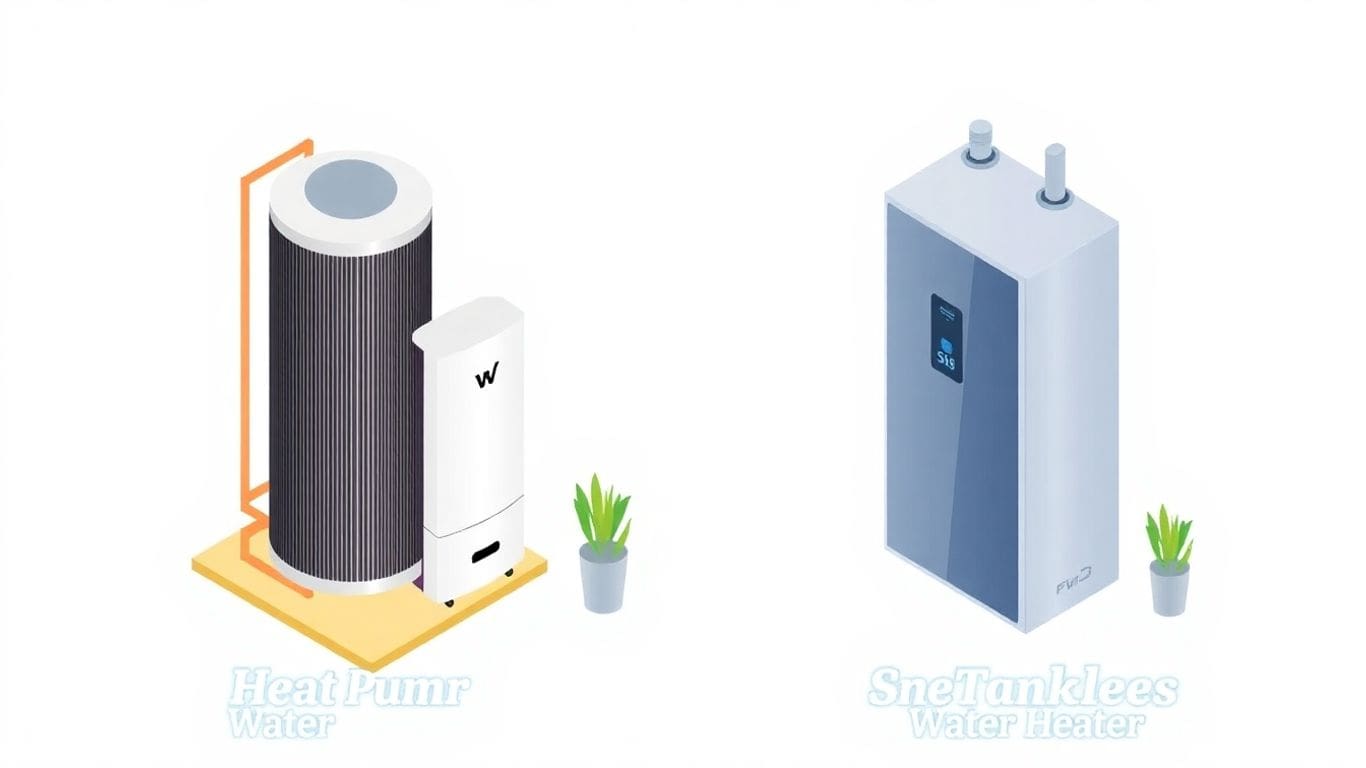
The Ultimate Guide on Where to Install a Tankless Water Heater for Optimal Performance
Thinking about where to install a tankless water heater? It’s not just about picking a spot and calling it a…

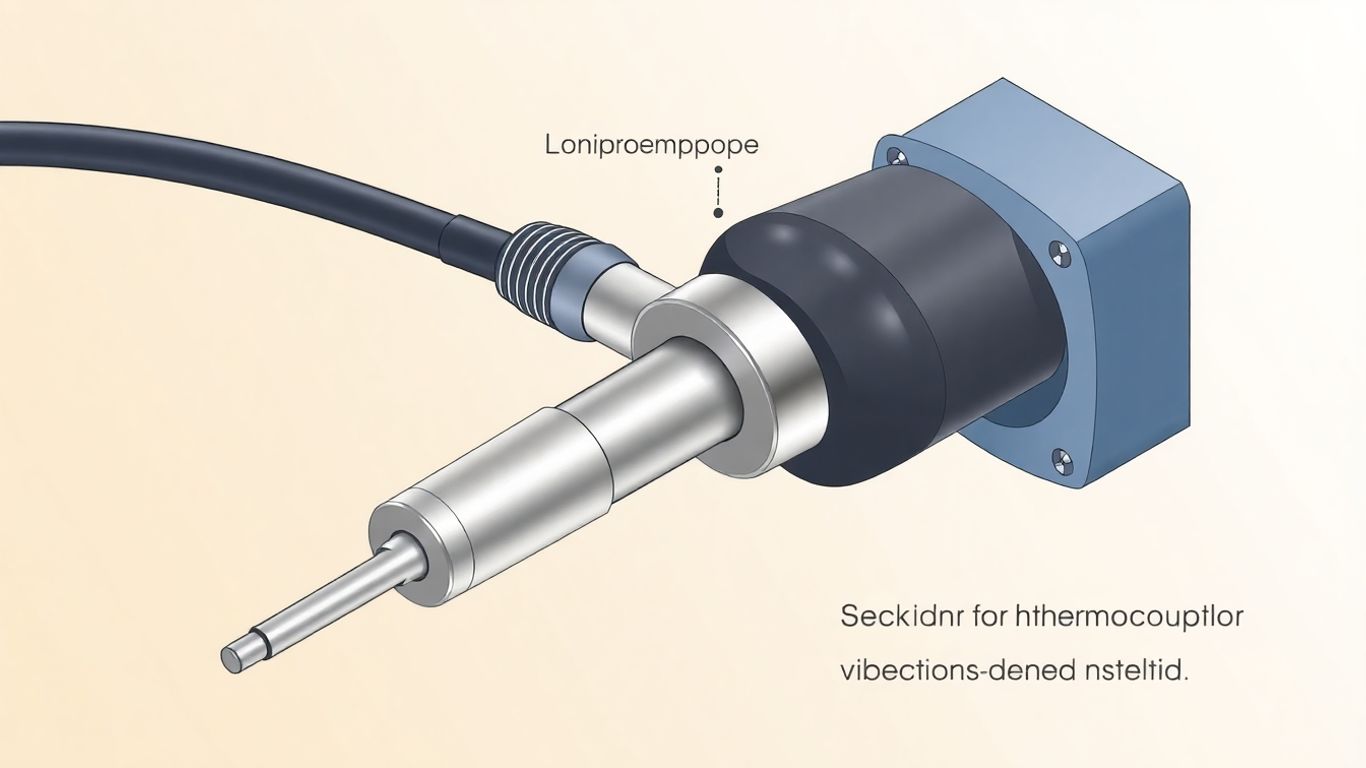
So, you’re looking to get a thermocouple installed, huh? It might seem straightforward, but let me tell you, getting it right from the start makes a huge difference. Messing up the installation can lead to readings that are way off, and honestly, nobody wants that. This guide is here to walk you through the whole process of installing a thermocouple correctly, so you don’t end up with a headache or, worse, a faulty system. We’ll cover the important bits so your temperature readings are spot on.
Putting in a thermocouple the right way is super important. Think of it like building something – if the foundation isn’t solid, the whole thing can fall apart. A thermocouple is your eyes for temperature, and if it’s not installed correctly, it can’t see the right temperature. This can mess up your whole process, making things work wrong or even become unsafe.
When you get the installation right, good things happen. You get readings that you can trust. This means your machines run better, and you don’t waste energy. Plus, your equipment lasts longer because it’s not being pushed too hard by wrong temperature guesses. Accurate readings help keep everything running smoothly and safely.
Your process control system relies on good temperature data. If the thermocouple is off, the system might tell a heater to get hotter when it’s already too hot, or a cooler to work harder than it needs to. This can ruin products, damage equipment, and in some cases, create dangerous situations. Getting the installation right is a big step in keeping your process under control and everyone safe.
Getting the thermocouple into the right spot is super important for getting good temperature readings. Think of it like checking your temperature with a thermometer – you need to put it in your mouth, not just hold it in the air, right? The same idea applies here.
If your thermocouple isn’t pushed deep enough into whatever you’re measuring (like a pipe of hot liquid or a big oven), it won’t get an accurate reading. The tip of the thermocouple, where it actually senses the heat, needs to be fully surrounded by the hot stuff. If it’s sticking out too much, it can get cooled down by the air around it, or the heat can travel up the metal sheath instead of staying at the tip. This makes the reading lower than it should be.
So, how deep is deep enough? A good rule of thumb is to push the thermocouple in at least four to ten times the width of its protective metal tube (called the sheath). For example, if the sheath is about as thick as a pencil, you’d want to push it in at least four to ten pencil-widths.
Always check the instructions that came with your thermocouple. The maker usually has the best advice for their specific product.
Sometimes, you can’t just stick the thermocouple directly into the hot stuff. Maybe it’s under high pressure, or it’s a really nasty chemical that could damage the thermocouple. That’s where a thermowell comes in. A thermowell is like a protective sleeve that you put into the process first. Then, you slide the thermocouple inside the thermowell. This keeps the thermocouple safe and clean, and it also helps you get the right immersion depth. Plus, if the thermocouple ever needs to be replaced, you can pull it out of the thermowell without having to shut down the whole system. Pretty handy!
Making sure your thermocouple is deep enough is one of the easiest ways to get reliable temperature readings. Don’t skip this step!
Here’s a quick guide:
| Situation | Recommended Immersion Depth Rule |
|---|---|
| General Use | At least 4 times the sheath diameter |
| High Flow / Turbulent | Deeper than 4 times the sheath diameter (consult manufacturer) |
| Low Flow / Stagnant | Can sometimes be less than 4 times (consult manufacturer) |
| Using a Thermowell | Ensure thermocouple tip reaches the end of the thermowell |
Getting a thermocouple to read the right temperature is all about making sure its sensing tip is in good contact with whatever you’re measuring. Think of it like trying to feel how hot a pan is – you need to actually touch it, right? If there’s anything in between, like air or dirt, your reading won’t be accurate.
Good thermal contact means the heat can move easily from what you’re measuring to the thermocouple’s tip. If there’s a gap, even a tiny one, air gets in the way. Air doesn’t conduct heat very well, so it acts like a blanket, stopping the heat from reaching the thermocouple tip. This makes the thermocouple read a lower temperature than it actually is. It also makes the reading slow to catch up when the temperature changes.
Here are a few ways to make sure your thermocouple is getting a good connection:
Air gaps are the enemy of accurate temperature readings. They can happen if the thermocouple isn’t pressed firmly against the surface or if there are rough spots. Sometimes, the way the thermocouple is mounted can create a space where air can get trapped. Always double-check that the thermocouple tip is making solid contact. If you’re using a thermowell, make sure the thermocouple is packed in tightly inside it, often with a ceramic fiber or a spring-loaded mechanism, to push it against the thermowell wall and get good heat transfer from the process fluid.
A thermocouple needs a clear path for heat to travel to its sensing junction. Anything that blocks or slows down this heat transfer, like air pockets or dirt, will cause the temperature reading to be wrong. Always aim for direct, firm contact.
Thermocouples can be pretty delicate. Think of them like a thin wire inside a protective tube. When things get rough, they can get damaged. This section is all about keeping your thermocouple safe from bumps, shakes, and anything that might bend or break it.
When you install a thermocouple, you need to think about how it will be used. If it’s in a place with a lot of movement, like near a big machine that shakes, that shaking can cause problems. This shaking is called vibration. Constant vibration can make the tiny wires inside the thermocouple tired and weak over time. It’s like bending a paperclip back and forth until it breaks. This can happen at the tip where the wires meet or where they connect to other wires.
Too much shaking can also make your temperature readings wrong. The wires might get stressed, and that can change the small electrical signal they create, leading to inaccurate numbers.
So, how do you protect your thermocouple? First, think about where you put it. Try to avoid areas where it might get bumped or hit. If you have to put it near something that vibrates, you can use special supports. These are like little braces that hold the thermocouple steady and stop it from moving around too much.
If your thermocouple is going into a really shaky place, like on a piece of industrial equipment that runs all the time, you might need extra protection. Sometimes, you can get thermocouples that have a more flexible outer layer, kind of like a flexible cable. This can help absorb some of the shaking. Another trick is to use a special fitting called a thermowell. This is a sturdy metal tube that the thermocouple sits inside. The thermowell takes the brunt of any physical force, keeping the delicate thermocouple safe inside.
Always check your thermocouple regularly, especially if it’s in a spot with lots of vibration. Look for any signs that it might be getting damaged, like cracks or loose connections. Catching a problem early can save you from getting bad temperature readings or a complete failure.
Remember, taking a little extra time to protect your thermocouple from stress and vibration will help it last longer and give you more accurate temperature readings.
You know, sometimes the signals from your thermocouple can get a bit fuzzy. This happens because of electrical noise. Think of it like trying to have a quiet conversation next to a loud construction site – it’s hard to hear what’s really being said. Thermocouples create very small electrical signals. These small signals can easily get mixed up with other electrical signals floating around. This unwanted mix-up is called interference.
Lots of things can cause this electrical noise. Big machines like motors, power cables, and even things like fluorescent lights can give off electrical signals. Radio transmitters and other electronic devices can also create interference. It’s like having a bunch of radios playing different stations all at once near your thermocouple.
So, how do you keep your thermocouple’s signal clean? One good way is to use shielding. This is like putting a protective cover around the wires. Shielded wires have an extra layer that helps block out unwanted electrical signals. You also need to think about grounding. Grounding means connecting the shield to the ground at just one spot, usually where your measuring device is. This helps the noise go away safely. It’s important to only ground the shield at one end to avoid creating a loop that can actually bring more noise in.
Another trick is to twist the wires together. This is called a twisted pair. Twisting the wires helps cancel out some of the electrical noise they pick up. Also, try to keep your thermocouple wires away from power cables or noisy equipment. Running them side-by-side can make the problem worse.
The device you use to read the thermocouple’s signal also matters. Some devices are better at ignoring noise than others. Look for instruments that have good "common-mode rejection." This just means they are designed to ignore signals that are common to both wires, which is often the noise you’re trying to get rid of. If the noise is really bad, you might need special devices called signal conditioners or isolators. These can help clean up the signal before it even gets to your main instrument. Always make sure your connections are clean and tight, too. Loose connections can act like little antennas for noise.
When you connect your thermocouple, you need to pay attention to which wire goes where. This is called polarity. Thermocouples have two wires, and they are made of different metals. Each wire has a specific job. If you mix them up, you won’t get the right temperature reading. It’s like trying to plug a USB-C cable into a USB-A port – it just won’t work correctly. Most thermocouple wires are color-coded to help you out. For example, a Type K thermocouple often uses a red wire for the positive side and a yellow wire for the negative side. Always check the manual for your specific thermocouple type to be sure. Getting the polarity right is the first step to getting accurate temperature readings.
Sometimes, the thermocouple itself isn’t long enough to reach your measuring device. That’s where extension wires come in. Think of them as helpers that carry the temperature signal over a longer distance. There are two main types: thermocouple grade and extension grade. Thermocouple grade wire is made with the same metals as the thermocouple and is very accurate, but it’s also more expensive. Extension grade wire is cheaper and is designed to work with a specific thermocouple type, but it might not be quite as precise over very long distances. It’s important to use the correct type of extension wire for your thermocouple. Using the wrong type can mess up your readings. Also, consider the environment where the wire will be. Some wires can handle heat better, while others are tougher against chemicals or getting stepped on. Choosing the right extension wire helps maintain the accuracy of your temperature measurement.
How you connect the wires at the end is super important. This is called the termination. You want these connections to be solid and protected from the elements. If the wires are loose, you might get a weak signal or an inaccurate reading. If the connection gets rusty or corroded, it can also cause problems. Here are a few ways to make good connections:
No matter which method you choose, make sure the connection is tight and protected from moisture and dirt. This will help your thermocouple last longer and give you reliable readings.
A good connection is like a firm handshake – it needs to be solid and dependable. It’s the bridge between your temperature sensor and the system that reads the temperature. If that bridge is weak or corroded, the signal gets lost or distorted, leading to wrong information. Taking a little extra time to make sure your connections are clean, tight, and protected is a small step that pays off big time in accuracy and reliability.

Every thermocouple is built to work best within a certain temperature range. Think of it like a car engine – it runs great at normal driving temperatures, but if you push it too hard for too long, things can start to break down. Different types of thermocouples can handle different temperatures. Some are made for really cold places, while others can handle the heat of a furnace.
What happens if you use a thermocouple outside its designed temperature range? Well, it can mess up how accurate it is. The metals inside the thermocouple can change in ways that make it read the temperature wrong, even after it cools down. This is called calibration drift. It can also just stop working altogether if it gets too hot or too cold for too long.
When you know your process gets really hot, you need to pick the right kind of thermocouple. Some types, like Type K or Type N, are good for general use, but for super high temperatures, you might need special ones made from different materials. Always check the manufacturer’s information to see the maximum temperature a thermocouple can handle. It’s also smart to think about how long it will be at that high temperature. If the temperatures might go even higher for a short time, make sure your thermocouple can handle that too. Sometimes, using a protective sleeve called a thermowell can help shield the thermocouple from the worst heat and make it last longer.
The world around your thermocouple can really mess with its readings and how long it lasts. You’ve got to think about what it’s up against.
Some places have air that can eat away at things. If your thermocouple is in an area with corrosive chemicals, these can damage the metal wires and the protective sheath. Over time, this can make the wires thin, brittle, and eventually break. It’s like leaving a metal spoon out in the rain for years – it won’t be in good shape.
Water and dirt are not your thermocouple’s friends. Moisture can sneak into connections and cause short circuits, messing up the electrical signals. Dust can build up on the sensor tip, which can block heat from getting to it properly, making your temperature readings wrong. Think of it like trying to feel the heat from a fire through a thick blanket – it’s harder to get an accurate sense.
Sudden, big swings in temperature can stress the thermocouple. This is especially true at the point where the two different metal wires join. If the thermocouple is outside, it’s also exposed to rain, wind, and sun, which can cause wear and tear. You might need to put a cover or a special housing around it to keep it safe from the weather.
Here are some ways to help your thermocouple deal with its surroundings:
The environment where you install your thermocouple matters a lot. Ignoring things like chemicals, wetness, or big temperature changes can lead to wrong readings and a thermocouple that doesn’t last long. Taking steps to protect it will help you get accurate temperatures for a longer time.
Before you even think about putting a thermocouple in place, you need to do some smart planning. It might seem like a small detail, but how you set things up from the start makes a big difference in how well your thermocouple works and how long it lasts. Getting this part right means fewer headaches later on.
First things first, you’ve got to check out where you’re going to put the thermocouple. Think about the area. Is it super hot or cold? Are there things nearby that could mess with the readings, like big electrical motors that create interference? You also need to think about how you’ll get to it later if you need to fix or change it. Making sure the spot is right and you can reach it easily is key.
Where you place the actual sensor part of the thermocouple is really important. You want it to measure the temperature of whatever you’re interested in. If you’re measuring the temperature of a pipe, you don’t want the sensor sticking out where it’s getting cooled by the air. You need it right in the middle of the hot stuff. Sometimes, heat doesn’t spread evenly, so you have to pick the spot that best shows the true temperature you care about.
Here’s a simple way to think about placement:
Think about the future. Will you be able to get to the thermocouple easily if it needs cleaning, checking, or replacing? If it’s tucked away in a hard-to-reach spot, maintenance becomes a real pain. Sometimes, you might need to install it so you can pull it out without shutting down the whole system. This often means using something called a thermowell, which is like a protective sleeve that the thermocouple sits inside. You can swap out the thermocouple without disturbing the process.
Planning ahead saves you time and trouble down the road. It’s like packing for a trip – if you forget something important, you’ll wish you had it later.
Even after you’ve installed your thermocouple perfectly, you can’t just forget about it. Think of it like your car – you need to do regular check-ups to keep it running smoothly. Your thermocouple is no different. Keeping it in good shape means you’ll get accurate temperature readings for a long time.
It’s a good idea to look at your thermocouple now and then. You’re checking for anything that looks off. This could be signs of wear, like frayed wires or a damaged protective sheath. Also, look for any corrosion, especially where wires connect. If you see anything broken or worn out, it’s time to think about fixing or replacing it.
Over time, the accuracy of a thermocouple can slowly change. This is called drift. It happens because the materials inside can change a little, especially with heat. To make sure your readings are still right, you need to check its calibration now and then. You can do this by comparing its reading to a known, accurate temperature source. If the readings are off by too much, you might need to adjust it or replace it.
Calibration is like giving your thermocouple a tune-up. It makes sure it’s telling you the real temperature, not just a guess.
Sometimes, despite your best efforts, a part of the thermocouple might get damaged. This could be from a sudden jolt, a chemical spill, or just plain old wear and tear. If a component is damaged, it’s usually best to replace it right away. Trying to use a damaged sensor can lead to wrong readings, which can cause problems in your process or even be unsafe. It’s better to spend a little on a new part than risk a bigger issue later.
By following these simple steps, you help your thermocouple do its job right, day in and day out.
Imagine trying to guess the temperature of a whole pot of soup by just touching the air above it. That’s kind of what happens if you don’t put the thermocouple deep enough into what you’re measuring. You need the tip of the thermocouple to be fully surrounded by the hot stuff so it can get a true reading. If it’s too shallow, it’ll read cooler than it really is because it’s also picking up the cooler air around it.
Good thermal contact means the thermocouple’s tip is touching the material you want to measure as closely as possible, with no air pockets in between. Think of it like hugging someone – you want a good, solid hug, not one with a bunch of space. If there’s air between the thermocouple and the hot thing, the air acts like a blanket, making it harder for the heat to reach the thermocouple and giving you a wrong, lower temperature.
Things that shake or get bumped a lot can damage the delicate wires inside a thermocouple over time. To protect it, you can use special holders or guides that keep the thermocouple steady. Sometimes, putting it inside a protective tube called a thermowell also helps shield it from strong movements or vibrations.
Electrical noise is like static on a radio – it’s extra electrical signals that can mess with the tiny signal your thermocouple sends. This noise can come from motors or other electrical equipment nearby. To fight it, you can use special shielded cables, like ones with a metal wrap around them, and make sure everything is properly connected to the ground. This helps block out the unwanted signals.
Yes, it absolutely matters! Thermocouples have a positive and a negative wire, kind of like a battery. If you connect them the wrong way, you’ll get a temperature reading that’s way off, maybe even showing a cold temperature when it’s actually hot. Always check the color codes on the wires and make sure they match the instructions for your measuring device.
You need to use special ‘extension wires’ that are made to work with your specific type of thermocouple. These wires are designed to carry the thermocouple’s signal without messing it up too much. Using regular wires, like the ones for your house lights, will add extra errors and give you incorrect temperature readings.
Every thermocouple has a limit for how hot or cold it can safely measure. If you push it beyond that limit, the metal inside can change permanently. This means it won’t be able to give accurate readings anymore, even if it doesn’t break right away. It’s like stretching a rubber band too far – it might still look okay, but it won’t work as well.
The environment around the thermocouple can cause problems. If it’s wet, chemicals, or dusty, you need to protect it. Using a thermowell can act like a shield. Also, make sure your connections are in a sealed box to keep moisture and dirt out. Choosing a thermocouple made of materials that can handle the environment, like stainless steel in some cases, is also a smart move.