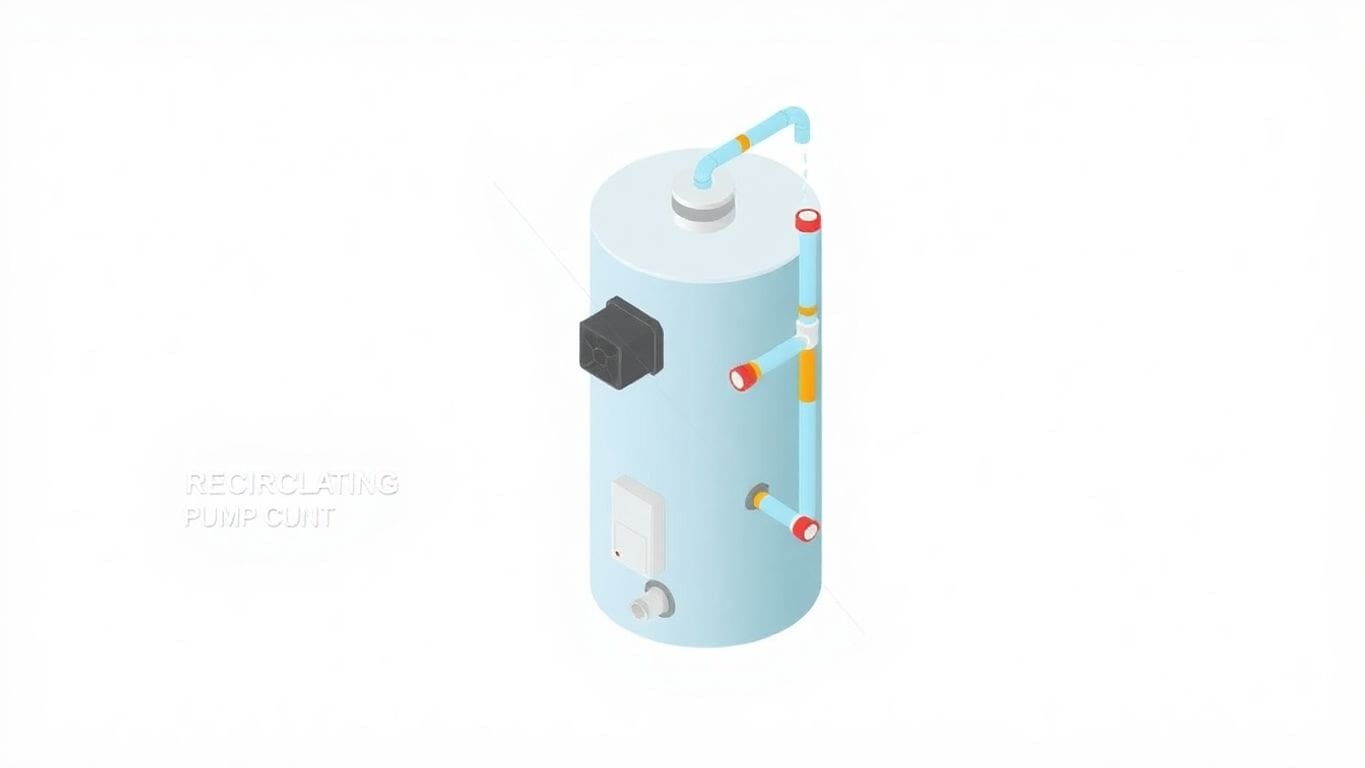
Step-by-Step Guide: How to Install a Recirculating Pump on Your Water Heater for Instant Hot Water
Installing a recirculating pump on your water heater can greatly improve your home’s hot water system. This guide will walk…

If you find yourself dealing with a leaky or damaged water tank, you might be wondering how to tackle the repair yourself. It can seem daunting at first, but with the right steps and tools, you can fix it without calling in a professional. This guide will walk you through the necessary steps to repair your water tank at home, making the process straightforward and manageable. Let’s get started!
So, you’ve decided to fix your water tank yourself? Awesome! Getting ready is super important. It’s like prepping ingredients before you start cooking. If you skip this, things could get messy. Let’s get started!
First, make sure you have everything you need. It’s annoying to stop mid-repair because you’re missing something. Here’s a list to get you started:
Having the right tools makes the job way easier. Trust me on this one.
Safety first! Water tank repairs can be risky if you’re not careful. Always turn off the water supply before you start. You don’t want to get soaked or cause a flood. Also, if you’re working with any chemicals, make sure you have good ventilation. Open a window or use a fan. It’s better to be safe than sorry.
Not all water tanks are the same. Some are plastic, some are metal, and some are even concrete. Knowing what kind you have is key to choosing the right repair method. Check the tank for any labels or markings. If you’re not sure, take a picture and ask someone at a hardware store. Using the wrong stuff could make the problem worse.
Before you even think about touching that tank, take a good look at it. What’s it made of? Where’s the damage? The more you know upfront, the smoother the whole process will be. It’s like doing your homework before a big test.
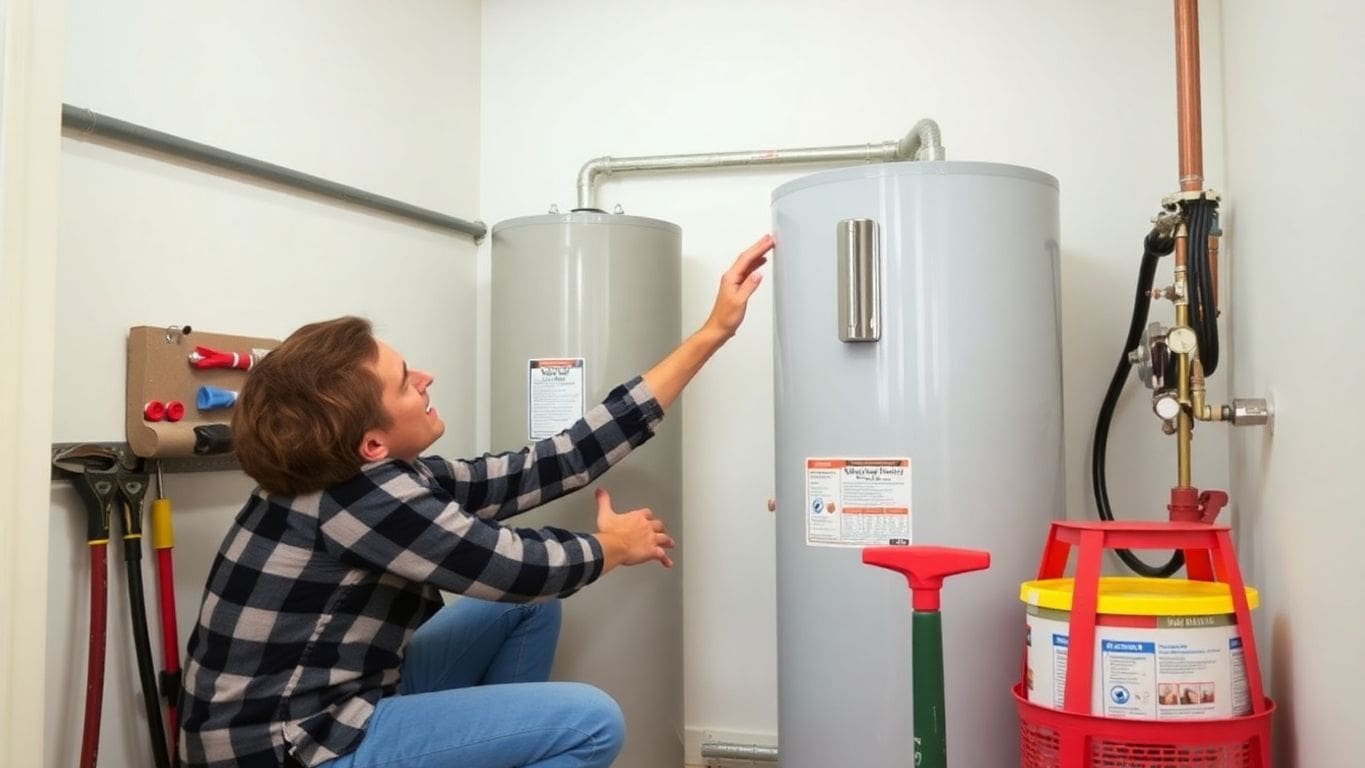
After you get ready, it’s time to check your water tank closely. This step helps you find out what’s wrong before you start fixing it. Take your time and look carefully.
Start by looking for any cracks on the outside of the tank. Small cracks can become big problems if you don’t fix them. Look closely at the top, bottom, and sides of the tank. Sometimes cracks are easy to see, but other times they might be hidden. Use a flashlight to help you see better, especially in dark areas.
Next, check for any signs of water leaking. This could be wet spots around the tank, water stains, or even mold. If you see water, try to find where it’s coming from. Leaks can happen anywhere, like near the pipes or seams of the tank. If you find a leak, mark it so you know where to fix it later.
Finally, think about how the tank looks overall. Is it old? Does it look rusty? Are there any dents or other damage? All of these things can affect how well the tank works. If the tank is very old or damaged, it might be better to consider replacement instead of trying to fix it. Sometimes, fixing an old tank is like putting a bandage on something that needs more help.
Checking your water tank carefully is important. It helps you know what you need to do to fix it right. Take your time and don’t rush this step.
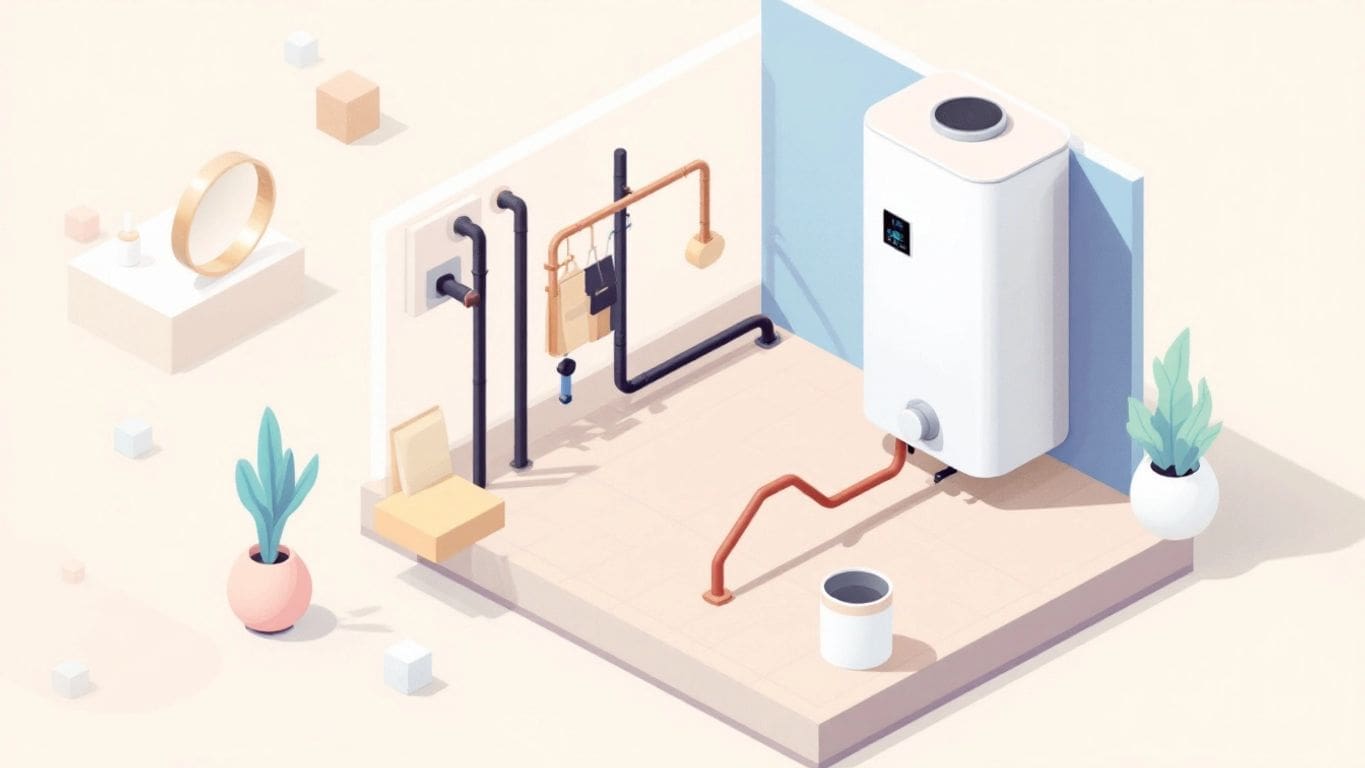
Before you start fixing your water tank, you need to get all the water out. This keeps things clean and makes the repair easier. Here’s how to do it right.
First, turn off the water supply to the tank. Find the valve that feeds water into the tank and close it tightly. This stops more water from coming in while you’re working. It’s a simple step, but super important. If you don’t, you’ll have a never-ending supply of water to deal with, and that’s no fun.
Next, find the drain valve at the bottom of your tank. This is where the water will come out. Attach a garden hose to the valve. Make sure it’s on there tight so it doesn’t leak everywhere. Put the other end of the hose somewhere the water can drain away safely, like a suitable drainage location. You don’t want to flood your yard or basement!
Now, open the drain valve and let the water flow out. It might take a while for the tank to empty completely, so be patient. You can use this time to get your other tools ready. Once the tank is empty, close the drain valve. Make sure all the water is out before you move on to the next step. This helps the repair material stick better and keeps things clean.
Before you start patching things up, it’s super important to get the area nice and clean. Think of it like prepping a wall before painting – you wouldn’t just slap paint on a dirty wall, right? Same idea here. A clean surface helps the repair material stick better and last longer. Plus, it’s just good hygiene, especially since it’s a water tank.
First things first, get rid of any loose dirt, rust, or old bits of sealant. A wire brush works great for this. You can also use a scraper to get off any stubborn gunk. Make sure you’re wearing gloves and maybe even a mask, so you don’t breathe in any dust or particles. It’s a messy job, but someone’s gotta do it!
Now that you’ve got the big stuff out of the way, it’s time to disinfect. This is extra important because water tanks can be breeding grounds for bacteria and algae. Use a bleach solution (a cup of bleach per gallon of water is usually good) or a commercial disinfectant. Wipe down the entire area you’re planning to repair. Let it sit for a few minutes, then rinse it off really well. You don’t want any disinfectant lingering in your drinking water!
This is a step you cannot skip. Repair materials don’t stick well to wet surfaces. Use a clean cloth or paper towels to dry the area completely. You can even use a hairdryer on a low setting to speed things up. The goal is to have a bone-dry surface before you start applying any patching compounds or epoxy.
Cleaning the repair area is more than just a quick wipe-down. It’s about making sure your repair is strong, long-lasting, and safe for your water supply. Take your time and do it right!
Okay, so you’ve got a leaky water tank. Now what? Don’t panic! The next step is to figure out the best way to fix it. There are a few options, and the right one depends on how bad the damage is.
For tiny cracks, patching is often the way to go. Think of it like putting a band-aid on a small cut. You can buy patch kits made for water tanks at most hardware stores. These kits usually include a special adhesive and a piece of material to cover the crack. Make sure the area is super clean and dry before you apply the patch. Follow the instructions on the kit carefully. If you are dealing with a crack slot, then you may need to combine several patches lengthwise.
If you’re dealing with something bigger than a hairline crack, epoxy might be your best bet. Epoxy is a strong, waterproof glue that can fill in larger gaps and cracks. It comes in two parts that you mix together. When using epoxy, make sure to:
Sometimes, the damage is just too much to handle on your own. If you have big holes, lots of cracks, or if the tank is really old and rusty, it might be time to call in a pro. Trying to fix a severely damaged tank yourself could make things worse, or even be dangerous. A professional can assess the situation and tell you if the tank can be repaired or if it needs to be replaced. They have the tools and skills to do the job right, and they can make sure your water is safe to drink. Plus, they can save you a lot of headaches in the long run.
Fixing a water tank can be tricky. If you’re not comfortable with DIY projects, or if the damage is significant, don’t hesitate to call a professional. It’s better to be safe than sorry when it comes to your water supply.
Now that you’ve prepped the area, it’s time to put on the repair stuff. This part is super important, so pay close attention to the instructions. Messing this up could mean your tank leaks again, and nobody wants that!
Always read and follow the instructions that come with your repair material. Each product is different. The way you mix and put on epoxy might be different from how you use a patch kit. The instructions will tell you exactly what to do. They’ll tell you how much to mix, how long to wait, and how to put it on right. Don’t guess! Following the directions is the best way to make sure your repair works. For example, identifying water heater problems early can prevent extensive damage.
When you put on the repair stuff, make sure it’s even. If you’re using epoxy, spread it out smoothly. If you’re using a patch, make sure it sticks to the tank all the way around. Uneven spots can cause weak points that might leak later. Take your time and do it right. You might want to use a tool to help spread things out. A putty knife or even a plastic spoon can work. Just make sure whatever you use is clean.
Once you’ve put on the repair stuff, you have to wait. The instructions will tell you how long to wait. Don’t rush it! If you don’t wait long enough, the repair won’t be strong. The drying time is important for the material to set and stick to the tank. It might take a few hours, or even a whole day. Just leave it alone and let it do its thing. You can even put a sign up to remind yourself not to touch it!
After the repair material has fully dried, you’re almost done! This step makes the repair look good and helps it last longer. Let’s get that tank looking its best.
Grab some sandpaper. You’ll want to start with a rougher grit (like 80 or 100) to knock down any big bumps or uneven spots. Then, switch to a finer grit (like 150 or 220) to smooth things out. The goal is to make the repaired area blend in with the rest of the tank. Be patient and take your time. You don’t want to accidentally damage the surrounding area. After sanding, wipe away any dust with a clean, damp cloth.
If your tank is painted, you’ll want to paint over the repaired area to protect it from the elements and make it look nicer. First, you’ll need to prime the area. Primer helps the paint stick better and gives you a more even finish. Let the primer dry completely before moving on to the paint. Use a paint that is made for the material of your tank. Apply thin, even coats of paint, letting each coat dry before applying the next. This will help prevent drips and runs.
Getting the right color is key to making the repair look seamless. Take a small piece of the tank (if possible) to your local hardware store. They can usually match the color pretty closely. If you can’t take a piece of the tank, try taking a good picture of it in natural light. When painting, blend the edges of the painted area into the surrounding area. This will help hide the repair and make it less noticeable. You might need to apply a few coats to get a good match.
After painting, let the paint dry completely before refilling the tank. This will prevent the paint from dissolving into the water and contaminating it. It will also ensure the paint adheres properly to the surface.
Okay, you’ve patched, epoxied, and sanded. Now comes the moment of truth! It’s time to see if your hard work paid off. This part is super important, so don’t skip any steps. You want to make sure your water tank is solid before you rely on it.
First, slowly start refilling the tank. Don’t just blast the water in there. Let it fill gradually. This gives the repair time to adjust to the pressure. Keep a close eye on the repaired area as the water level rises. Look for any signs of leaking right away. If you see even a tiny drip, stop filling immediately. It’s better to catch it early than to have a major problem later.
This is where patience comes in. Once the tank is full, don’t just walk away. Spend some time watching the repair. Check it every few minutes for the first hour. Then, check it again a few hours later. Finally, check it one more time the next day. You’re looking for any leaks, no matter how small. Sometimes, a leak won’t show up right away.
Besides leaks, also check the overall structure of the tank around the repair. Is the area bulging or warping? Does it look like it’s under too much stress? If anything looks off, it could mean the repair isn’t strong enough. It might be time to call a professional. Better safe than sorry, especially when it comes to something holding a lot of water!
After you fix your water tank, you want it to last. Taking care of it will help prevent future problems. Here’s how to keep your tank in good shape:
Check your water tank often. Look for small cracks, leaks, or any damage. Doing this regularly can help you catch problems early, before they become big and expensive to fix. A quick look every month can save you a lot of trouble later.
Over time, sediment (like dirt and small rocks) can build up in your tank. This can make your water dirty and affect the tank’s health. Cleaning your tank every year or two will help keep your water clean and your tank working well. Here’s how:
Don’t ignore small problems. If you see a small leak or crack, fix it right away. Waiting can make the problem worse and more expensive to repair. It’s like a small hole in your roof – if you don’t fix it, the next rainstorm could cause a lot of damage. If you notice something, take care of it quickly. It’s better to be safe than sorry.
Keeping your water tank in good shape is important for clean water and saving money. Regular checks and quick fixes can help your tank last longer and work better.
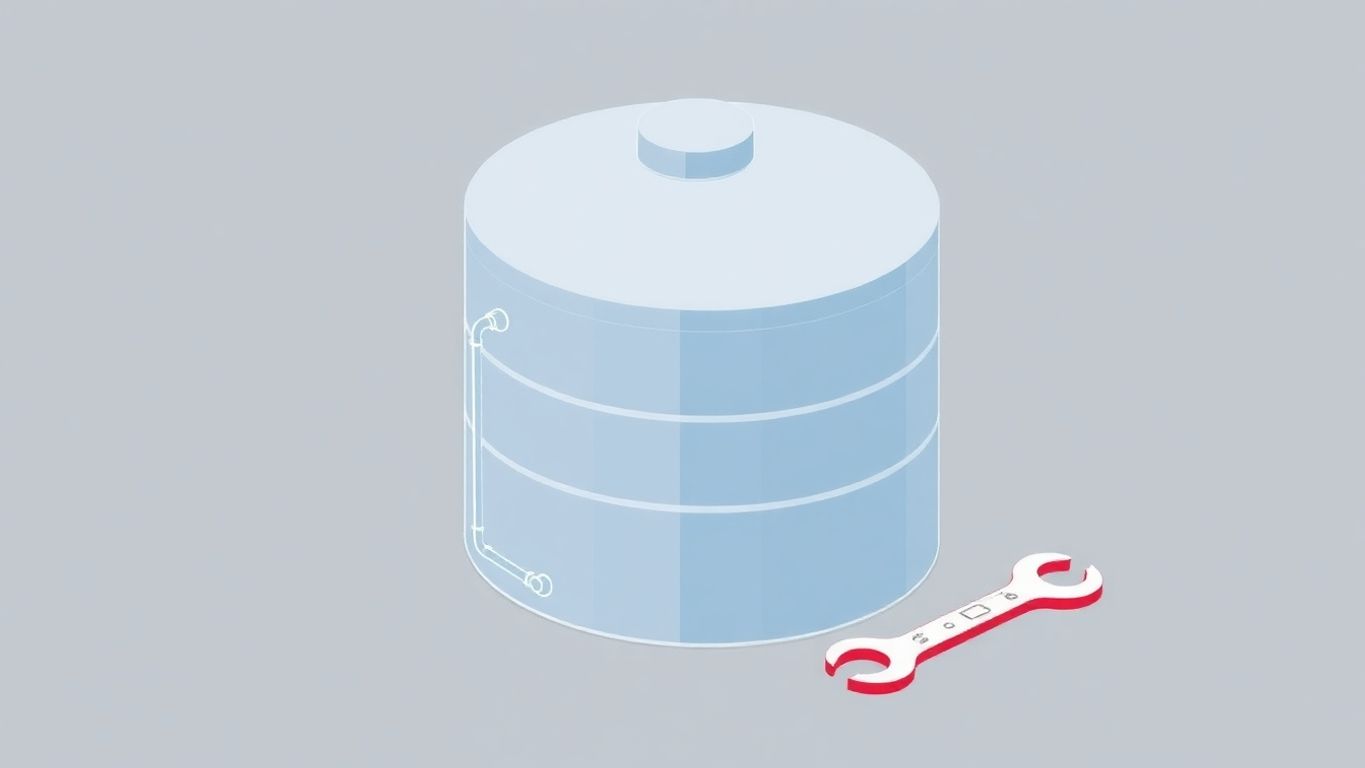
Sometimes, fixing your water tank isn’t the best choice. You might need to think about getting a new one. It’s like deciding whether to fix an old car or buy a new one. Here’s how to figure it out.
Think about how much the repair will cost. Big repairs can be expensive. If the cost to fix your tank is almost as much as a new tank, it might be smarter to just replace it. A new tank could save you money in the long run.
How old is your water tank? Older tanks can have more problems. If your tank is really old or in bad shape, replacing it might be better than fixing it. It’s like an old house – things start to break down more often.
Not sure what to do? Ask a plumber or water tank expert. They can look at your tank and tell you if it’s worth fixing or if you should get a new one. They know a lot about water tanks and can give you good advice.
Getting a new water tank can be a big decision. Think about the cost, age, and condition of your tank. Talking to a pro can help you make the right choice. It’s all about making sure you have safe and clean water for your home.
You will need a utility knife, a polyethylene welding rod, a plastic welding gun, a drill, and some rags.
Look for visible cracks, leaks, or signs of damage. If you notice any of these, it’s time to inspect and possibly repair your tank.
Yes, but make sure to follow safety precautions. If the damage is severe, consider hiring a professional.
First, turn off the water supply and drain the tank completely. Then, clean the area around the damage.
No, you should use a specific epoxy or sealant designed for the material of your tank.
It usually takes about an hour for the epoxy to dry, but check the manufacturer’s instructions for exact times.
If the damage is extensive, it may be better to replace the tank instead of trying to fix it.
Regularly inspect your tank for any issues, clean it periodically, and address any problems as soon as they arise.