Step-by-Step Guide: How to Install an Expansion Tank Correctly
Thinking about installing a water heater expansion tank? It’s a good idea to protect your plumbing. This guide will walk…

Dealing with no hot water can be a real pain, especially when you’re expecting a warm shower. Often, the culprit behind a pilot light that won’t stay lit is a faulty thermocouple in your gas water heater. Replacing this part might seem a bit daunting, but it’s actually a manageable DIY task if you’re careful. This guide will walk you through how to change your water heater thermocouple safely, step by step. Remember, if you ever smell gas or feel unsure, it’s always best to call a professional.
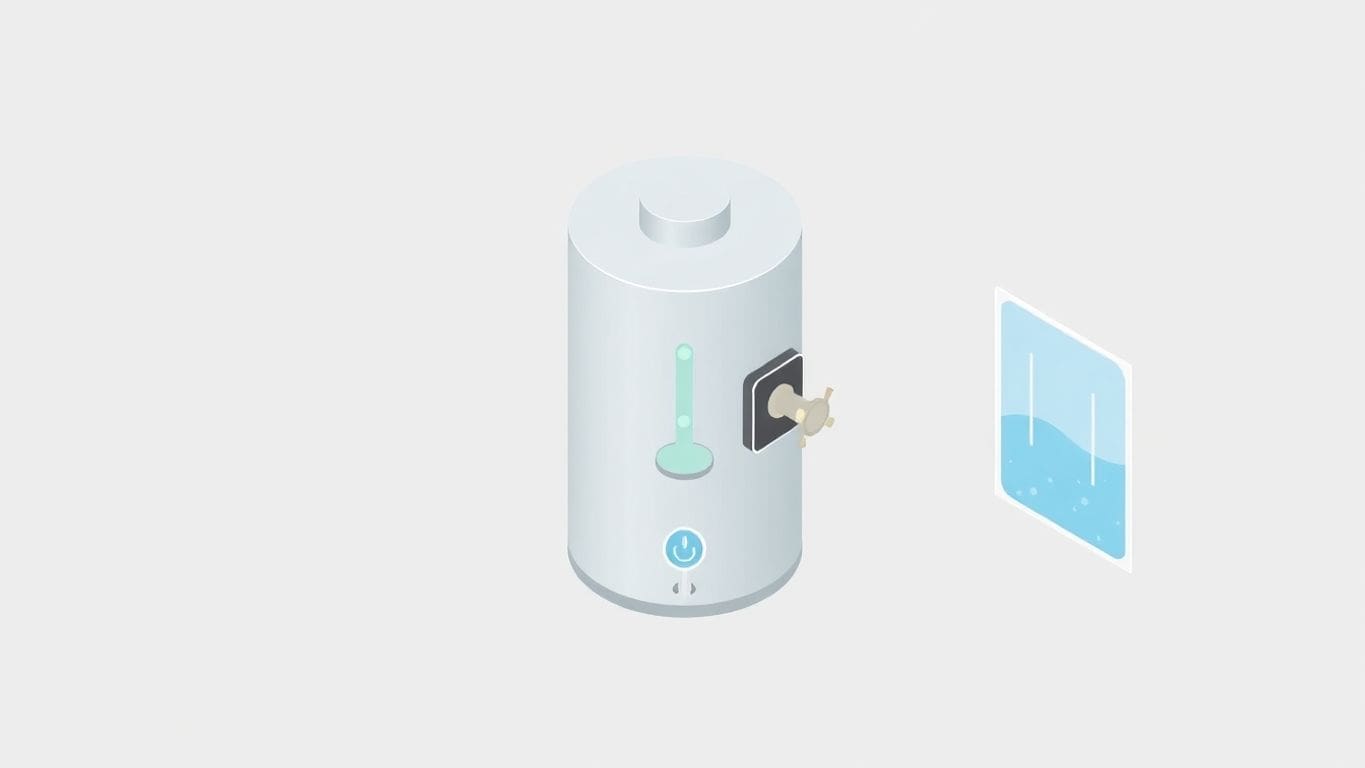
Let’s talk about a small but super important part of your water heater: the thermocouple. You might not think about it much, but it’s a key player in keeping your hot water flowing safely. Think of it as the water heater’s little guardian.
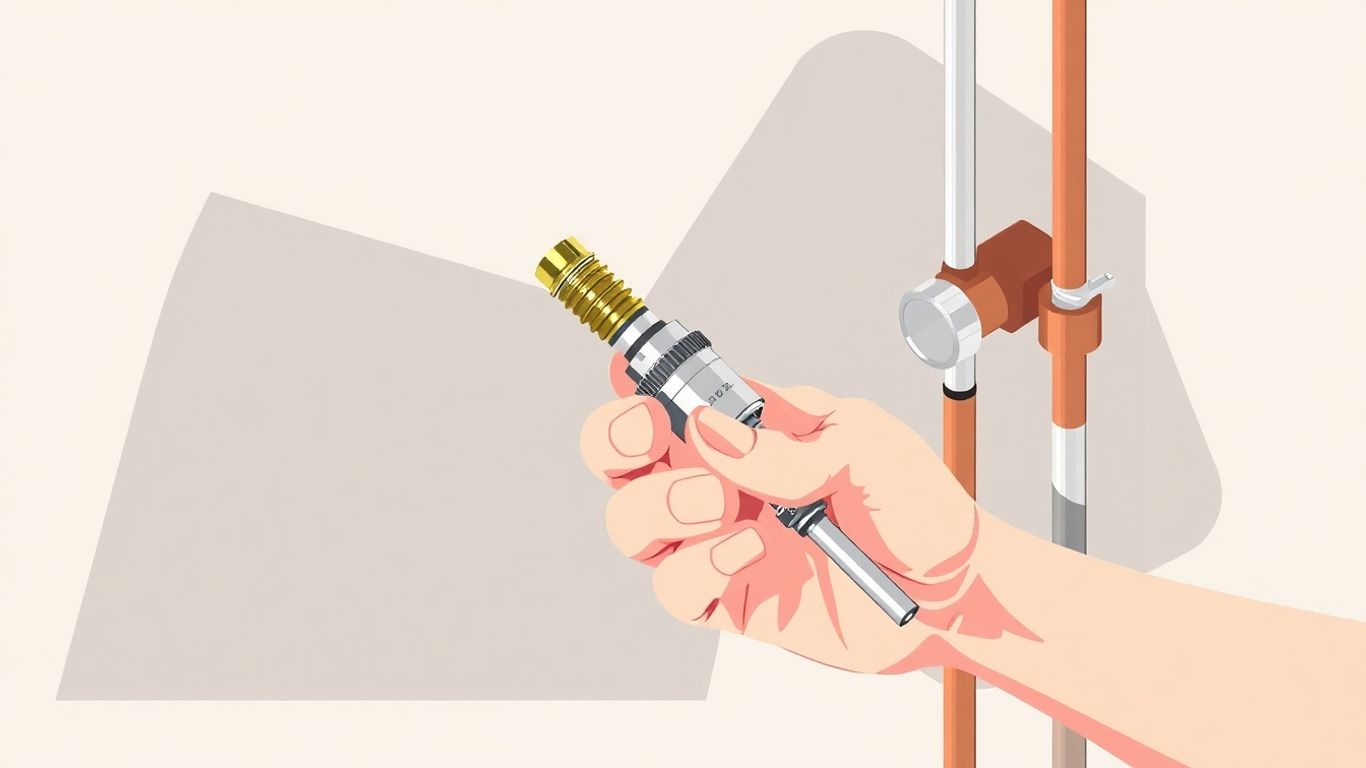
A thermocouple is basically a small metal rod that sits near the pilot light. Its main job is to sense if the pilot light is on. It does this by turning the heat from the flame into a tiny bit of electricity. This little bit of power acts like a switch. If the pilot light is burning, the switch stays on, telling the water heater it’s okay to send gas to the main burner to heat your water. If the pilot light goes out, the switch turns off, stopping the gas flow. This is a really neat safety trick.
This safety feature is a big deal. Imagine if the pilot light went out, but the water heater kept trying to send gas. That gas would just fill up the tank, which could be dangerous. The thermocouple stops this from happening. It’s the main reason your water heater won’t keep sending gas when there’s no flame to light it. This prevents gas from building up and potentially causing problems.
So, how do you know if this little guardian might be acting up? Usually, the first sign is that your pilot light won’t stay lit. You might try to light it, and it lights up for a second, but then it goes out as soon as you let go of the button or knob. Another sign is if you’re having trouble lighting the pilot light at all. Sometimes, the thermocouple can get a bit dirty or dusty from the normal operation of the water heater. This buildup can stop it from sensing the flame correctly. If your water heater is getting older, parts can just wear out over time, and the thermocouple is no exception.
Here are some common signs:
If you smell gas, don’t try to fix anything yourself. Leave the area immediately and call your gas company or 911.
Before you start messing with your water heater, you need to get the right stuff together. It’s like getting ready for a big project – having everything handy makes it go way smoother. Plus, safety first, right? So, let’s see what you’ll need.
Having the right tools makes a big difference. You don’t want to be halfway through and realize you can’t loosen a bolt. Here’s a list of what you’ll likely need:
This is the main event! You need to make sure you get the right replacement parts. Getting the wrong part can cause more problems.
After you’re done, you need to check for gas leaks. This is super important for safety. You’ll need:
Remember, working with gas appliances can be dangerous if you’re not careful. If you ever feel unsure or uncomfortable, it’s always best to call a professional. Safety should always be your top priority.
Before you start swapping out that thermocouple, it’s super important to get things ready. This isn’t just about having the right tools; it’s mostly about making sure you’re safe. Working with gas can be tricky, so taking these steps first will save you a lot of headaches, and maybe even some danger.
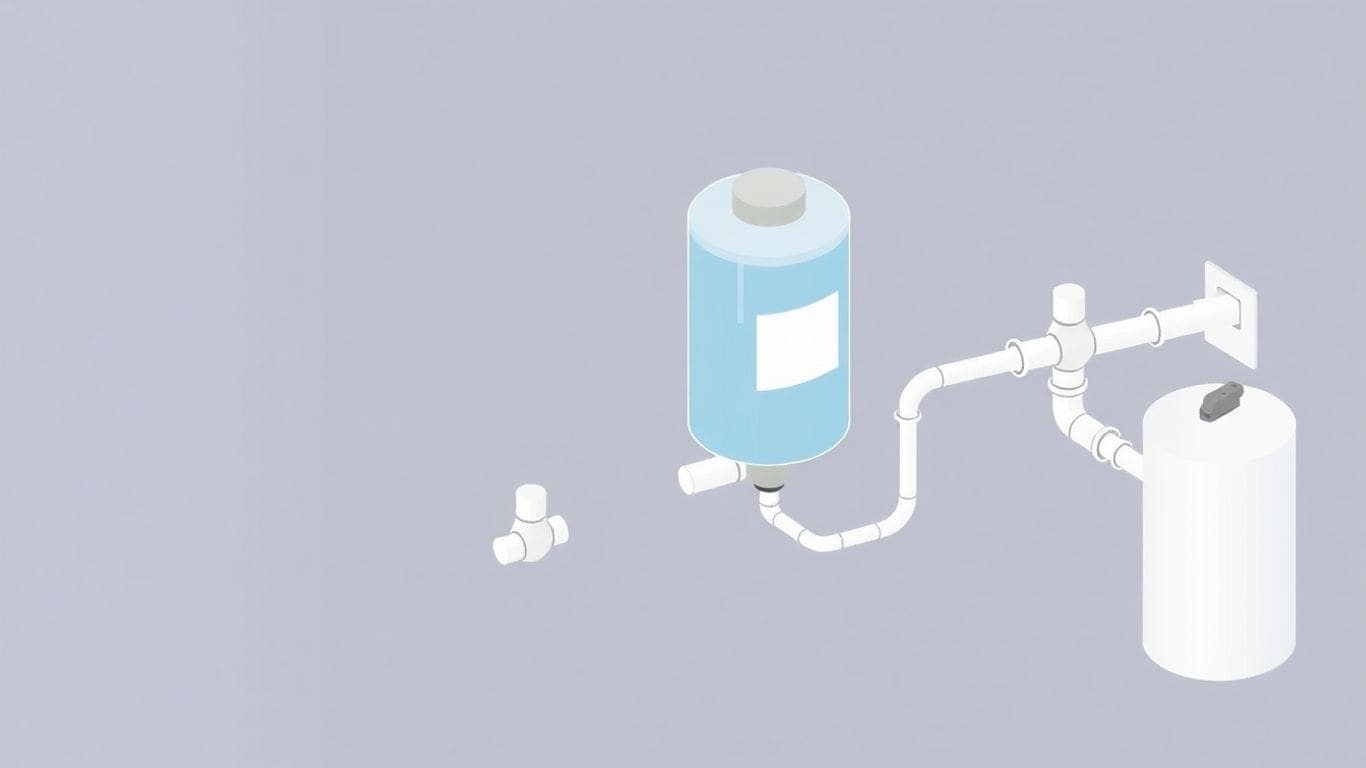
This is the big one. You absolutely have to turn off the gas supply to your water heater. Think of it like turning off the water before you fix a leaky faucet. You don’t want any gas flowing while you’re messing with the parts. Find the gas shut-off valve, which is usually on the pipe leading to your water heater. It’s often a lever or a knob. Turn it to the ‘OFF’ position. This stops the flow of gas to the appliance.
Once the gas is off, don’t just jump right in. Gas can linger in the air for a bit. It’s a good idea to wait for a few minutes. This gives any residual gas a chance to dissipate. You can open a window or a door in the room where the water heater is located to help with ventilation. This makes the area safer to work in.
Water heaters aren’t all built the same. Knowing what kind you have helps you figure out the best way to get to the thermocouple. Most common types are either a standing pilot light or an electronic ignition. A standing pilot light means there’s always a small flame burning, ready to ignite the main burner. Electronic ignition systems use a spark or hot surface igniter to light the burner only when needed. You can usually tell by looking at the front of the water heater. If you see a small, constant flame, it’s likely a standing pilot. If there’s no visible pilot flame and maybe a small electronic box, it’s probably electronic ignition. This guide will cover both, but knowing your type helps you follow the right steps.
Now that you’ve turned off the gas and let things clear out, it’s time to get to the part that needs fixing: the burner assembly. This is where the magic (and the heat) happens, so we need to be careful.
First, you’ll see a cover plate, often called the manifold cover plate. This plate protects the burner assembly. You’ll need to take it off to get to the thermocouple. Look for screws, nuts, or sometimes special fasteners holding it in place. Just use the right tool to loosen them. Don’t force anything; if it feels stuck, double-check for any hidden screws.
As you remove the cover plate, you might notice a gasket. This is like a seal, usually made of rubber, that keeps things airtight. If the gasket looks good and isn’t torn or brittle, you might be able to reuse it. If it’s damaged, you’ll need to replace it. Make a note of how it was positioned. Also, pay attention to the screws or nuts you removed – keep them together so you don’t lose them.
Once the cover plate is off, you’ll see the burner assembly. This is the part where the gas comes out and burns to heat your water. The thermocouple is connected to this assembly, usually near where the pilot light sits. You might need to gently disconnect a few tubes or wires connected to the gas control valve before you can carefully lift the whole burner assembly out of its spot. It should come out without too much trouble. If it’s being stubborn, check again for any screws you might have missed.
Now that you’ve got the cover plate off, it’s time to carefully take out the old thermocouple. This part is pretty small, but it does a big job. Don’t rush this step; being gentle will help you avoid damaging other parts.
First, you’ll need to disconnect the thermocouple from where it’s attached. It usually connects to a part called the gas control valve. You might see a small nut holding it in place. Use your wrench to loosen this nut. Be sure to hold the other part steady with another wrench so you don’t twist anything you shouldn’t. Once the nut is loose, you should be able to pull the thermocouple connection free.
With the connections loose, you can now pull the thermocouple out. It runs from the pilot light area, through a small opening or a rubber seal, and to the gas control valve. You’ll want to gently pull it out. Sometimes it slides out easily, but other times it might be a bit snug. Try wiggling it a little as you pull. If it’s really stuck, you might need to carefully cut the old thermocouple to get it out, but try to avoid this if you can.
If the thermocouple feels like it’s stuck in its bracket or the pilot assembly, don’t force it too hard. Sometimes, a little bit of gentle twisting can help loosen it. Remember, this part is delicate. If you’re having a lot of trouble, take a moment to look closely at how it’s held in. Is there a clip? Is it just pushed into a hole? Knowing how it’s secured will help you figure out the best way to remove it without breaking anything. Taking a picture before you start can be a lifesaver if you forget how things go back together.
It’s a good idea to take your old thermocouple with you when you go to buy a new one. This way, you can be sure you’re getting the exact same size and type. It makes the whole process much smoother when you have the right part ready to go.
Alright, you’ve got the old thermocouple out and your shiny new one ready to go. Now, let’s get it in there right. You’ll want to slide the new thermocouple into its spot from the outside. It goes through the same opening or grommet the old one came out of. Push it into the mounting bracket until you feel it click or it feels snug. This makes sure it’s seated properly. Think of it like putting a key in a lock – it needs to fit just right to work.
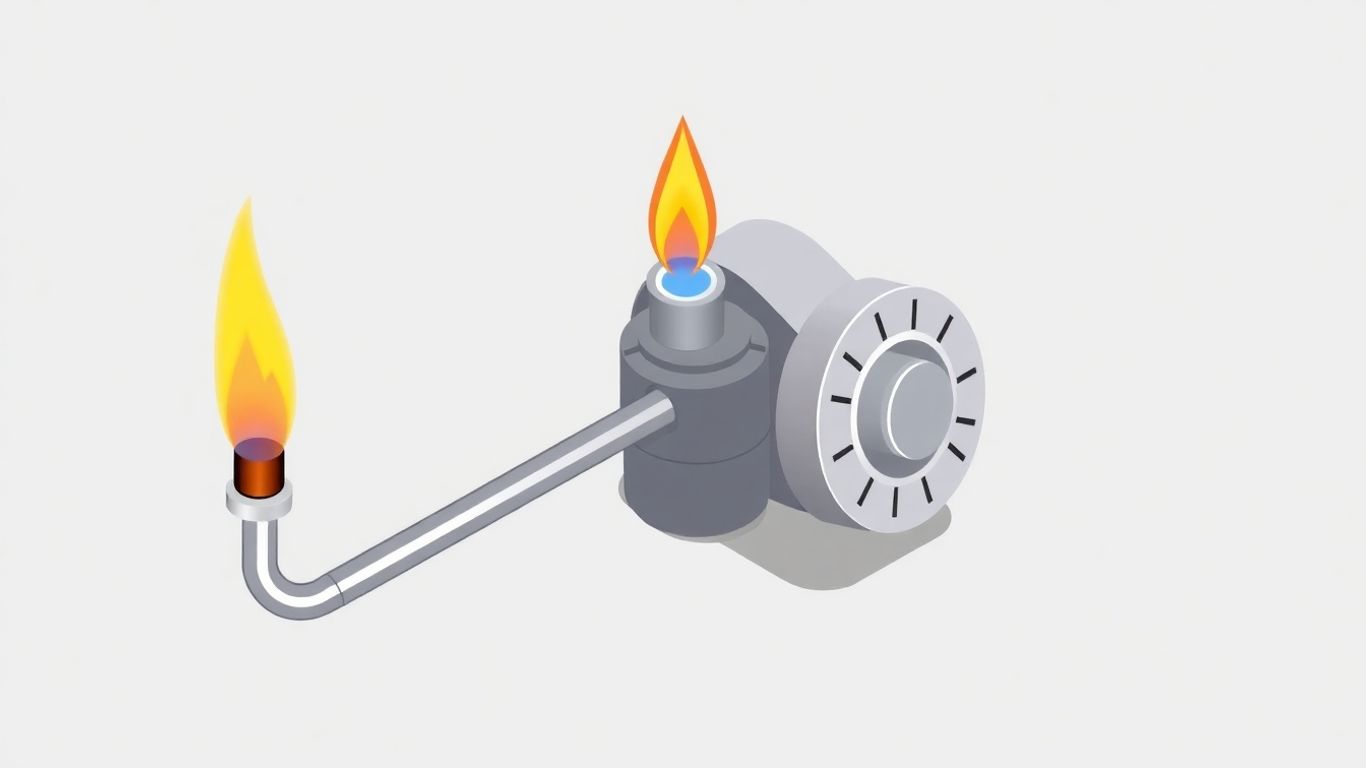
This part is pretty important. The tip of the thermocouple needs to be in the path of the pilot light flame. You want about the top half-inch of the tip to be right in the middle of that little blue flame. This is how it senses the heat and tells the gas valve to stay open. If it’s not in the flame, your pilot light won’t stay lit, and you’ll be back to square one. A good way to check is to look at the pilot assembly and see where the flame hits. You might need to gently bend the thermocouple a tiny bit to get it in the perfect spot. Just be gentle!
Now for the final connection. You’ll need to reconnect the thermocouple to the gas control valve. There’s usually a small nut that screws onto a fitting. Hand-tighten it first, and then give it just a little extra turn with a wrench – maybe a quarter turn past hand-tight. Don’t crank down on it too hard. Over-tightening can strip the threads or even damage the valve, and that’s a problem you don’t want. Make sure it’s snug so no gas can escape, but don’t force it.
Here’s a quick checklist for this step:
Remember, the goal is a secure connection that allows the thermocouple to sense the pilot flame accurately. If you’re unsure about any part of this, it’s always better to pause and double-check, or even call for help.
Now that your new thermocouple is in place, it’s time to put everything back together. This part is pretty straightforward, but take your time to make sure each piece goes back exactly where it came from.
Carefully slide the burner assembly back into its spot inside the water heater. You want it to sit snugly, just like it was before. Make sure it’s properly seated so the gas can flow correctly when you turn it back on. If it feels like it’s forcing in, double-check that nothing is in the way.
If you removed the gasket around the manifold cover plate, now’s the time to put it back. If the old one was damaged and you got a new one, place the new gasket around the opening. This gasket helps seal the area and keeps things running efficiently. Make sure it lines up with the screw or bolt holes.
With the gasket in place, carefully position the manifold cover plate back onto the water heater. Line up the holes with the fasteners (screws or bolts) you removed earlier. Gently tighten them down. Don’t overtighten the screws, as this can strip the threads or even crack the metal. Just make them snug so the cover is secure.
Alright, you’ve put in the new thermocouple. Now it’s time to get things back up and running, but safely. This is where we make sure everything is sealed up tight and working right.
First things first, you need to turn the gas back on. Find the shutoff valve on the gas pipe leading to your water heater. Slowly open this valve. Once the gas is flowing again, turn the main gas control knob on your water heater to the ‘ON’ position. It’s like waking the heater back up.
If your water heater has a standing pilot light (meaning a small flame that’s always on), you’ll need to relight it. Every water heater is a little different, so check the sticker or manual that came with yours. It will tell you exactly how to relight the pilot. Usually, you’ll need to turn the gas control knob to a specific setting for lighting, hold down a button, and use a lighter or the built-in igniter. Keep trying until the pilot light stays lit on its own. Don’t rush this step; patience is key.
This is super important. We need to make sure no gas is escaping where it shouldn’t be. You’ll need a simple mixture of soap and water. You can make this by mixing a good squirt of dish soap with some water in a spray bottle or a small bowl.
If you smell gas or hear a hissing sound at any point, turn off the gas immediately and do not try to relight the pilot. It’s best to call a professional at this stage.
It’s a good idea to check for leaks a couple of times, especially after the water heater has been running for a bit. You want to be absolutely sure everything is safe and sound before you walk away.
So, you’ve gone through the steps, replaced the thermocouple, and you’re ready to get your hot water back. But what if things aren’t working quite right? Don’t worry, it happens. Let’s look at some common hiccups and when it’s best to call in a pro.
Sometimes, even after a new thermocouple is in place, you might run into a few snags. Here are some things to check:
Look, DIY is great, but some things are best left to the experts. If you’re feeling unsure about any part of this process, especially when dealing with natural gas, it’s wise to step back.
Here are some signs it’s time to call a plumber:
Working with natural gas requires caution. If you’re ever in doubt, it’s always safer to call a qualified technician. They can quickly identify and fix the problem without putting you at risk.
Sometimes, a faulty thermocouple is just a symptom of a larger issue. If your water heater is showing these signs, it might be time for a more serious look:
You’ve successfully replaced your water heater’s thermocouple, which is great! But how do you keep it working well for as long as possible? A little bit of regular care can go a long way. Think of it like giving your car an oil change – it just keeps things running smoothly.
It’s a good idea to check on your thermocouple every year or so. This doesn’t have to be a big job. Just a quick look to see if everything seems okay can help catch small issues before they become big problems. Catching problems early is the best way to avoid a breakdown.
Dust, cobwebs, and other little bits of debris can build up around the burner assembly. This gunk can sometimes get in the way of the thermocouple or the pilot flame. Taking a few minutes to gently vacuum or brush out this area during your annual check can make a difference. Just be sure the gas is off and the area has cooled down completely before you start cleaning.
The pilot light is what tells the thermocouple that everything is working. When the pilot flame is strong and has a nice blue color, it usually means the gas is burning well. If you notice the pilot flame is weak, flickering, or looks more yellow or orange, that’s a sign something might be off. It could be a small clog in the pilot tube or an issue with how the gas is flowing. Addressing these signs can help your thermocouple do its job right.
Here are some things to look for with your pilot flame:
If you’re ever unsure about what a healthy pilot flame looks like, or if you notice it’s not quite right, it’s better to be safe. Sometimes, a simple cleaning of the pilot tube can fix it. But if you’re not comfortable with that, it’s always okay to call a professional.
Think of a thermocouple as a tiny safety guard for your gas water heater. It’s a small metal rod that sits near the pilot light. When the pilot light is on, the thermocouple senses the heat and tells the water heater it’s okay to let more gas flow to the main burner. If the pilot light goes out, the thermocouple stops the gas flow, which is super important to prevent gas leaks.
The biggest clue is if your pilot light won’t stay lit after you try to light it. If you hold the button down, it lights up, but as soon as you let go, it goes out, that’s a strong sign. You might also notice you’re not getting any hot water at all because the main burner isn’t turning on.
Sometimes, yes! If the thermocouple is just a little dirty or has some buildup on it, you might be able to clean the tip gently with fine sandpaper or steel wool. This can sometimes fix the problem. However, if cleaning doesn’t work, it’s definitely time to replace it.
You’ll likely need a few basic tools like an adjustable wrench or an open-end wrench, and maybe a screwdriver. For parts, you’ll need a new thermocouple (make sure it’s the right size and length for your water heater!) and possibly a new gasket for the cover plate if the old one is damaged. It’s also good to have some dish soap and water mixed for checking for gas leaks afterward.
Safety is key! Before you do any work, you absolutely must turn off the gas supply to the water heater. This is usually done with a valve on the gas pipe. After you turn it off, give it a few minutes for any gas in the lines to clear out of the area. This is a crucial safety step.
Getting the new thermocouple in the right spot is important. The tip of the thermocouple needs to be positioned so that the pilot flame will heat the top portion of it (about 3/8 to 1/2 inch). This ensures it can properly sense the flame and signal the gas valve.
After you’ve reassembled everything and turned the gas back on, you need to check for leaks. Mix some dish soap with water. Then, carefully brush or dab this soapy mixture onto the gas connections you worked on. If you see any bubbles forming, that means there’s a gas leak, and you need to tighten the connection and test again.
If you’re not comfortable working with gas appliances, or if you smell gas at any point, stop immediately and call a professional. Also, if you replace the thermocouple and your water heater still isn’t working right, the problem might be something more serious like the gas valve or another part, and that’s best left to an expert.