Are Water Heaters Easy to Replace? A Comprehensive Guide for Homeowners
Replacing a water heater can feel like a daunting task for many homeowners. It’s not just about swapping out an…

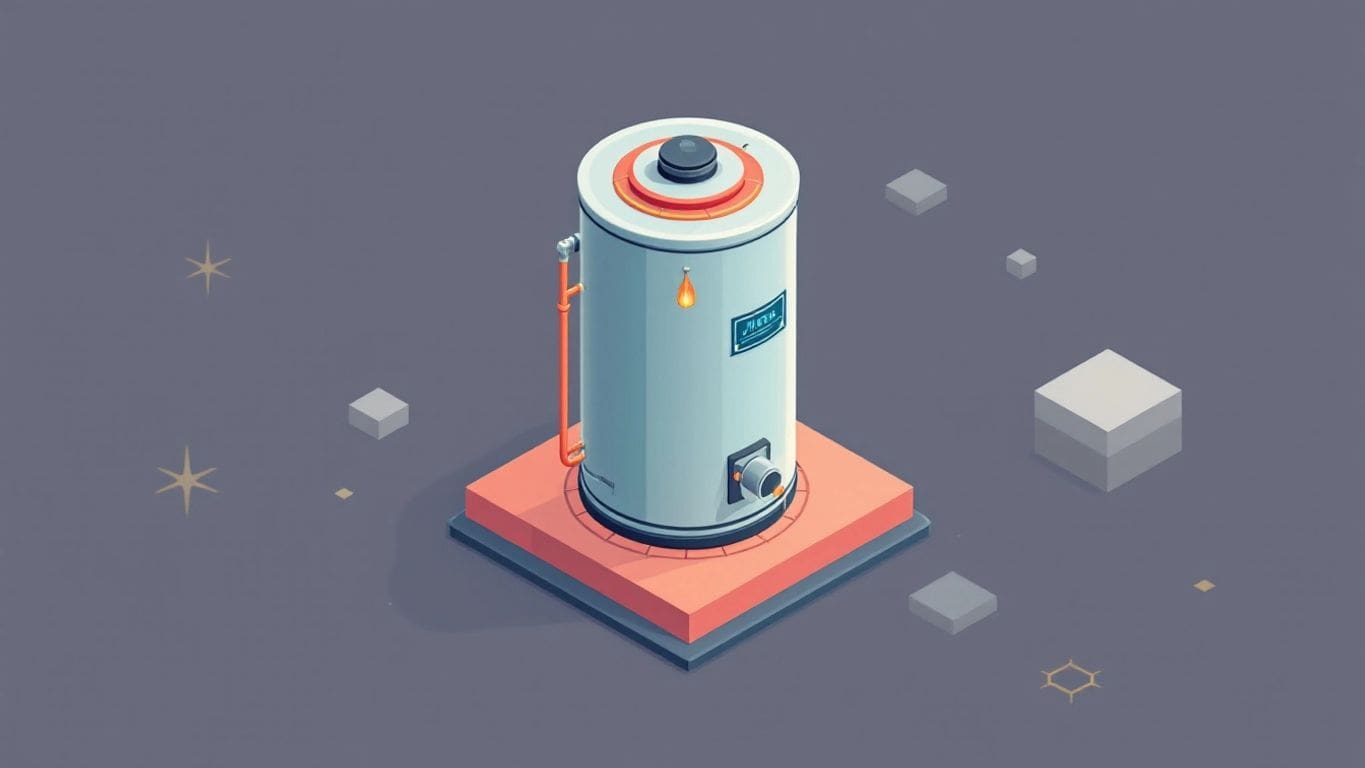
Ever had a water heater leak from a copper pipe? It’s not just annoying, it can lead to bigger problems if ignored. Fixing it might sound complicated, but with the right steps, you can tackle it yourself. This guide will walk you through understanding why these leaks happen, how to spot them, and the steps to fix them, whether you’re looking for a quick patch or a long-term solution. Let’s dive in and get that leak sorted out.
Copper pipes are popular in homes, but they can leak for several reasons. Age is a big factor. Over time, copper can wear out and start to leak. Another reason is poor installation. If the pipes weren’t put in right, they might not hold up. Finally, if the pipes are exposed to very cold weather, they can freeze and crack.
Corrosion is when metal slowly breaks down. For copper pipes, this happens when the metal reacts with water or air. If you see green spots on your pipes, that might be corrosion. Corroded pipes can get thin and weak, leading to leaks. It’s like how rust works on iron, but with copper, it looks greenish.
High water pressure can also cause leaks. If the water is pushing too hard through the pipes, it can make them burst. Think of it like blowing up a balloon too much. If your water pressure is too high, it might be time to adjust it. You can usually do this with a pressure regulator. Keeping an eye on your water heater’s pressure can prevent a lot of problems.
Remember, leaks can lead to big issues in your home. If you notice any signs of trouble, like damp spots or unusual sounds, it’s best to check things out sooner rather than later.
For more information on maintaining your water heater and preventing leaks, consider regular maintenance and upgrades.
Spotting a leak can be tricky since copper pipes often hide behind walls or under floors. But there are some things you can watch out for:
Your water heater shouldn’t make strange noises. If it does, something might be wrong. Here are sounds to listen for:
A musty smell in your home can be a big clue. Mold and mildew love damp places, and a leaking pipe is perfect for them. If you catch a whiff of something moldy, it’s time to check for leaks.
Remember, catching a leak early can save you a lot of trouble and money. Keep an eye and ear out for these signs, and you’ll be one step ahead of any plumbing problems.
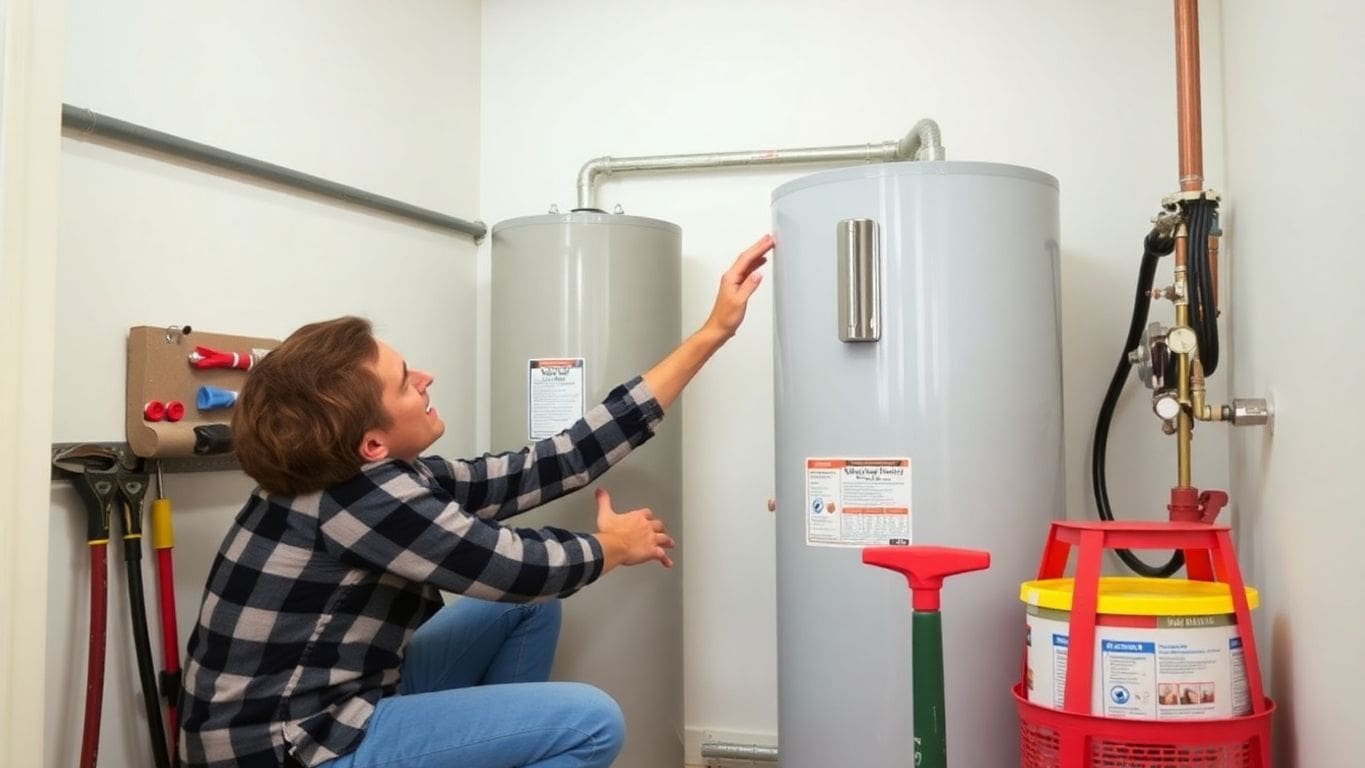
Before you start fixing your water heater, you need to turn off the water supply. Look for the shut-off valve near your water heater and twist it clockwise. This stops water from flowing into the heater and prevents more leaks. Make sure it’s completely turned off to avoid any accidents.
Water and electricity don’t mix well. If your water heater uses electricity, switch off the power at the circuit breaker. This step is super important to keep you safe from electric shocks. Double-check that the power is really off by trying to turn on the heater.
Working in a stuffy area isn’t fun and can be dangerous. Open windows or use a fan to keep fresh air moving around. This helps clear out any fumes from cleaning products or soldering materials. Staying in a fresh, airy space makes the job easier and safer.
Always remember, taking the time to set up a safe work area can prevent accidents and make your repair job smoother. It’s better to be safe than sorry.
Pipe repair tape is a quick and easy way to stop a leak. This special tape is strong and sticky, and it can work even if the pipe is wet. Here’s how you can do it:
This tape can handle a lot of water pressure, so it’s a handy fix until you can make a more permanent repair.
Epoxy putty is another simple way to patch a leak. It comes in a kit and doesn’t need special tools. Follow these steps:
This method is great for small leaks, but remember, it’s only a temporary fix.
A repair clamp is a neat tool you can find at most hardware stores. It’s like a band-aid for your pipe. To use a repair clamp:
The clamp creates a tight seal, stopping the leak in its tracks. It’s a quick fix that can hold until you’re ready for a more permanent solution.
Tip: These temporary fixes are helpful, but they won’t last forever. If your pipe keeps leaking, it might be time to think about a more permanent repair or replacing your water heater altogether. Fixing small leaks now can save you from bigger problems later.
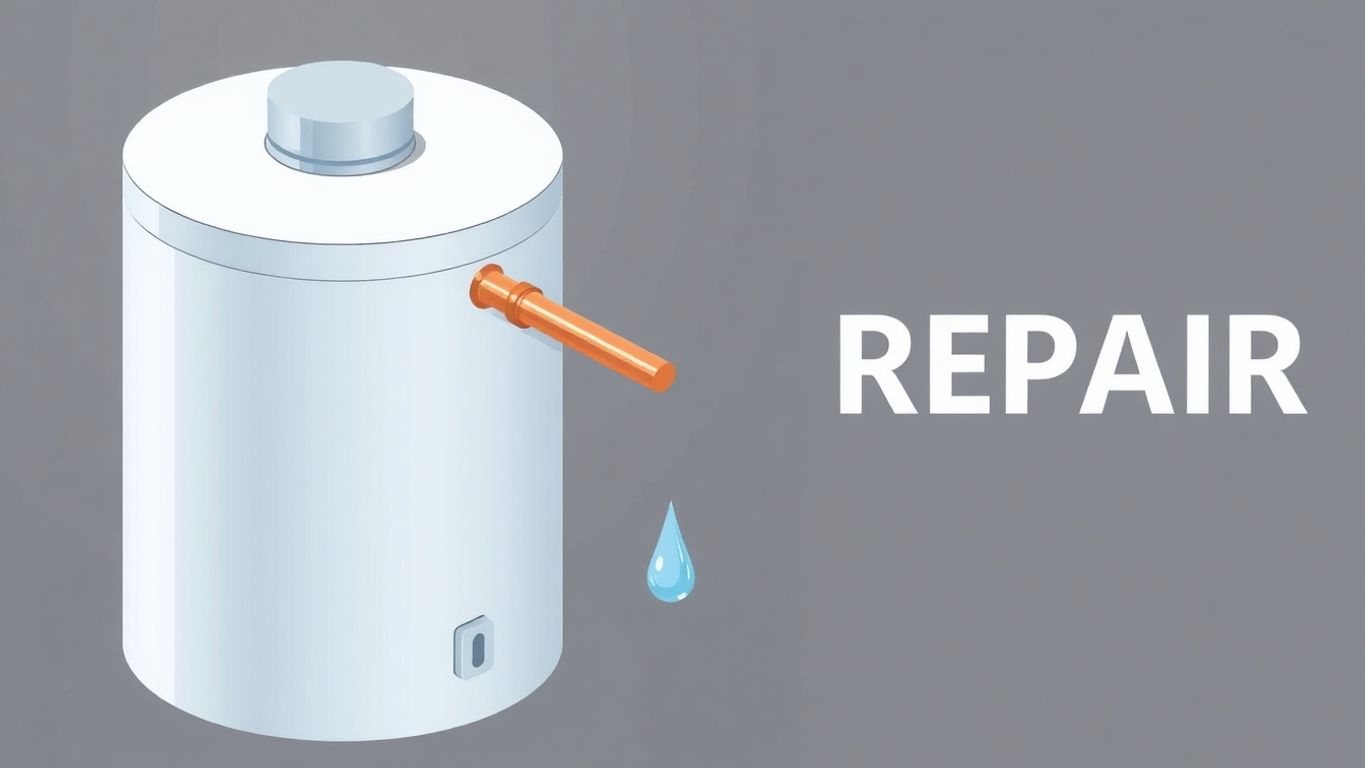
When dealing with a leaking copper pipe, you want a fix that lasts. Here are some solid solutions you can try:
Soldering is a reliable way to fix copper pipes. First, you need to cut out the damaged part using a pipe cutter. Make sure to turn off the water supply before starting. Once you have the damaged section removed, smooth the edges with a deburring tool. Apply flux to the ends of the pipe and the new section. This helps make a strong connection. Slide the repair coupling onto the pipe and solder it in place. Soldering creates a watertight seal that can last for years.
If soldering sounds too tricky, try using compression fittings. These don’t require any heat. After cutting out the bad section of pipe, slip the compression fitting over the ends. Tighten the nuts with a wrench until snug. This method is quick and doesn’t need special skills.
For an even simpler solution, go with a SharkBite slip coupling. These are push-to-connect fittings that work without tools. Cut out the leaky section, then push the slip coupling onto the pipe ends. It locks in place, creating a strong, leak-proof bond. This is great if you’re not comfortable with more complex repairs.
When fixing leaks, always make sure your water heater isn’t too old. Older models might need replacement to avoid constant repairs. Keep an eye on signs like frequent leaks or rising energy bills.
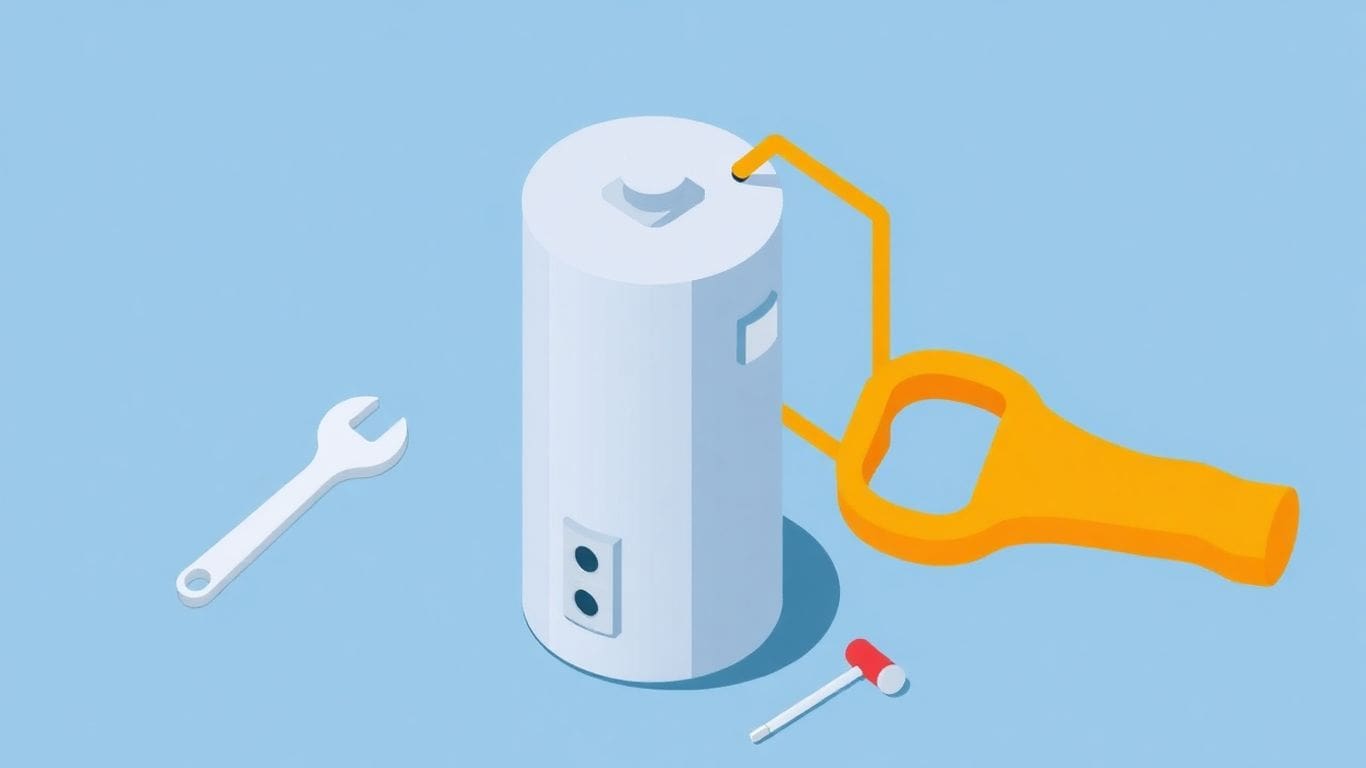
When you’re ready to tackle a leaky copper pipe, having the right tools and materials on hand is key. Being prepared can make the job much easier and safer. Here’s what you’ll need:
Before starting, double-check that you have everything you need. Running to the store mid-repair can be a hassle and might leave your home without water for longer than expected.
Start by turning off the main water supply. This is really important to avoid any more water leaking out. Once the water is off, grab a pipe cutter. Use it to cut out the damaged part of the copper pipe. Be sure to cut a little beyond the damaged area to ensure a clean fix. After cutting, take a deburring tool or a utility knife to smooth out the edges. This helps the new pipe piece fit snugly.
Before you can fix the leak, the pipe needs to be clean and ready. Use a cloth to wipe away any dirt or water. If you’re planning to solder, apply some flux to the pipe ends. Flux is a special paste that helps the solder stick better. If you’re using a SharkBite slip coupling or a compression fitting, make sure your pipe ends are smooth and free of any burrs.
Once your repair is done, it’s time to test it. Turn the water supply back on slowly and check for any leaks around the repaired section. If you used solder, ensure it has cooled and set properly. For other fittings like SharkBite or compression, make sure they are tight and secure. If there’s still a leak, you might need to tighten the fittings more or redo the soldering.
Taking your time with each step ensures a successful repair. Rushing can lead to more leaks and headaches later.
Remember, if you’re unsure at any step, it’s okay to call a professional plumber. Fixing a leak is important, but so is doing it right. Troubleshooting tips for water heaters can also help if you’re facing other issues with your water heater.
Regular check-ups can save you a lot of trouble. Inspect your pipes every few months to catch any early signs of wear and tear. Look for any green spots on the copper, which might mean corrosion. Also, listen for unusual sounds, like banging, which could indicate a problem.
Keeping an eye on water pressure is crucial. High water pressure can strain pipes, leading to leaks. Get a pressure gauge and check it yourself. Ideally, your home’s water pressure should be between 40 and 60 psi. If it’s higher, consider installing a pressure regulator.
When copper pipes connect with other metals, corrosion can happen faster. Dielectric unions are special fittings that help prevent this. They keep different metals from touching, reducing corrosion risk. If you have a mix of metal pipes, think about using these.
Sometimes, leaks are just too tricky to handle on your own. If the leak is coming from a hard-to-reach spot or if it’s causing water to pool, it might be time to call in a pro. Professionals have the tools and know-how to fix leaks without causing more damage. If you see water stains on your walls or ceilings, that’s a big hint that you might need expert help.
Did you know fixing your water heater yourself might mess up your warranty? Many warranties require that any repairs are done by a licensed plumber. So, before you grab your tools, check the warranty. If you do the fix yourself, you might end up paying more if something else goes wrong.
Finding the right plumber can feel like a big task. Here are some tips:
Remember, sometimes it’s better to spend a little money on a pro than to risk making things worse. A good plumber can save you time, money, and a lot of stress!
Fixing a copper pipe leak yourself can save money, but you still need to budget for materials. Basic supplies like repair tape, epoxy putty, or a repair clamp might cost between $10 to $50. If you need more tools, such as a pipe cutter or a torch for soldering, expect to spend an additional $20 to $100. Keep in mind, if the leak is hard to reach, the cost can increase due to the need for specialized tools.
Hiring a plumber can be pricier, but it’s often the best choice for complex leaks. Plumbers generally charge between $45 to $200 per hour. The total cost depends on the complexity of the repair and your location. For instance, replacing a section of copper pipe could range from $150 to $500, including labor and materials. If your water heater is old or the pipes are significantly damaged, you might need a more extensive repair, which can increase costs.
Sometimes, fixing a leak isn’t just about the pipe. You might face additional costs if there’s water damage to walls or floors. Mold remediation can be expensive, sometimes adding hundreds or even thousands of dollars to your repair bill. Also, consider that some repairs might require a permit, depending on local regulations, which adds to the overall cost.
Remember, while DIY fixes are cheaper upfront, they might not last as long as professional repairs. Weigh your options carefully to avoid future headaches.
When planning your repair, consider all possible expenses to avoid surprises. Whether you’re doing it yourself or hiring a pro, understanding these costs can help you budget effectively.
A leaking water heater can cause serious water damage in your home. When water seeps into floors and walls, it can weaken their structure. This might lead to costly repairs. If water reaches electrical outlets, it can also create a risk of electric shock. It’s important to address leaks quickly to avoid these dangers.
When water leaks, it doesn’t just disappear. It can create damp spots perfect for mold and mildew to grow. Mold can cause health problems like allergies and breathing issues. If you notice a musty smell or see dark spots near your water heater, you might have a mold problem. Cleaning up mold can be hard and expensive, so it’s best to fix leaks before they lead to mold.
A leaky water heater can waste a lot of energy. Water heaters work harder to heat water when there’s a leak, which can increase your energy bills. You might notice your heater running more often or taking longer to heat water. Fixing leaks can help your heater work better and save you money on energy costs.
Don’t ignore a leaking water heater. It might seem like a small issue, but it can lead to big problems. Taking care of it now can save you a lot of trouble later.
Copper pipes can leak due to corrosion, high water pressure, or poor installation. Over time, these factors can cause the pipes to weaken and develop leaks.
Look for water stains on walls or ceilings, listen for unusual sounds near the water heater, and check for moldy smells, which can indicate a leak.
If you’re comfortable with basic plumbing tasks, you can try temporary fixes like repair tape or epoxy putty. For permanent solutions, you might need professional help.
You’ll need tools like a pipe cutter, repair tape, epoxy putty, and possibly a soldering kit if you’re doing a permanent repair.
Yes, a repair clamp can be a quick and temporary fix. It seals around the leak to prevent water from escaping.
If the leak is severe, or if you’re unsure about handling the repair, it’s best to call a professional plumber to avoid further damage.
Long-term solutions include soldering a new pipe section, using compression fittings, or installing a SharkBite slip coupling.
Regular maintenance, monitoring water pressure, and using dielectric unions can help prevent future leaks in copper pipes.