Understanding Tankless Water Heater Leaking: Causes and Solutions
If you’ve invested in a tankless water heater for its promise of endless hot water, discovering it leaking can be…

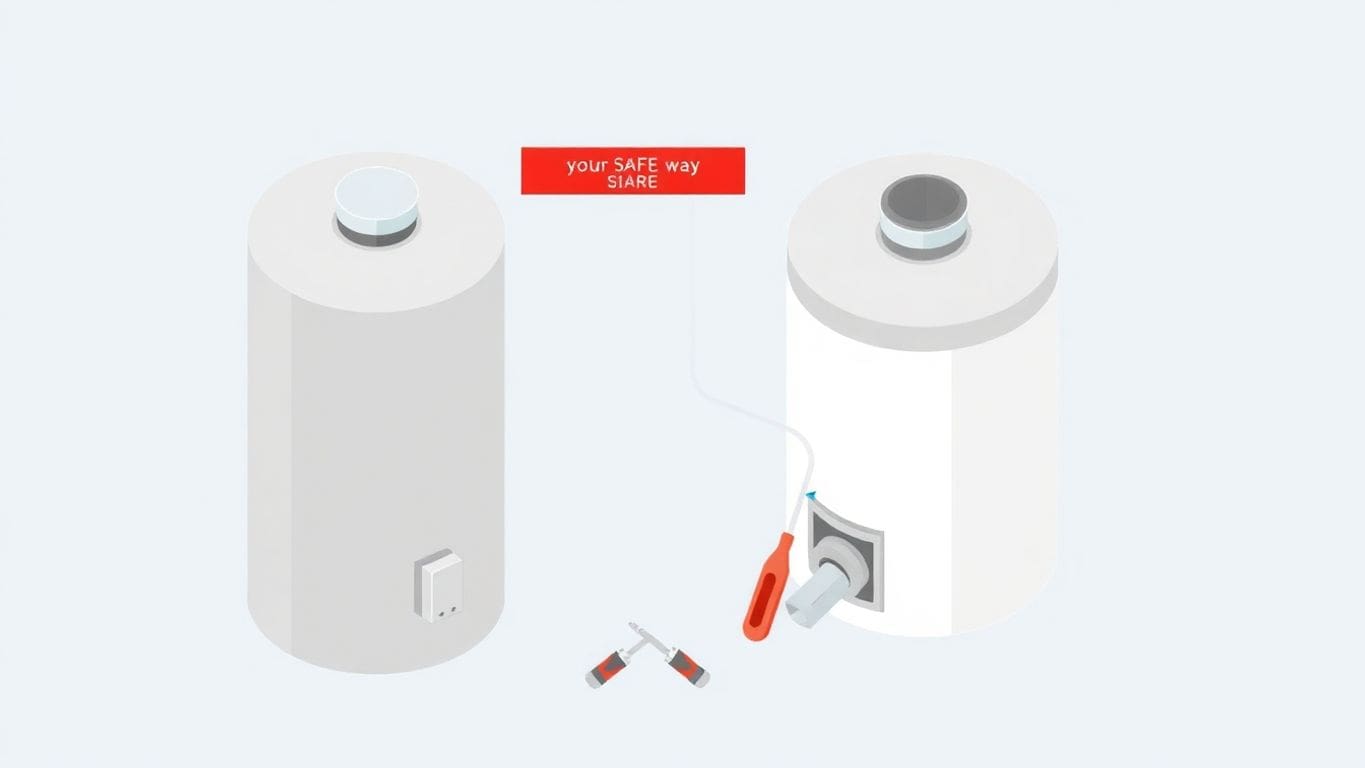
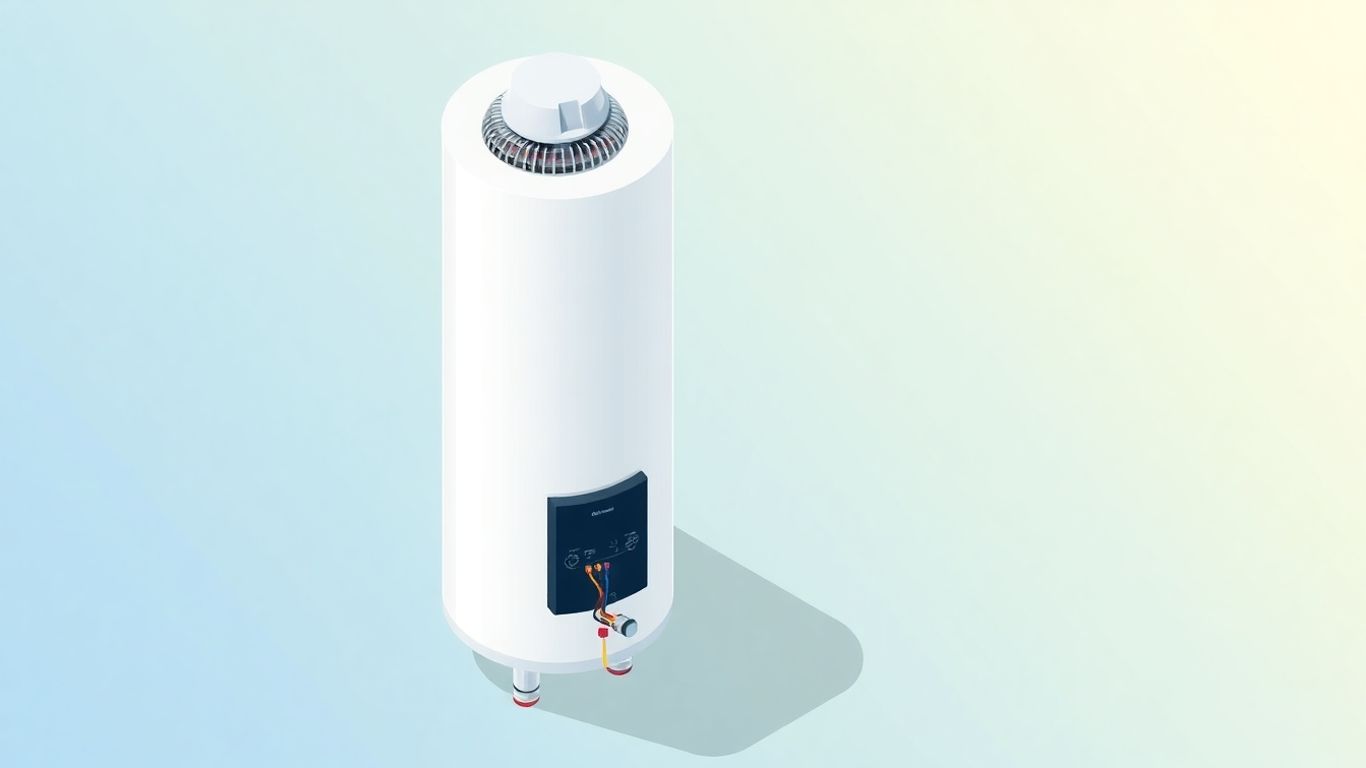
Thinking about tackling the wiring electric hot water heater project yourself? It might seem a bit daunting at first, but with the right guidance, you can get it done safely and correctly. This guide breaks down the process, from understanding the parts to making the final connections. You’ll learn about the anatomy of your water heater, how to prepare your workspace, and the steps involved in connecting everything. We’ll also cover important safety features and what to do after the installation is complete. Let’s get your hot water flowing!
Before you start wiring, it’s good to know what’s inside your water heater. Think of it like getting to know your car’s engine before you try to fix it. Knowing the parts helps you understand how everything works together.
Your water heater has a few main parts that do the work. There’s the tank, which holds the water. Inside the tank, you’ll find heating elements that heat the water up. You’ll also see pipes that bring cold water in and take hot water out. Plus, there are important valves for safety and draining.
Inside the tank, there’s a long pipe called a dip tube. It reaches down to the bottom of the tank. When cold water comes in, the dip tube sends it to the bottom. This is smart because it means the hot water that’s already at the top stays there, ready for you to use. It stops the cold water from mixing right away with the hot water.
Valves are like little gates that control the water. You have an inlet valve where cold water enters and an outlet valve where hot water leaves. There’s also a drain valve at the bottom, which lets you empty the tank for cleaning. Fittings are used to connect the pipes together. It’s important that these connections are tight to prevent leaks. You might also see dielectric unions, which help stop rust between different types of metal pipes.
Before you start messing with wires, it’s super important to get ready. This means picking the right spot for your water heater, grabbing all the tools you’ll need, and most importantly, making sure the power is off. Safety first, always!
Think about where you’re putting your new water heater. It needs to be in a spot that’s easy to get to for any future fixes or check-ups. Also, make sure there’s enough space around it for air to move. For electric heaters, you’ll need to be near a proper electrical outlet or junction box. It’s also a good idea to put it somewhere that won’t get too cold, as this can make it work harder.
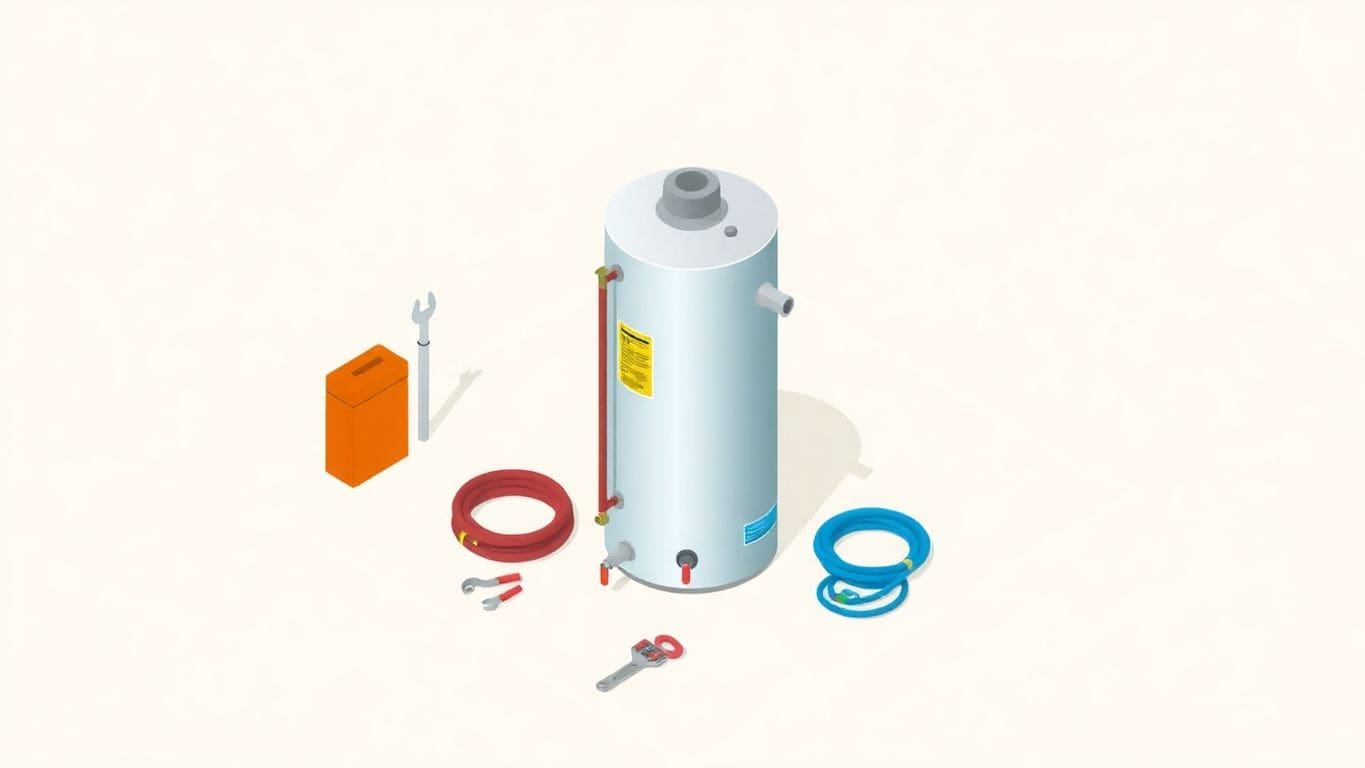
You can’t just wing it when it comes to wiring. You’ll need a few specific things to get the job done right and safely. Here’s a basic list:
This is the most critical step. You absolutely must turn off the power to the water heater before you touch any wires. Find the circuit breaker that controls your water heater in your home’s electrical panel and flip it to the ‘OFF’ position. It’s a good idea to put a piece of tape over the breaker or a note saying ‘Do Not Turn On’ so no one accidentally flips it back on while you’re working. Then, use your voltage tester on the wires going into the heater to confirm there’s no power. Seriously, don’t skip this. It’s better to be safe than sorry when dealing with electricity.
Always double-check that the power is off at the source. Never assume it’s off just because you flipped a switch. Testing is key to preventing shocks or worse.
Now that you’ve got the water lines sorted, it’s time to tackle the electrical side of things. This is where your water heater gets its power to heat up that water. It might seem a bit tricky, but we’ll break it down so you can feel confident about making these connections.
Every water heater comes with a wiring diagram. Think of it as a map for the electricity. It shows you exactly where each wire needs to go. You’ll usually find this diagram inside the cover of your water heater or in the owner’s manual. It’s super important to follow this diagram precisely. It tells you which wires are for the power coming in and which ones connect to the heating elements inside the tank. If you’re not sure about reading it, don’t guess. It’s better to ask someone who knows or check out resources that explain how to read wiring diagrams.
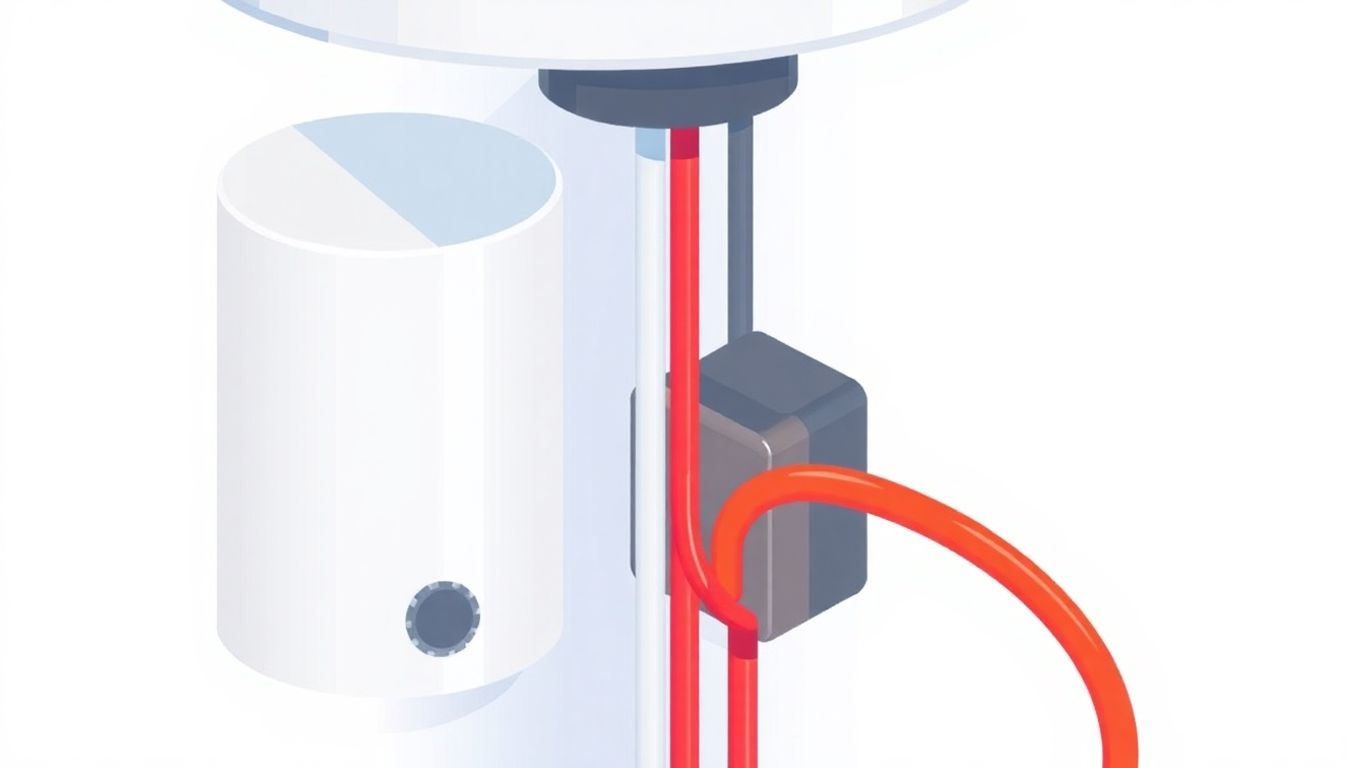
This is the part where you connect your home’s electrical supply to the water heater. You’ll typically have two main wires coming from your house’s electrical panel – usually a black wire (hot) and a white wire (neutral), plus a green or bare copper wire for grounding. Inside the water heater, there will be corresponding wires. You’ll need to connect the black wire from your supply to the black wire on the heater, and the white wire to the white wire. The ground wire connects to the grounding screw on the heater’s metal casing. Make sure the power to your circuit breaker is completely off before you start this. Using a voltage tester is a smart move to double-check that the power is indeed off.
Making sure all electrical connections are secure is vital for safety and for your water heater to work correctly. Loose wires can cause problems, like the heater not working or even creating a fire hazard. You’ll usually use wire nuts to connect the wires. Twist the wire nut onto the ends of the two wires you’re connecting until it’s snug. Give the wires a gentle tug to make sure they won’t pull out. All connections should be tucked neatly inside the electrical junction box on the water heater. No bare wires should be showing. It’s all about making clean, tight connections so everything works safely and reliably.
Now that the electrical side is sorted, let’s get the water flowing correctly. This part is all about making sure hot water gets where it needs to go, smoothly and without leaks.
This is where the fresh, cold water enters your water heater. You’ll connect your home’s cold water supply line to the inlet port on the water heater. This port is usually found at the bottom of the tank. Inside the tank, there’s a special pipe called a dip tube. This tube reaches down to the bottom of the tank. Its job is to send the cold water all the way down, so it doesn’t mix right away with the hot water at the top. This way, the hottest water is always ready for you when you turn on a faucet.
This is the exit point for your newly heated water. The hot water outlet is typically located at the top of the water heater tank. You’ll connect your home’s hot water pipes to this port. The hot water naturally rises to the top of the tank, so this connection makes it easy for it to travel to your faucets and appliances.
When you connect pipes made of different metals, like copper pipes to a steel water heater tank, you can run into a problem called galvanic corrosion. This is like a slow rust that can damage your pipes and tank over time. A dielectric union is a special fitting that acts as a barrier between these different metals. It stops the electrical current that causes corrosion, protecting your system.
Connecting the water lines correctly is just as important as the electrical wiring. A good connection means no leaks and hot water where you need it, when you need it. Take your time and make sure everything is snug and sealed.
Now that the wiring is connected, let’s focus on the safety parts of your water heater. These are super important to keep your home and family safe. Think of them as the guardians of your hot water system.
This valve is like a safety release for your water heater. If the pressure inside the tank gets too high, this valve opens up to let some water out. This stops the tank from bursting. You’ll usually find it screwed into a threaded opening near the top of the tank. Make sure it’s screwed in tightly, but don’t overtighten it. The pressure relief valve is one of the most important safety devices on your water heater.
The discharge pipe connects to the pressure relief valve. Its job is to safely carry away any hot water or steam that the valve releases. This pipe needs to be made of a material that can handle hot water, like copper or CPVC. It should run downwards and end about 6 inches above the floor or a drain. Never cap or block this pipe, as that would make the safety valve useless. It’s also a good idea to have it drain into a floor drain or a special pan.
At the bottom of your water heater, you’ll see a drain valve. This valve lets you empty the tank completely. You’ll need to use this if you ever have to repair the heater or if you’re storing it for a while. To use it, connect a hose to the valve and open the valve. You’ll also need to open a hot water faucet somewhere in your house to let air into the tank, which helps it drain faster. Remember to close the valve when you’re done draining.
Before you start wiring your new electric water heater, it’s super important to check the rules in your town or city. These rules, called building codes, are there to keep you and your home safe. They cover things like how the heater should be installed and what parts are needed.
Every place has its own set of rules for installing things like water heaters. You can usually find these rules on your local government’s website or by calling your city’s building department. They’ll tell you what you need to do to make sure your installation is safe and follows the law. This might include specific ways to connect the wiring, how to install safety valves, and even how much space the heater needs around it. Following these codes is not just about staying out of trouble; it’s about making sure your water heater works safely. Sometimes, there are also rules about how energy-efficient your new heater needs to be.
In many areas, you’ll need to get a permit before you can install a new water heater. Think of a permit like permission from your city to do the work. It’s a small fee, but it’s a big deal for making sure the job is done right. If you skip this step, you could face fines or even have to remove the heater and do it all over again. Applying for a permit usually means filling out a form and showing them your plan for the installation.
Once your water heater is installed and wired up, the city will likely want to inspect it. This inspection is like a final check to make sure everything was done according to the rules and is safe. You’ll need to call the building department to set up a time for an inspector to come out. They’ll look at the wiring, the connections, and all the safety features. Passing this inspection means your installation is officially approved and safe to use. It’s a good way to get peace of mind that your work meets all the safety standards.
Skipping permits and inspections might seem like a way to save time or money, but it can lead to bigger problems down the road. It’s always better to do things the right way from the start.
You’ve done the hard work of wiring your electric water heater! Now it’s time to make sure everything is working right and safely. Let’s go through the final checks together.
After you’ve finished the wiring and water connections, the very first thing to do is look for any drips or leaks. It’s super important to catch these early.
Getting the temperature just right is key for both comfort and safety. You don’t want water that’s too hot or too cold.
These final checks are your last line of defense for a safe setup.
Taking these final steps seriously helps ensure your new water heater operates safely and efficiently for years to come. It’s always better to be safe than sorry when dealing with electricity and water.
You know, keeping your hot water heater running well isn’t just about the wiring. How you insulate it and the pipes makes a big difference in how much energy it uses. Think of it like wearing a coat on a cold day – it keeps the heat in where you want it.
Your water heater tank holds a lot of hot water. If that tank isn’t insulated well, a lot of that heat just escapes into the room. You can buy special insulation blankets made for water heaters. They’re usually made of fiberglass or foam. You just wrap it around the tank and secure it. Make sure you don’t cover up any controls or vents on the heater itself. You want the heat to stay inside the tank, not escape into your basement or wherever it’s located.
It’s not just the tank that loses heat. The hot water has to travel through pipes to get to your faucets. If those pipes aren’t insulated, the water can cool down quite a bit on its way. This means your heater has to work harder to keep the water hot. You can get foam sleeves that slide right onto the pipes. They’re pretty easy to put on. Just cut them to the right length and slip them over the pipes. It’s a simple step that really helps save energy and makes sure you get hot water faster.
Insulation isn’t a ‘set it and forget it’ kind of thing. Over time, it can get damaged or shift out of place. You should check it every so often. Look for any tears in the blanket or if the pipe sleeves have slipped down. If you see any damage, fix it. Keeping the insulation in good shape means your water heater will keep running efficiently for a long time. It’s like taking care of any other part of your home – a little attention goes a long way.
Even with careful installation, you might run into a few snags with your electric water heater’s wiring. Don’t worry, most problems are fixable. Let’s look at some common issues and how to sort them out.
Sometimes, the problem isn’t with the wiring itself, but how the whole system is put together. Your plumbing diagram is like a map for your water heater. If you’re not getting enough hot water, or if the temperature keeps changing, take a peek at that diagram. Are the pipes connected correctly? Are any fittings loose? A simple visual check against the diagram can often point you in the right direction. It’s like checking if all the pieces of a puzzle are in the right spot. A correctly followed diagram is your first line of defense against many issues.
If your shower goes from nice and warm to ice cold, or vice versa, it’s usually a sign something’s up with the heating. For electric heaters, this often means checking the thermostat and the heating elements. The thermostat tells the heater when to turn on and off to keep the water at the right temperature. If it’s faulty, it might shut off too early or not turn on at all. The heating elements are what actually heat the water. If one of these goes bad, you’ll get less hot water or no hot water at all. You can often test these parts with a multimeter, but if you’re not comfortable with that, it’s best to call a pro.
Leaks are a big no-no. They waste water and can cause damage. Most leaks around the wiring area are actually coming from the plumbing connections. Check all the places where pipes connect to the water heater. Are the fittings tight? Did you use the right kind of tape or sealant? Sometimes, a leak can happen at the pressure relief valve too. If you see water dripping, try to pinpoint exactly where it’s coming from. Tightening a loose fitting might solve it. If a part seems damaged or corroded, it might need replacing. Remember, water and electricity don’t mix, so always shut off the power before investigating any leaks near electrical components.
When you’re getting ready to wire up a new water heater, it’s good to know there are a couple of main kinds. They work a bit differently, and their wiring diagrams will look different too. Knowing which type you have helps you understand the connections you’ll be making.
Tank-type water heaters are the ones most people are familiar with. They have a big tank that holds a set amount of water, usually between 30 to 50 gallons, but sometimes more. This tank is always full of water that’s being kept hot. Because of this tank, they need a bit more space. The plumbing for these is pretty straightforward: cold water comes in one pipe, gets heated in the tank, and hot water goes out another pipe. You’ll also see connections for safety features like a pressure relief valve. These are the traditional workhorses of hot water heating.
Tankless water heaters, also called on-demand heaters, are different. They don’t have a big tank. Instead, they heat water only when you turn on a hot water tap. This means you can’t run out of hot water, which is a big plus. However, they need a strong electrical connection because they have to heat water very quickly. Their plumbing is simpler in that there’s no tank to worry about, but the electrical side can be more demanding. You’ll see connections for the incoming cold water and the outgoing hot water, but the heating elements are inside the unit itself. If you’re looking for ways to save energy, a tankless model might be a good choice, though the initial cost is often higher. You can find more details on how these systems work at Splash Plumbing.
Looking at the wiring or plumbing diagrams for these two types really shows the difference. A tank-type diagram will show the tank itself, plus the pipes going in and out, and the safety valve. It’s like a map of the whole storage system. A tankless diagram is usually simpler on the plumbing side, focusing just on the water flow and the unit’s connections. However, it will have more detail about the electrical components that do the heating. Understanding these diagrams is key to making sure you connect everything correctly. If you’re ever unsure about your water heater’s setup, it’s always a good idea to consult the manufacturer’s manual or a professional.
Here’s a quick look at what you might see:
| Feature | Tank-Type Heater Diagram | Tankless Heater Diagram |
|---|---|---|
| Tank Representation | Yes | No |
| Heating Element | Inside Tank | Inside Unit |
| Water Flow | Stored & Heated | On-Demand Heating |
| Space Needed | More | Less |
Your electric water heater has a few key parts. You’ll find the tank that holds the water, heating elements that warm the water up, a thermostat to control the temperature, and a pressure relief valve for safety. There’s also a dip tube that sends cold water to the bottom of the tank and an outlet pipe for the hot water.
Safety is the most important thing! Shutting off the electricity at the breaker box stops the flow of power to the heater, and turning off the main water supply stops water from entering the tank. This prevents electric shocks and water spills, making your work much safer.
You’ll need to follow the wiring diagram that comes with your water heater. Make sure the power supply lines are connected securely to the correct terminals. If you’re not comfortable with electrical work, it’s best to have a qualified electrician handle this part.
Dielectric unions are special fittings used where different types of metal pipes meet, like copper and galvanized steel. They help stop corrosion, which can happen when two different metals are in contact with water. Using them can help your plumbing last longer.
The pressure relief valve is a vital safety device. If the pressure inside the tank gets too high, this valve opens up to let some water out, preventing the tank from bursting. To test it, carefully lift the lever on the valve. A burst of water should come out of the discharge pipe. If it doesn’t, the valve might need replacing.
In many places, yes, you’ll need a permit before you start the installation. After you’re done, a building inspector might need to check your work to make sure it meets all the local rules and safety codes. It’s always a good idea to check with your local building department first.
For most homes, setting your water heater to 120°F (49°C) is recommended. This temperature is hot enough for most uses and also helps prevent scalding, which can happen with hotter water. Plus, it can save you a bit on your energy bill.
You can improve efficiency by insulating the tank and the hot water pipes. This helps keep the heat in the water, so your heater doesn’t have to work as hard. Also, make sure your temperature setting isn’t too high, and check for any leaks regularly.