Can a Water Heater Leak Be Repaired? Understanding Your Options and Solutions
Water heaters are essential for our daily routines, providing hot water for showers, cleaning, and cooking. But what happens when…

If your water heater suddenly stops working and the pilot light just won’t stay on, the thermocouple could be the problem. Learning how to change water heater thermocouple isn’t as scary as it sounds. With some basic tools and a little patience, you can swap out this small but important part yourself. This guide will walk you through what a thermocouple does, how to spot when it’s bad, and every step to replace it safely. Let’s get your hot water running again without calling in a pro.
You might not think much about your water heater until you get a cold shower. But there’s a tiny part, called the thermocouple, that quietly helps keep your home safe. Let’s break down what it does and why it matters.
The thermocouple is a simple metal rod found near the pilot flame inside a gas water heater. Its main job is to make sure gas only flows when it can be burned safely. So, if your pilot light goes out, the thermocouple senses this and quickly shuts off the gas. This keeps you from having dangerous gas leaks in your house. Without it, any small draft or faulty part could leave you with gas in your home, which is never good.
When the pilot flame burns, the tip of the thermocouple gets hot. This heat makes a tiny electric current travel down the rod to a control valve, letting the gas flow. If the flame goes out, the rod cools off and the current stops. That tells the control valve to shut the gas off. No heat, no electricity, no gas. It’s that simple.
For most folks, understanding the basics of how your thermocouple works can help prevent surprises when your water heater stops working or needs repairs.
Water heaters use a few different styles of thermocouples. Picking the right one is important when you need a replacement. Here are the most common:
| Type | Typical Use Case | Look |
|---|---|---|
| Thermocouple | Older tank water heaters | Metal rod |
| Thermopile | Modern heaters, some boilers | Bundle of rods |
| Flame sensor | Electronic ignition systems | Flat or small rod |
When you understand your thermocouple, fixing or replacing it won’t feel so mysterious. Even if you don’t repair it yourself, knowing what it does saves time when you call for help.
Knowing when to change your water heater’s thermocouple can save you from cold showers and bigger repairs down the line. Here’s how you can tell if this small part is causing big problems.
A thermocouple on its way out will give you some clues. Look out for these common warning signs:
If you notice any of these, it’s likely time for a replacement.
Sometimes buildup or dirt on the thermocouple is the issue. Before swapping it for a new one, you can try this:
If, after a cleanup, the pilot light still won’t stay on or heats are spotty, replacement is next.
Thermocouples don’t last forever. Most will last between 5 and 10 years, though heavy use, moisture, or lots of dirt can shorten that time. Here’s a quick comparison table for clarity:
| Condition | Typical Lifespan |
|---|---|
| Normal use, clean environment | 8–10 years |
| Heavy use, lots of cycling | 5–7 years |
| Signs of corrosion or dirt buildup | Replace as needed |
Noticed your pilot light keeps going out, or you always fiddle with the water heater to keep it running? It’s often a sure sign the thermocouple is done for. Don’t be afraid to swap it out—staying on top of this small fix can mean a lot less hassle down the road.
If you hit all the typical signs of failure, and cleaning just doesn’t work, swapping your old thermocouple with a new one is usually the best fix. Taking care of it now helps keep your hot water reliable and safe.
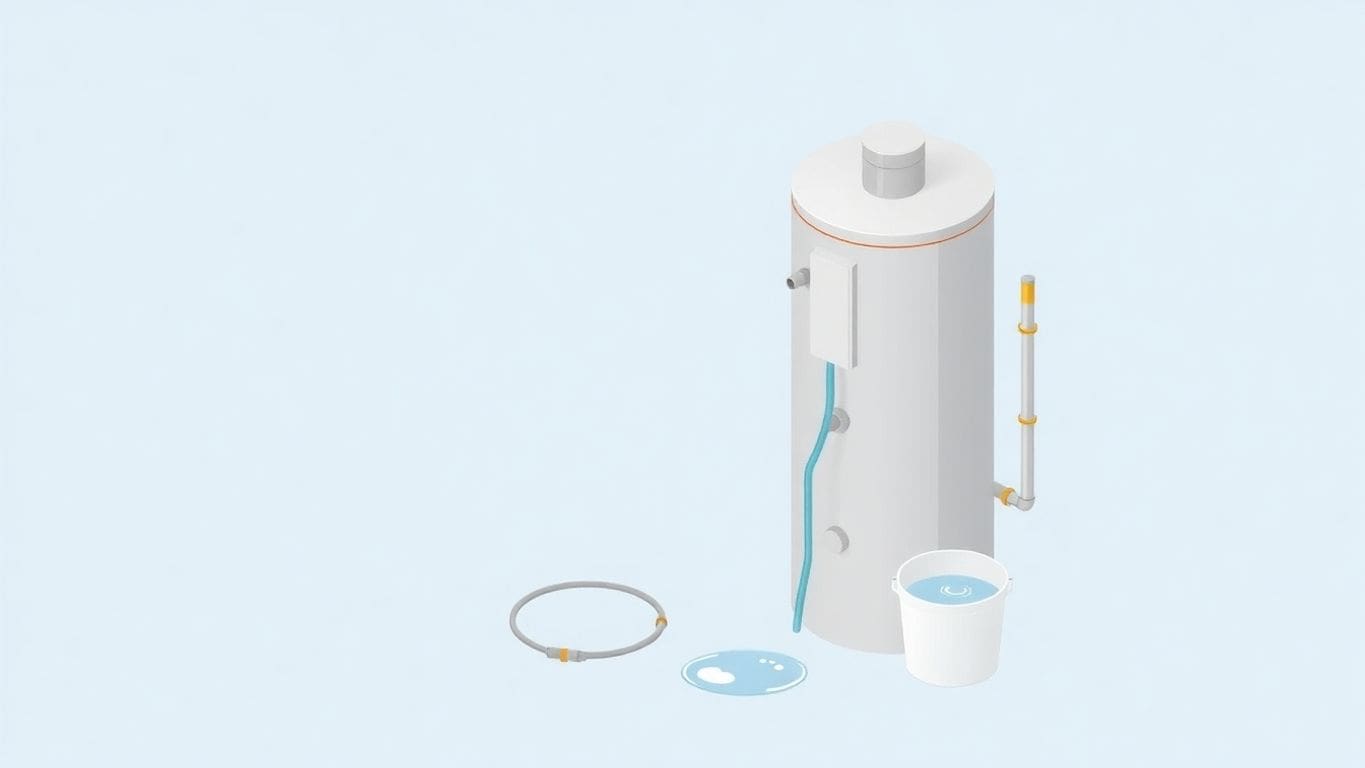
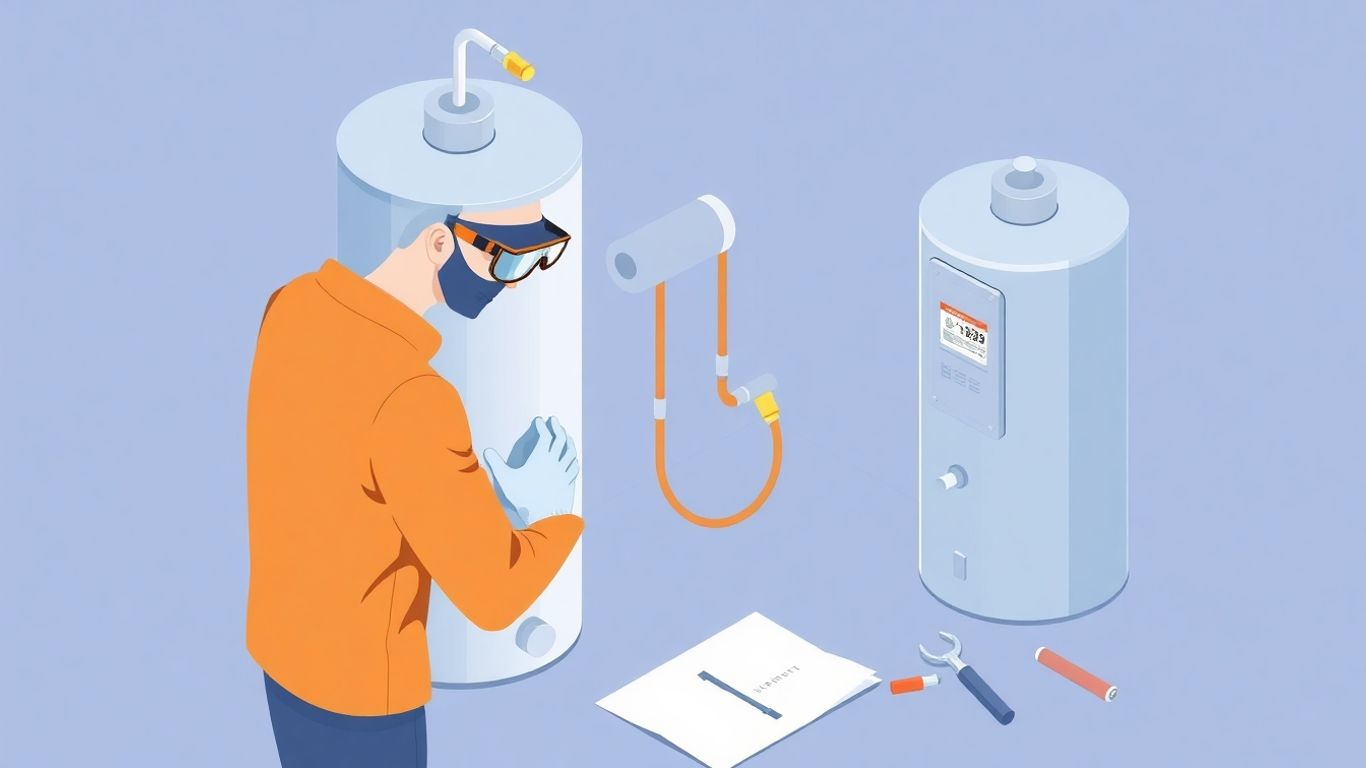
Getting ready isn’t just about grabbing a wrench. It makes the job smoother and avoids last-minute runs to the store. When you have all the right tools on hand, replacing your water heater’s thermocouple is much less stressful.
You won’t need fancy gadgets, but a few basic items are must-haves:
These tools are found in most toolboxes. If you’re missing something, most hardware stores have these for a few bucks.
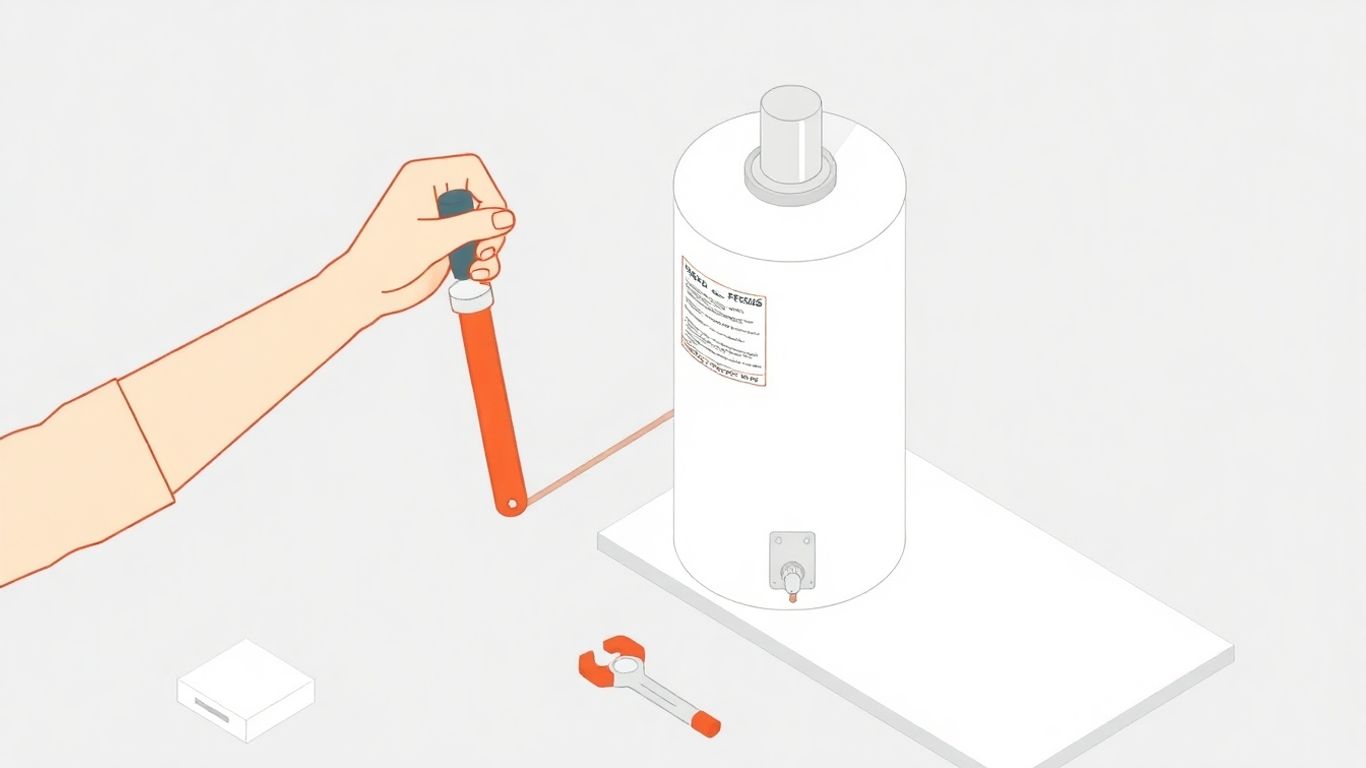
Getting the correct thermocouple is key. Water heaters use different lengths and thread sizes. A quick tip: bring your old thermocouple to the hardware store for an exact match. Here’s a short table to help with sizing:
| Typical Size (inches) | Fits Most |
|---|---|
| 24 | Small tanks (30–40 gal) |
| 30 | Medium–large tanks (40–50 gal) |
| 36 | Larger or tall tanks |
If you’re not sure, staff at home improvement stores can usually help. Universal thermocouples fit many models, but some water heaters need a specific brand or model. Check your user manual if you have it.
A safe repair is a smart repair. Consider these extras:
Staying organized makes things way easier. Lay your tools out on a towel and keep small parts in a spare bowl or cup so nothing rolls away.
As you collect these items, double-check you’ve got what you need. Anytime you feel unsure, stop and ask for help—nobody gets it perfect the first time. Having the right setup is step one in making this job quick and safe.
Before you get anywhere near your water heater, stop and think about safety. Working with gas and hot water can be risky, so you’ve got to take a few smart steps first. One small mistake here can lead to fire, burns, or even a gas leak—so it’s worth slowing down.
You’ll need to shut off both the gas and (if it’s an electric model) the power before you start. Here’s what to do:
If at any point you aren’t sure if you fully turned off the gas or power, stop and double-check. Rushing could lead to major trouble.
Gas fumes are the last thing you want to hang around in. Here’s how to clear them out:
Gas has a very strong, rotten-egg odor. If you catch even a whiff while working, take these steps right away:
Don’t try to fix the leak yourself. Even a tiny spark can set off an explosion with natural gas. Always play it safe.
| Safety Step | What It Prevents |
|---|---|
| Turning off gas/power | Fire, explosion, electric shock |
| Ventilating the area | Gas buildup, breathing hazards |
| Responding to gas smell | Leaks, fire, serious injury |
Putting safety first may feel like it adds time, but it’s the best way to make sure your home and everyone in it stays protected. Once these steps are done, you’re ready to move forward.
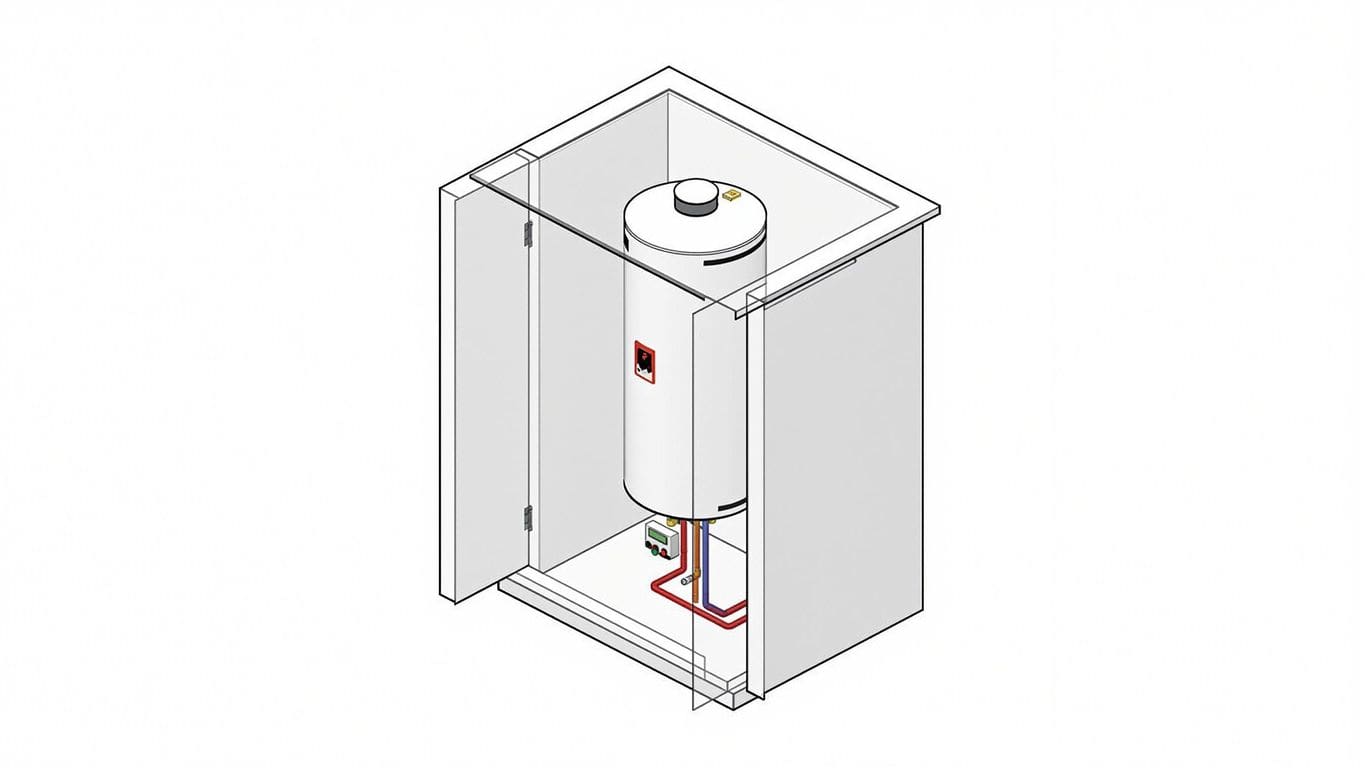
When you’re ready to swap out your water heater’s thermocouple, step one is always finding exactly where it sits. It’s not hard, but it does help to know what you’re looking for and what to move out of the way.
The burner assembly is like the heart of your water heater – it’s where the fire lights up under the tank. The thermocouple is attached to this assembly, usually right by the pilot light. You’ll find it as a small metal tube connected to the gas control valve and running into the same spot as the pilot flame.
To actually get to the thermocouple, a little disassembly is needed. Most panels are simple to remove:
Taking off these parts gives you a clear shot at the burner assembly and all its connections.
Some water heaters leave you plenty of room to work; others, not so much. Here are ways to make things simpler if your space is cramped:
Take your time in this step. Rushing increases the chance you’ll drop a screw or bump a wire out of place. Even if the area is snug, patience makes the job safer and easier.
If you’re still not sure what parts you need to move, you might find it helpful to look over a few step-by-step references like those you can find in water heater service guides before you start. Familiarizing yourself with your particular model will make this part go a lot smoother.
Swapping out the old thermocouple might sound tricky, but with a little patience, you can definitely do it. Here’s how you get that old part out without a hitch.
Take a moment to clean up the spot where the thermocouple sat. Leftover dirt or rust can mess with the new one’s job.
Replacing a thermocouple is simple as long as you keep your cool and work slowly. Stay organized, and you’ll be one step closer to a reliable hot water supply.
Now that you’ve got the old thermocouple out, it’s time to put in the new one. Don’t worry, you’ve got this! Take it slow and follow each step—the right setup means safe, hot water for everyone at home.
Getting the position right means the flame will hit just the very end of the thermocouple tip, keeping your water heater working safely.
Some water heaters use small metal clips or screws to hold the thermocouple in place. Grab them from your kit (or reuse the old ones, if they’re not damaged):
Before you close things up, make sure your setup looks right:
Here’s a quick checklist:
A well-placed thermocouple means fewer headaches and safe, steady hot water.
If anything feels off, stop and adjust before moving to the next step. Taking a few extra minutes here will save you lots of time (and trouble) later!
Now that the old thermocouple is out and your new one is ready, it’s time to put everything back together. This part can seem a bit tricky, but just take one step at a time.
First, pick up the burner assembly and slide it carefully back into its spot. Make sure nothing is jammed or out of line. If your unit uses clips or screws, latch or screw them back in—not too tight, just enough to hold things securely. A loose burner could cause problems, so always double check before moving to the next part.
Reconnect each gas tube and the pilot tube to the gas control valve. Hand-tighten first, then use your wrench for a snug fit. Don’t go overboard—you don’t want to strip the threads. The thermocouple lead also screws back into the valve, and it just needs to be hand snug plus a tiny extra turn with a wrench.
If you removed or replaced the gasket (the soft ring between the burner cover and the water heater), set it back in place now. This gasket helps to keep air and gas where they should be. If your old gasket looks worn or split, use a new one. You really don’t want gas leaks.
| Part | Function | Install Reminder |
|---|---|---|
| Burner assembly | Heats the water | Reseat and secure it |
| Gas tubes | Carry the gas | Snug, not too tight |
| Manifold gasket | Seals the chamber | Replace if damaged |
| Thermocouple | Senses the flame | Correct alignment needed |
Once you get your water heater buttoned back up, double check all your connections. The last thing you want is a hidden gas leak or a loose bolt—play it safe and check it twice.
If you’re not sure how tight something should be or notice anything off (like a missing gasket or a cross-threaded nut), it’s never a bad idea to contact a plumber. Experts double-check everything for safety, and sometimes—like with up-to-date rules or new installs—they’ll know things that can save you trouble down the line, like consulting a professional plumber.
Take your time on this step. It’s worth it for a safe, working water heater.
Once you’ve finished putting in the new thermocouple and everything is back together, it’s time to make sure your work is safe and your water heater runs right. Here’s what you should do next:
Before you do anything else, check for gas leaks. Mix a few drops of dish soap with water. Brush or squirt this soapy water on all the gas connections you loosened or tightened. Watch closely:
It’s normal to feel a bit nervous the first time you check for a leak. Just go slow, use plenty of soapy water, and trust your eyes. No bubbles means you’re in the clear.
After you’ve checked all connections, it’s time to light the pilot. Every heater is a bit different, but most follow these steps:
Give the heater a few minutes to run. Watch it to see if the pilot light stays on and if the burner comes alive as you turn the thermostat up.
Here’s a quick checklist for this step:
If everything looks and sounds good, you did it! If not, double-check your connections or see the troubleshooting tips.
| Step | What to Expect |
|---|---|
| Leak Check | No bubbles—no gas leaks |
| Pilot Test | Flame stays lit, is blue and steady |
| Burner & Heat Test | Burner fires up, water starts warming |
| Smell Test | No smell of gas after lighting |
Your safety comes first. If something feels wrong, turn off the gas and ask an expert.
You’re now ready to enjoy hot water again. Not so hard, right?
When fixing your water heater, it’s not uncommon to run into problems even after you’ve swapped out the thermocouple. Let’s break down some of the most typical headaches and what you can do about them.
Sometimes, even with a brand-new thermocouple, your pilot light just won’t cooperate. Here are a few things you can check:
If after all this, the pilot won’t stay lit, your thermocouple may not be the problem—it could be the control valve instead. Persistent issues with the pilot light are one of the most common hot water heater problems.
A loose connection between the thermocouple and gas valve can cause all sorts of trouble. Here’s how you can tell:
Sometimes, no matter how careful you are, the fix just isn’t working. It might be time for a pro if:
| Problem | DIY Fix Possible | Call a Pro? |
|---|---|---|
| Pilot won’t stay lit | Yes | If unsure |
| Gas smell or hissing | No | Immediately |
| Repeated thermocouple failure | Sometimes | Yes |
If you ever smell gas or hear a hissing near the heater, turn everything off and leave your house right away. Safety comes first, always.
Troubleshooting can be tricky, but when in doubt, asking for professional help can keep your home and family safe. Keeping up with small checks now can save you from big problems—and cold showers—down the road.
Taking care of your water heater’s thermocouple isn’t hard, but it does require a little attention now and then. If you follow a regular routine, you’ll face fewer surprises and your hot water will be there when you need it. Let’s break down how you can keep this small but important part working its best.
Every year or so, make it a habit to look over your thermocouple, especially when you’re already doing other home maintenance. Here’s how to keep it in good shape:
Thermocouples don’t last forever. Most, if taken care of, will go about 5–10 years. Still, it’s smart to swap it out before it leaves you without hot water. Try to:
Being proactive can save you the headache of cold showers and last-minute repairs.
| Condition | Expected Lifespan |
|---|---|
| Clean, indoor use | 8–10 years |
| Dusty, high-use | 5–7 years |
| Neglected, dirty | 3–5 years |
Even with good care, you’ll know it’s time for a new thermocouple if:
Keeping up with thermocouple maintenance may seem small, but it helps your whole water heater run smoother and safer. Spending a few minutes each year is definitely worth it.
A thermocouple is a small metal sensor that tells your water heater if the pilot light is on. If the pilot goes out, the thermocouple shuts off the gas to keep you safe from leaks or explosions.
If your pilot light won’t stay lit, or you keep losing hot water, your thermocouple might be failing. Other signs include visible rust or dirt on the thermocouple, or your water heater being older than 8 years.
Sometimes you can clean a dirty thermocouple using fine sandpaper or steel wool. If cleaning doesn’t fix the problem, you’ll need to replace it.
You’ll need a wrench, a screwdriver, and possibly a multimeter if you want to test the thermocouple first. It’s also good to have soapy water to check for gas leaks after you finish.
Yes, if you follow all safety steps: turn off the gas and power, make sure the area is aired out, and never try to fix it if you smell gas—leave and call your gas company right away.
Turn off the gas and power, let the heater cool, and use a multimeter to check the voltage at both ends of the thermocouple when the pilot is on. A healthy thermocouple should read between 20 and 30 millivolts.
Most thermocouples last about 5 to 10 years. If your water heater is older or you notice problems, it’s a good idea to check or replace the thermocouple.
First, check that all connections are tight and the thermocouple is in the right spot. If it still doesn’t work, there might be another issue, and it’s best to call a professional for help.