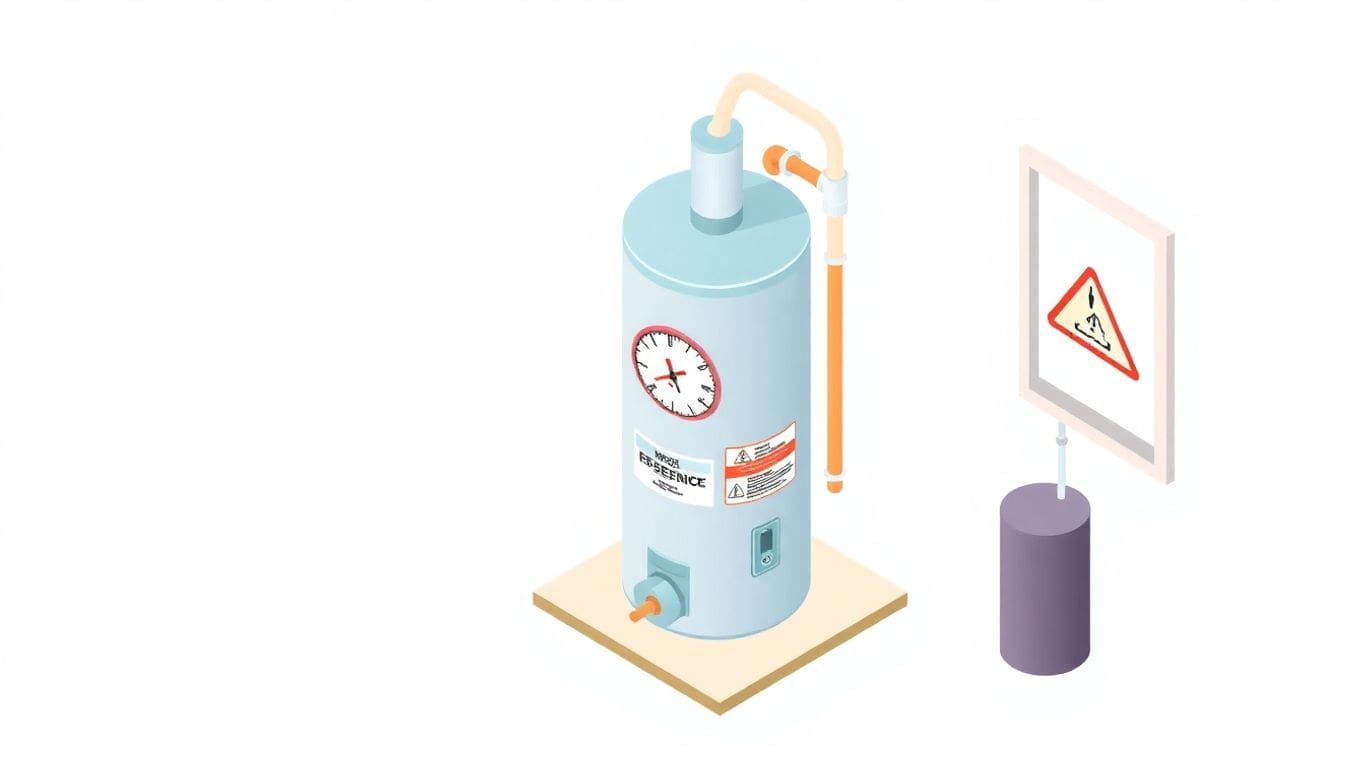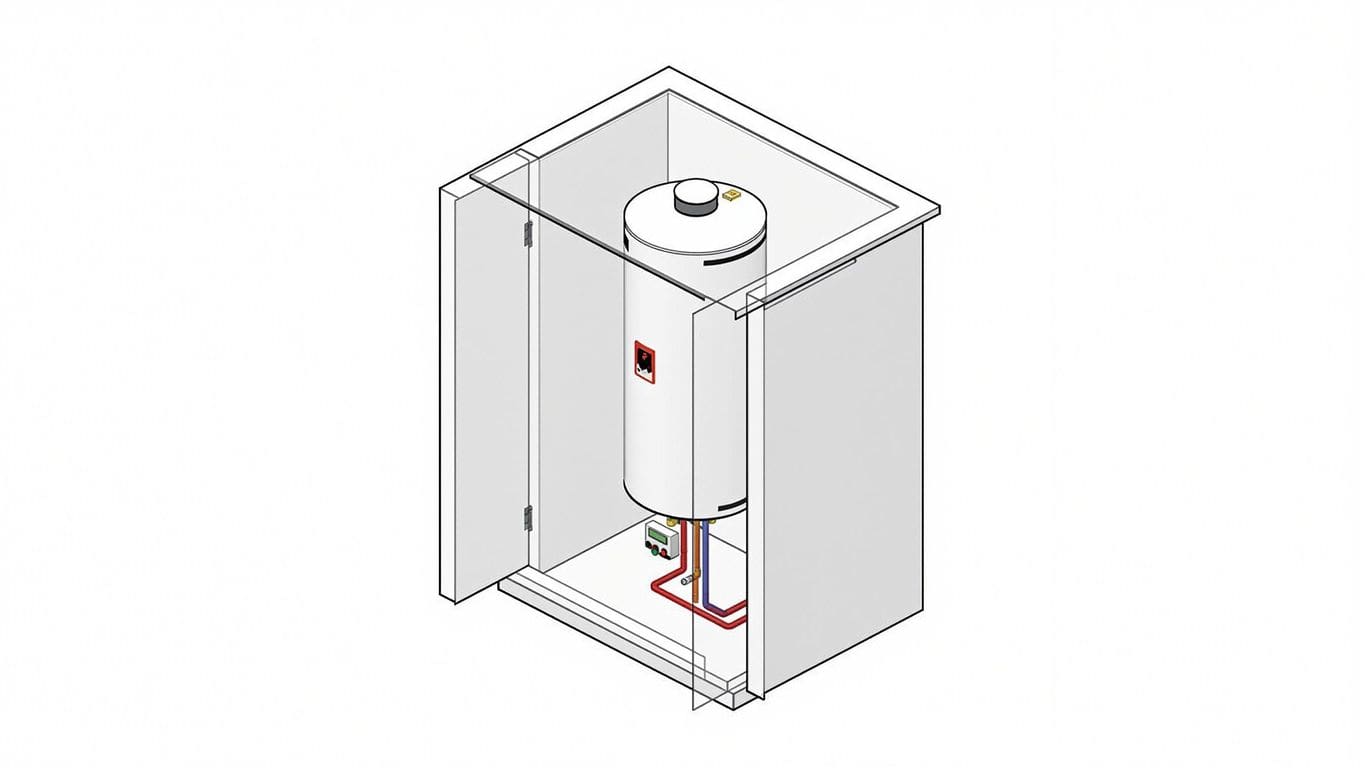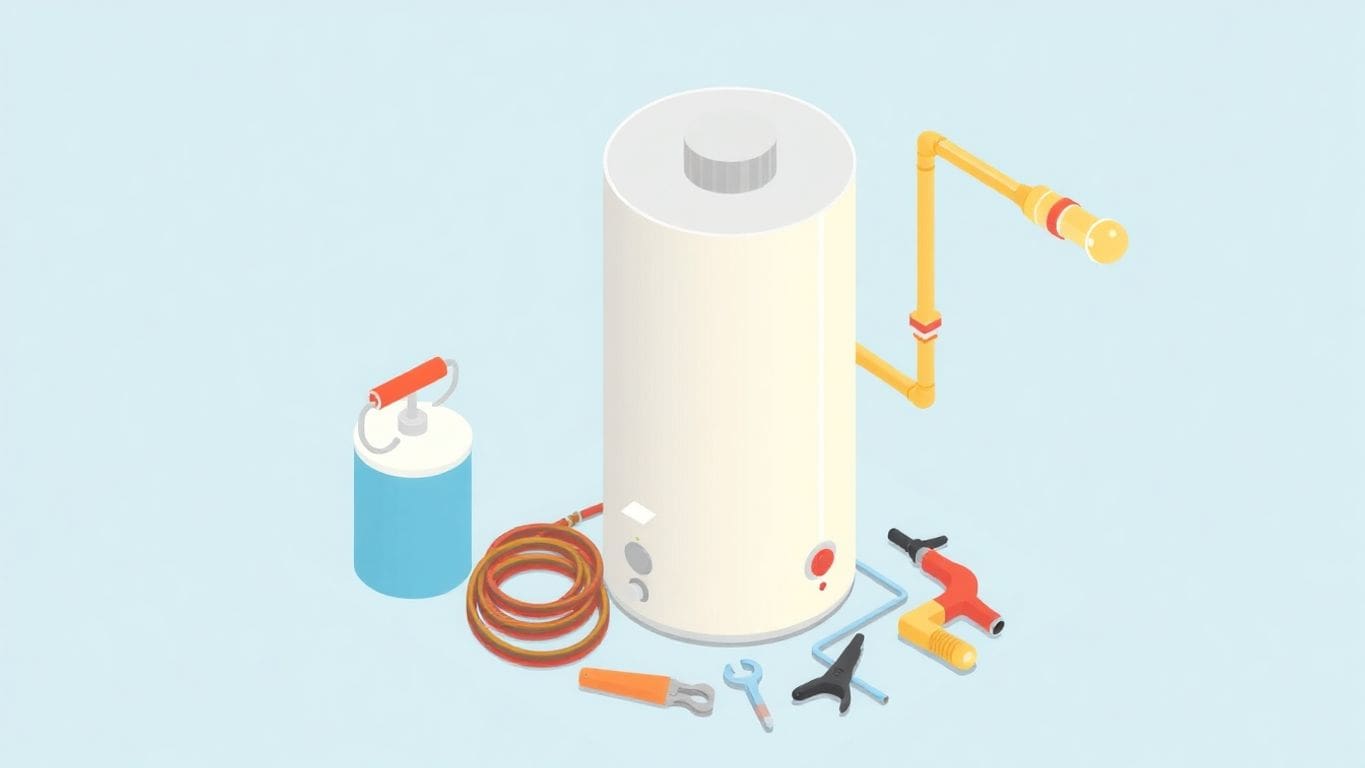
Thinking about installing a gas water heater on your own? It might seem like a big task, but with the right steps, you can get it done. This guide will walk you through the entire process, from prepping your space to firing up the heater for the first time. Whether you’re replacing an old unit or setting up a new one, these steps will help you tackle the project with confidence. So, grab your tools and let’s get started on how to install a gas water heater!
Before you dive into installing your new gas water heater, it’s smart to gather all the tools and materials you’ll need. Being prepared can save you a lot of time and hassle. Here’s a checklist to get you started:
Safety first, always! Here’s what you need to keep in mind:
Remember, a safe installation is a successful installation. Don’t rush or skip steps.
Before setting up your heater, check the spot where you’ll be installing it. Here’s what to look for:
By taking these steps, you’re setting yourself up for a smooth installation process. Happy installing!
Getting rid of your old water heater can feel like a big task, but it’s really about taking one step at a time. Let’s break it down into simple steps.
First, you need to turn off the water supply to the heater. This is super important to avoid any mess. Next, attach a garden hose to the drain valve at the bottom of the heater. Make sure the other end of the hose is in a safe place, like a floor drain or outside. Open the valve and let the water flow out. This might take a while, so be patient.
Once the tank is empty, it’s time to disconnect the lines. Start by turning off the gas supply. Use a wrench to carefully disconnect the gas line from the heater. Then, do the same with the water lines. If you’re not sure how to do this, don’t worry. Just take it slow and double-check your work.
Now that everything’s disconnected, you can move the old heater out. It’s heavy, so you might need a friend or a dolly to help. Check with your local waste management to see how to properly dispose of it. Some places might even pick it up for you.
Remember, if your water heater is around 15 years old, it’s smart to evaluate its condition and think about a replacement. New models are more energy-efficient and safer, which can save you money in the long run.
First things first, you need to find the right spot for your new gas water heater. Make sure it’s level and has enough space around it. This space is important for when you need to do maintenance or repairs later. Use a level tool to check that the heater isn’t tilted. If your heater isn’t level, it might not work right.
Next up is the vent pipe. This pipe lets out gases safely from the heater. Check if the vent pipe is in good shape and fits well. It should not have any cracks or gaps. A poorly fitted vent pipe can be dangerous, so take your time with this step. If you’re reusing an old vent pipe, make sure it matches the new heater’s size.
Finally, you need to check for proper clearance. This means there should be enough space around the heater for air to flow. Good airflow helps the heater work better and keeps it safe. Make sure nothing is too close to the heater, like furniture or boxes.
Remember, setting up your water heater the right way can save you a lot of trouble later. Take your time and double-check each step.
First things first, you need to connect the water lines to your new heater. You’ll want to use something called union fittings. These are special connectors that make it easy to attach pipes. Start by connecting the cold water line to the inlet. Then, attach the hot water line to the outlet. Union fittings help make this task easier and more secure.
Now that your lines are connected, it’s time to tighten them. Grab a wrench and start tightening each connection. But here’s the thing—don’t go overboard. If you tighten too much, you might damage the pipes. Just make sure they’re snug enough to stay put without leaking.
Once everything’s connected and tightened, it’s time to check for leaks. Turn on the water supply slowly. Look closely at each connection. If you see any drips, you might need to tighten the fitting a little more. Sometimes, a tiny leak can cause big problems later on.
Tip: Always have a towel or rag handy when checking for leaks. It helps spot those sneaky drips that might otherwise go unnoticed.
Connecting water supply lines might seem tricky at first, but with the right tools and a little patience, you’ll have it done in no time. Just remember to take it slow and double-check your work.
Before you begin, make sure the gas supply is turned off. This is super important for safety. Look for the gas valve and turn it to the "off" position. Double-check it’s off by trying to turn on a gas appliance. If nothing happens, you’re good to go.
Now, you need to attach the gas nipple to the gas control valve on your new heater. Use two wrenches for this job. One wrench holds the valve steady, while the other tightens the nipple. Be careful not to overtighten, as this can cause damage. A snug fit is all you need.
Once everything is connected, it’s time to check for gas leaks. Mix a little soap with water in a spray bottle. Spray this solution on the connections. If you see bubbles, there’s a leak. Tighten the connections or replace the faulty parts. Remember, safety first! If you’re unsure, it’s always a good idea to call a professional.
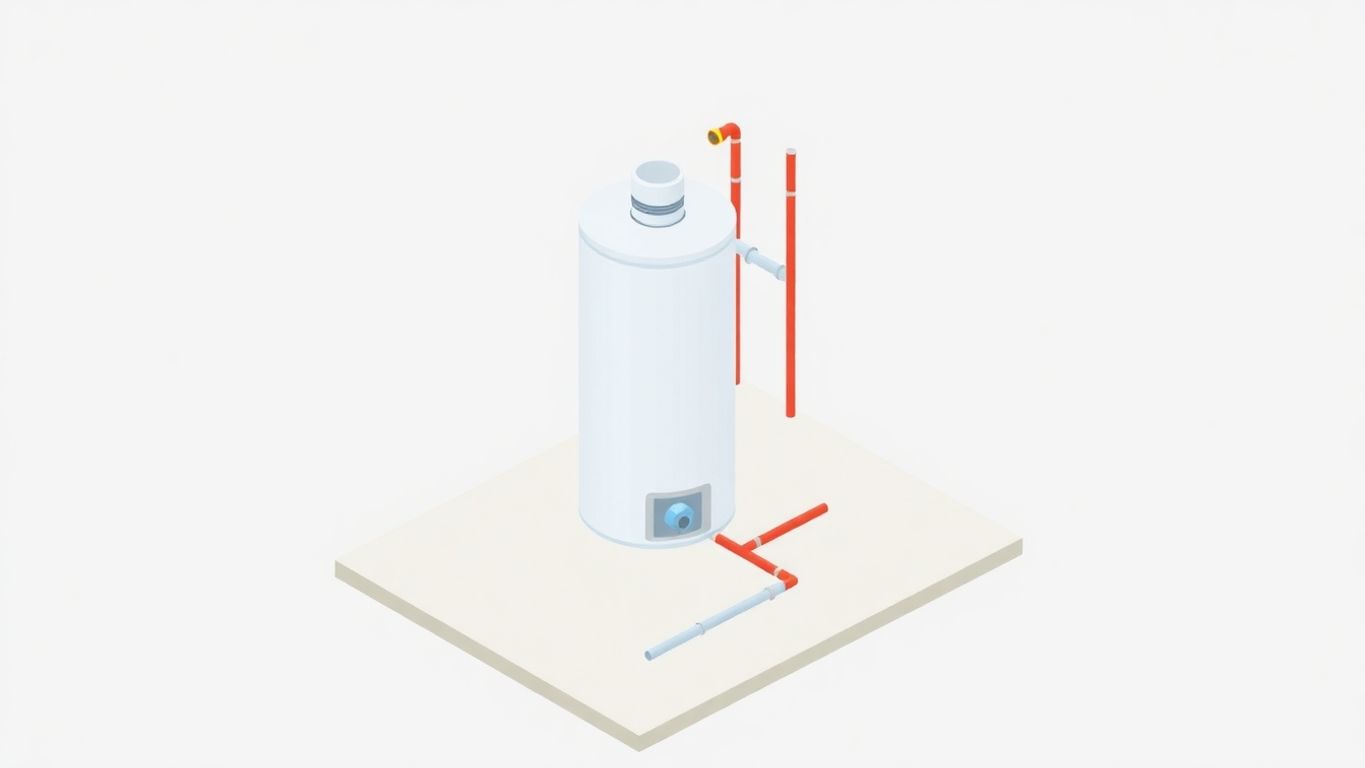
Proper ventilation is key to keeping your gas water heater running safely. Let’s walk through the steps to get your ventilation system up and running.
First up, grab the vent hood. This piece goes right on top of your water heater. Use some self-tapping screws to secure it in place. Make sure it’s snug but don’t overdo it.
Next, you’ll need to connect the vent pipe to the hood. Check if your old vent pipe is still in good shape. If it is, you can reuse it. Just make sure it matches the diameter of the new vent hood. Attach it so it slopes upwards, which helps exhaust gases escape easily. Avoid any dips or sags in the pipe as they can trap gases.
The draft diverter is your next task. This little gadget prevents backdrafting, which is when air flows the wrong way. Place it on top of the vent pipe and secure it. Make sure it’s level.
Remember, proper ventilation isn’t just about getting rid of gases. It’s about safety. If you’re not sure about any step, don’t hesitate to call in a professional.
Once everything is in place, double-check all your connections. A secure fit means everything’s working as it should. If you’re feeling unsure, it might be a good idea to have a pro take a look. Safety first, always!
By setting up your ventilation system correctly, you’re ensuring that your water heater runs smoothly and safely. Keep it up, and you’ll have a cozy, warm home in no time!
Before you fire up your new gas water heater, double-check for any gas leaks. This is super important for safety. Use a gas leak detector or just a mix of soap and water. Dab the solution on the gas connections. If you see bubbles forming, you’ve got a leak. Tighten the connections gently or swap out any faulty parts. Safety first!
Next up, make sure your water connections are solid. Turn on the hot water tap and look for leaks around the connections. If you spot any drips, tighten things up a bit more. Sometimes, parts might need replacing if they just won’t stop leaking.
Now, it’s time to light the pilot. Follow the steps in your water heater’s manual carefully to get this right. Once the pilot’s lit, turn the gas supply back on. Give it some time to warm up the water. Remember, if you smell gas or think there might be a leak, shut off the gas right away. It’s also a smart move to have a carbon monoxide detector nearby, just in case.
Taking these steps ensures your gas water heater runs safely and efficiently. Don’t rush through them; your safety and comfort depend on it.
Keeping your gas water heater in good shape means getting it checked regularly. Think of it like going to the doctor for a check-up. Aim for at least one inspection a year. A professional will look for leaks, rust, or anything else that might be wrong. They’ll make sure everything is working right and keep your heater running smoothly.
Before you even start, it’s a good idea to know what your local building rules are. Some places want you to have a permit to install a gas water heater. If you’re not sure about what’s needed, ask a pro. They can help you figure out what permits you need and make sure you’re following all the rules.
Doing regular maintenance can help your heater last longer. Here are a few things you can do:
Regular maintenance is key to avoiding big repair bills later on. It’s a small effort that can save you money and hassle in the long run.
Once your new gas water heater is installed, it’s important to check the pressure relief valve. This valve helps prevent too much pressure from building up in the tank. To test it, lift the valve lever and let it snap back. You should hear a gurgling sound as water is released into the drain tube. If nothing happens, the valve might be faulty and needs replacing.
Proper ventilation is key to keeping your water heater running safely. Make sure the vent pipe is securely attached and angled upwards without any dips. This helps exhaust gases escape easily. Double-check that the vent hood is fitted correctly and there are no blockages.
Gas water heaters can produce carbon monoxide, which is dangerous if it leaks into your home. It’s crucial to have carbon monoxide detectors installed near the heater and in sleeping areas. These detectors will alert you if there’s a leak, giving you time to act quickly.
Remember, doing these checks not only keeps your home safe but also helps your heater run efficiently. It’s always better to be safe than sorry!
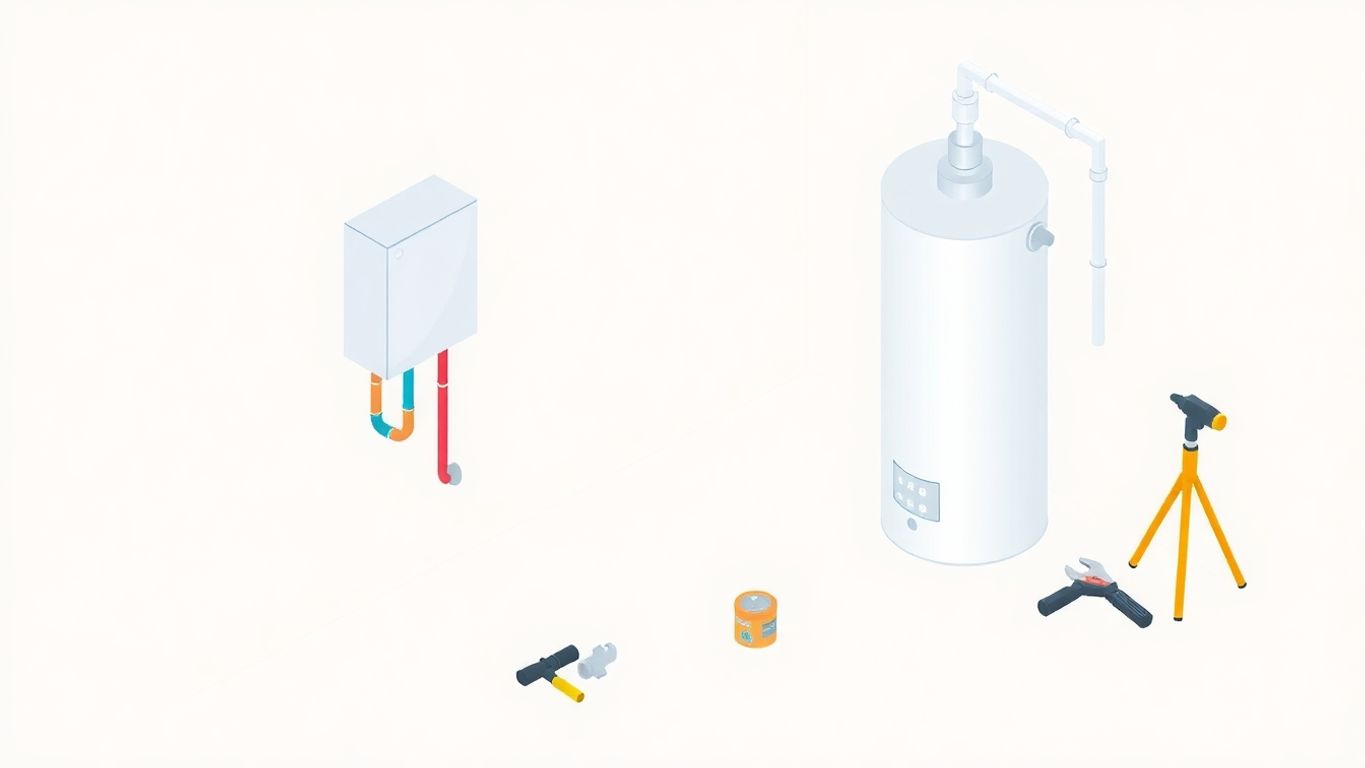
When you install a gas water heater, you might face some common problems. Don’t worry, they are usually easy to fix. Here are some issues you might encounter and how to solve them.
If your hot water isn’t hot enough, check the thermostat setting. It might be set too low. Adjust the thermostat to a higher temperature, but be careful not to set it too high to avoid scalding. If the water is too hot, lower the thermostat setting.
Another reason for temperature issues could be a faulty heating element. If adjusting the thermostat doesn’t help, you might need to replace the heating element.
Leaks can occur at any connection point. First, inspect all the connections for moisture. If you find a leak, use a wrench to tighten the fittings. Be careful not to overtighten, as this can cause damage.
If tightening doesn’t stop the leak, you might need to replace the faulty part.
If the pilot light won’t stay lit, it might be due to a dirty pilot tube. Clean the tube with a small brush to remove any debris.
Also, check the thermocouple—a small device that senses the pilot light. If it’s faulty, the pilot light won’t stay lit. You can replace the thermocouple quite easily.
Remember, safety first! If you smell gas or suspect a gas leak, turn off the gas supply immediately and call a professional.
These tips should help you tackle the most common issues with your gas water heater. If problems persist, don’t hesitate to seek professional help.
First things first, make sure to register your new gas water heater. This is super important because it activates the warranty. Most companies let you do this online. It’s quick and easy. You just need your purchase receipt and the serial number of the heater. Don’t skip this step! It’s your ticket to free repairs or replacements if anything goes wrong.
Warranties can be a bit tricky, but they’re worth understanding. Most water heaters come with a warranty that lasts between 6 to 12 years. Here are some things to look for:
Knowing these details helps you avoid surprises if you ever need to use the warranty.
If you run into issues, customer support can be a lifesaver. Most companies offer support through phone, email, or live chat. Here’s how to make the most of it:
Getting help is easier when you’re prepared. Support teams are there to assist, so don’t hesitate to reach out if you need them.
By understanding your warranty and knowing how to get support, you can keep your water heater running smoothly for years.
You’ll need a wrench, pipe cutter, screwdriver, garden hose, and a gas leak detector. Make sure to have all these tools ready before you start.
If you follow the instructions carefully and take safety precautions, it can be safe. However, if you’re unsure, it’s best to hire a professional.
You can check for gas leaks by applying a soapy water solution to the gas connections. If you see bubbles, there is a leak.
Contact your local waste management facility to learn how to properly dispose of your old water heater.
Proper ventilation prevents the buildup of harmful gases like carbon monoxide, which can be dangerous.
It’s recommended to have your gas water heater inspected by a professional at least once a year.
Check if the gas supply is on and follow the manufacturer’s instructions to relight it. If it still doesn’t work, you may need to call a professional.
You can reuse it if it’s undamaged and the correct size, but always check for any wear and tear.

