DIY Guide to Fixing Your Water Heater: Common Issues and Solutions
Dealing with a water heater that’s not working right can be a real pain. You might be stuck with cold…

Dealing with plumbing issues can feel like a puzzle, right? Sometimes, you just need a little extra help to keep things running smoothly. An expansion tank might sound complicated, but it’s actually a pretty neat device that helps your water heater and plumbing system last longer. If you’re wondering how to install an expansion tank yourself, you’ve come to the right place. We’ll break down the process step-by-step so you can get it done without too much fuss.
So, you’re thinking about installing an expansion tank, huh? Great idea! Let’s break down what this little gadget actually does for your home’s plumbing.
Basically, an expansion tank is like a small shock absorber for your water system. When you heat water, it takes up more space. Think about how a balloon gets bigger when you blow into it. Water does the same thing when it gets hot, but it’s trapped inside your pipes. This extra space-hogging water creates more pressure. An expansion tank gives that extra water a place to go, so it doesn’t push too hard on your pipes and water heater. It’s especially important if your home has a "closed" plumbing system. This usually means you have a backflow preventer or a check valve, which stops water from flowing backward. In these systems, heated water has nowhere to escape, making an expansion tank a must-have.
Inside the expansion tank, there’s a rubbery divider, kind of like a balloon inside a can. This divider separates the water from a pocket of air. When your water heater heats up the water, the expanding water pushes against this divider. This forces the divider to move, squeezing the air pocket. The air gets compressed, and the tank takes in the extra water. It’s a simple but clever way to handle the pressure increase. When the water cools down, it shrinks, and the compressed air pushes the water back out into the pipes. This helps keep your water pressure steady.
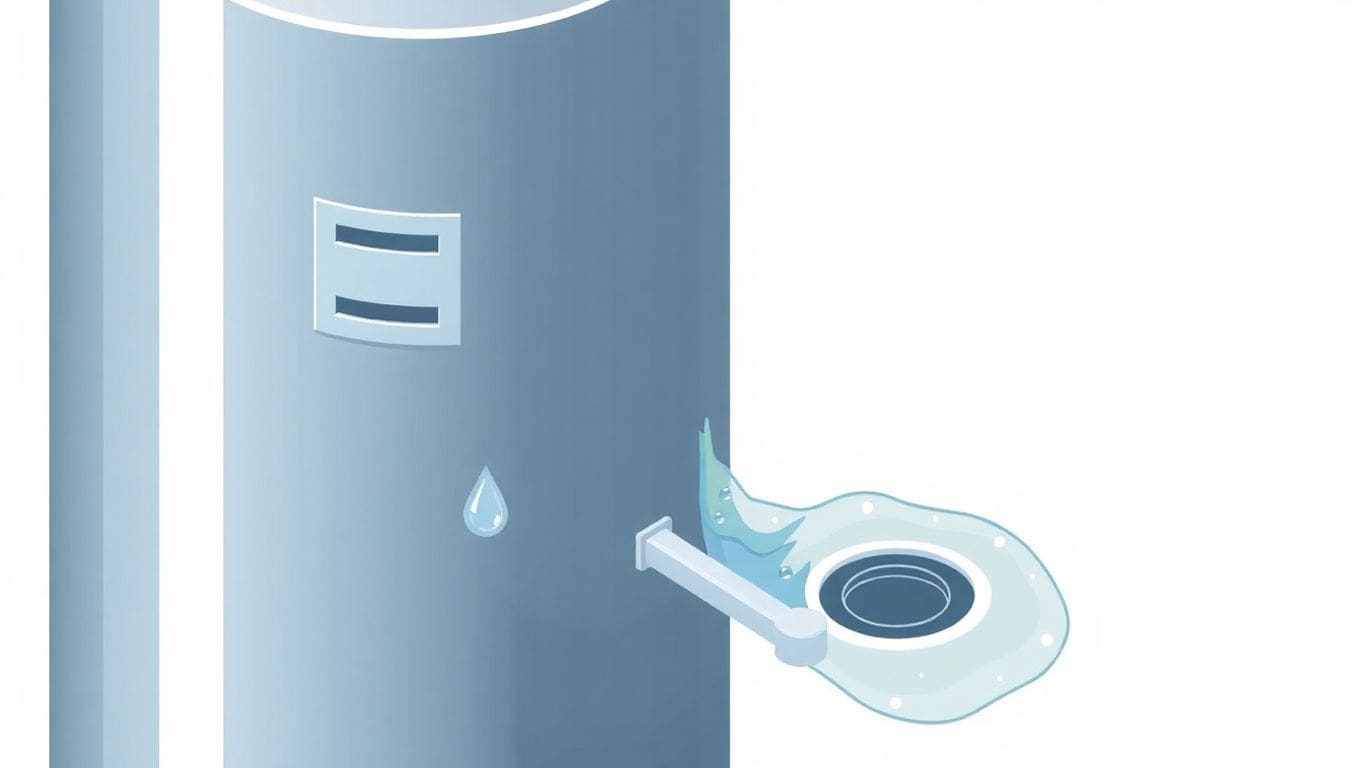
How do you know if you actually need one, or if your current one isn’t doing its job? Here are a few clues:
If you’re seeing these signs, it’s a good time to check your expansion tank or consider getting one installed. It’s a small part that plays a big role in keeping your plumbing system safe and sound.
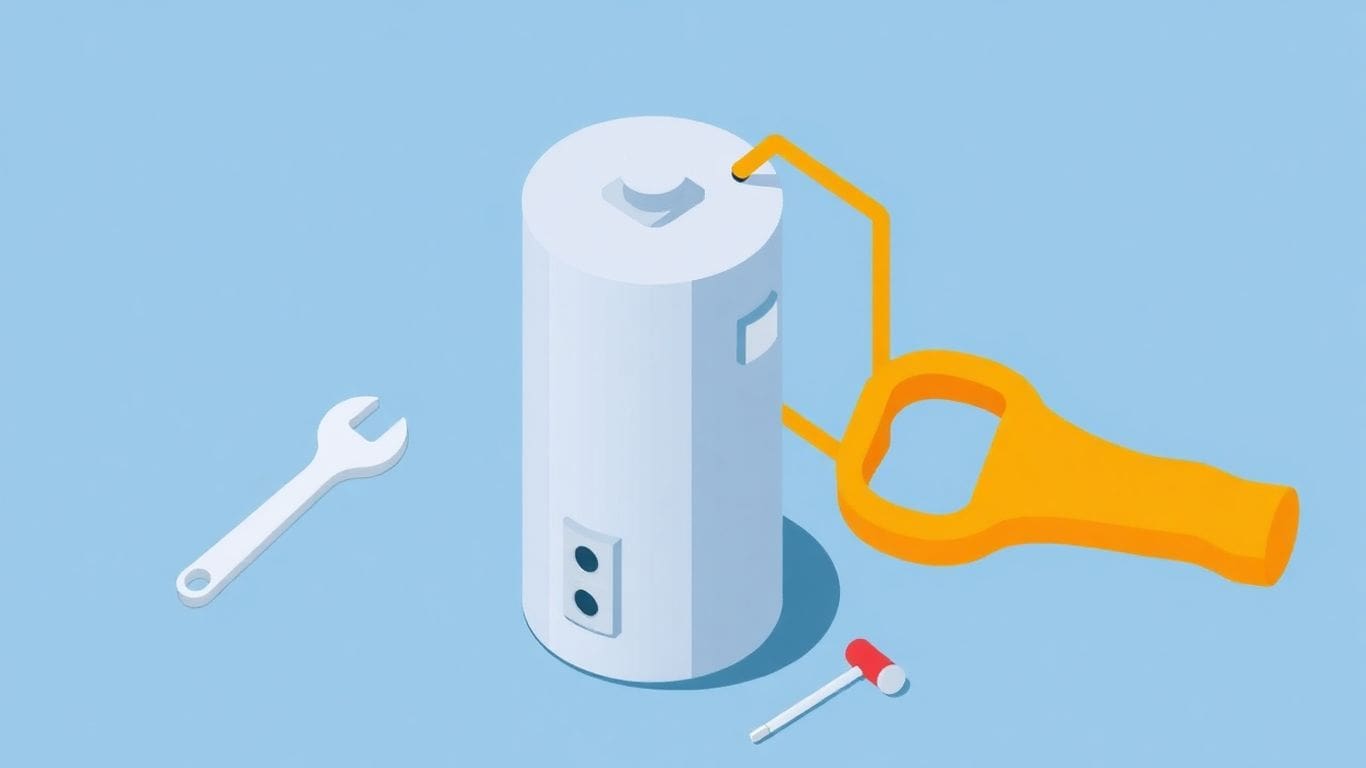
Before you start, make sure you have everything you need. This will save you trips to the store and keep the job moving smoothly. You’ll want to grab:
Getting the right size expansion tank is important. Too small, and it won’t do its job. Too big, and it might not be as effective. The size usually depends on the size of your water heater and your home’s water pressure. Most manufacturers have charts or calculators on their websites to help you figure this out. It’s usually based on the gallon capacity of your water heater. For most homes, a standard 2-gallon or 5-gallon tank is common.
Most places require a permit for water heater work, and this often includes installing an expansion tank. When you apply for a permit, you’ll find out if an expansion tank is mandatory for your setup. Even if it’s not required, it’s a smart idea to install one. It helps protect your pipes and appliances from damage caused by pressure changes. The tank usually connects to the cold water pipe near your water heater using a tee fitting. It’s typically installed upright, but sometimes can be placed horizontally if space is tight. Always check the tank’s manual for specific installation instructions.
Always double-check the manufacturer’s instructions for your specific expansion tank. Plumbing systems can vary, and what works for one home might not be exactly right for another. If you’re ever unsure, it’s best to call a professional plumber.

Before you start messing with your expansion tank, the most important thing is to make sure the water is off. You don’t want any surprises with water spraying everywhere. It’s like preparing your kitchen before you start cooking – you need everything in its place and ready to go.
First things first, you need to find where the water comes into your house. This is usually a big handle or knob. It might be in your basement, a crawl space, or even outside near where the water meter is. This valve is your main control for all the water in your home. Once you find it, turn it off. Usually, you turn it clockwise until it stops.
Now, we need to get the pressure out of the system, especially from your water heater. Think of it like letting the air out of a balloon before you tie it.
This step is super important for safety, especially if you have an electric water heater. You don’t want to risk getting shocked.
Doing these steps carefully means you’re setting yourself up for a smooth installation. It’s all about safety first when working with your home’s plumbing and electrical systems.
Before you even touch the expansion tank, you need to know what your home’s normal water pressure is. Think of this as the baseline. You can get a simple water pressure gauge from most hardware stores. It usually screws onto an outdoor hose bib or an indoor faucet. Turn on the faucet and let the water run for a bit. The gauge will show you the static water pressure, which is the pressure when no water is being used. Write this number down. Most homes are happy with pressure between 50 and 60 psi, but plumbing codes usually say it shouldn’t be over 80 psi.
Now, let’s talk about the expansion tank itself. Most new tanks come with a certain amount of air pressure already inside, called a pre-charge. This is usually set at the factory and might be lower than your home’s water pressure. You need to adjust this air pressure before you connect the tank to your pipes. Why? Because if there’s water in the tank, it will mess up your reading. You’ll need a tire pressure gauge (like the one you use for your car tires) and a bicycle pump or air compressor. Find the air valve on the tank (it often looks like a tire valve, sometimes under a cap). Check the pressure. Your goal is to set the tank’s air pressure to match your home’s static water pressure, or be about 5-10 psi higher. This little bit extra gives it a cushion.
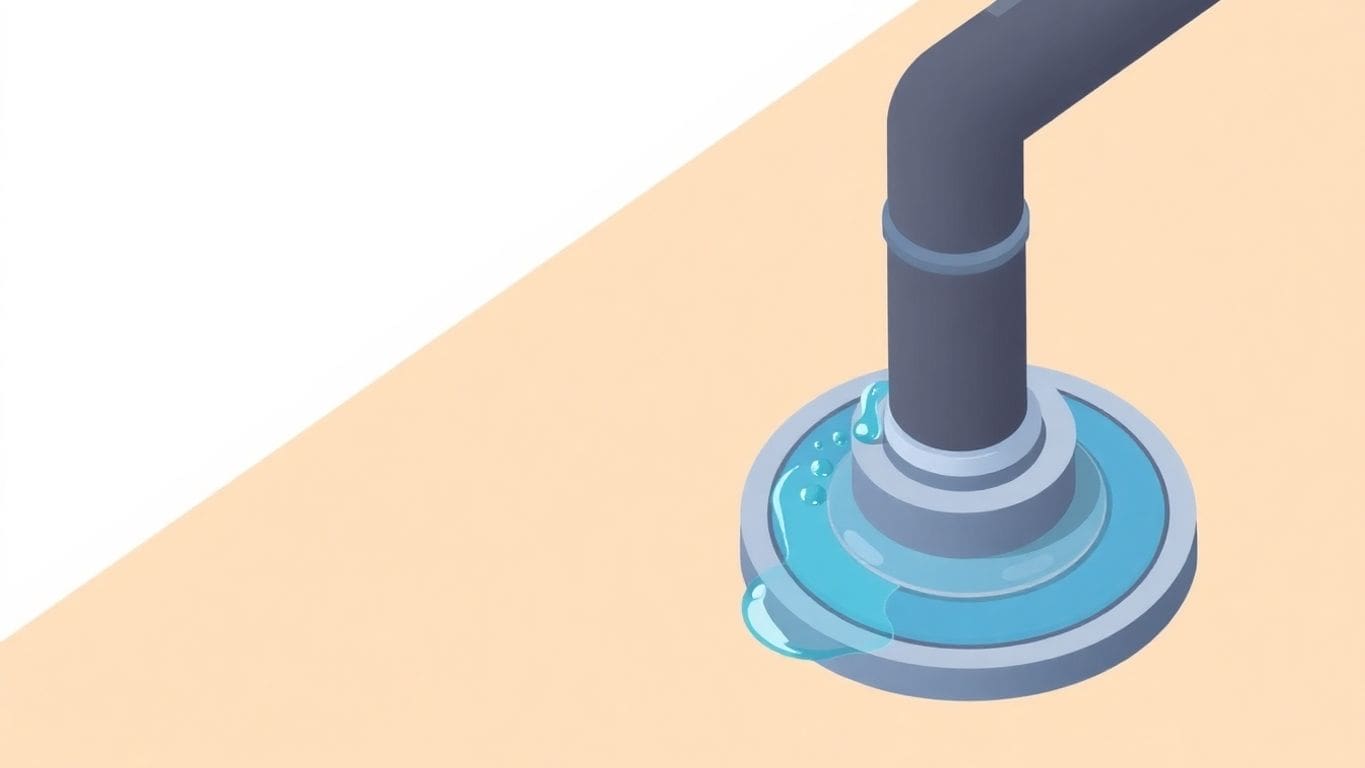
Getting this pressure right is super important. If the air pressure in the tank is too low, the tank will fill up with water too quickly. This means it won’t have room to do its job when the water heats up and expands. You might start hearing banging noises in your pipes or even see water dripping from your hot water heater’s pressure relief valve. On the other hand, if the air pressure is too high, the tank won’t be able to absorb the expanding water effectively. This can put too much stress on your pipes, fittings, and even your water heater, potentially leading to leaks or damage. It’s all about creating that balance so the tank can work as a shock absorber for your plumbing system.

First things first, you’ll need to connect the expansion tank to your water system. This usually involves a few fittings. You’ll want to start by attaching a dielectric union. This special fitting is used to connect pipes made of different metals, like copper and galvanized steel. It stops them from reacting with each other and causing rust or corrosion over time. Wrap some pipe-sealing tape around the threads of the union, then screw it onto the cold water inlet of your water heater or the existing pipe where you’re adding the tank.
Next, you’ll need to add some more fittings to create a spot for the expansion tank. This often means adding a "T" fitting. Think of a "T" fitting like a pipe that splits into three directions. You’ll attach this "T" to the dielectric union or directly to the cold water pipe. From one side of the "T", you’ll connect a short piece of pipe that will lead to the expansion tank. Make sure this pipe is long enough to give you some wiggle room, but not too long that it looks messy. You might also need a copper adapter to connect the pipe to the "T" fitting.
Now it’s time to put it all together. You’ll connect the pieces you just prepared. Wrap pipe-sealing tape around the threads of each fitting before you screw them together. This helps create a watertight seal. Use a pipe wrench or channel-lock pliers to tighten everything up, but don’t go crazy with the force. You want it snug and secure, but not so tight that you damage the pipes or fittings. A good, tight connection is key to preventing leaks.
Here’s a quick rundown of the fittings you might use:
Remember, each connection needs to be sealed well to keep your system working right.
Before you screw the expansion tank into place, you need to make sure the connection will be watertight. Grab some pipe-sealing tape, also called plumber’s tape. Wrap this tape around the threads of the fitting on the expansion tank. Go around about 2 to 3 times, making sure the tape lies flat and doesn’t hang over the edge. This tape helps create a good seal and stops leaks before they start.
Now it’s time to connect the tank to the pipe you set up earlier. You’ll be screwing the tank onto a threaded fitting. Just line it up and start turning it. It should go on smoothly if everything is aligned correctly.
Once the tank is threaded on as far as it will go, you just need to tighten it. For most expansion tanks, hand-tight is all you need. Seriously, don’t go crazy with a wrench here. Over-tightening can actually damage the tank or the fittings, which is the last thing you want. If it feels snug and secure after tightening by hand, you’re good to go. This connection is where the tank meets your plumbing, so double-check that it feels solid.
Most tank makers now say you should install the expansion tank standing straight up. This helps it work the best and keeps things safe. Think of it like a soda bottle – it works best when it’s upright. It’s important to follow these directions so the tank does its job right.
Sometimes, you might not have enough room to put the tank upright. In these cases, you can install it on its side. But, you can’t just let it hang there. You need to support it well with a bracket or strap. If it’s not supported, the weight of the tank can put too much stress on the pipe it’s connected to. This could lead to leaks down the road.
Where you put the tank matters. It’s usually best to install it on the cold water pipe, not too far from the water heater. A good rule of thumb is to place it about 18 inches away from the water heater itself. This distance helps it do its job effectively without being too close or too far. It should be installed between the shutoff valve for the water heater and where the pipe connects to the heater.
Here are a few things to keep in mind about placement:
Putting the expansion tank in the right spot is key. It’s not just about finding space; it’s about making sure the tank can work properly to protect your plumbing system from too much pressure.
Alright, the expansion tank is in place and snug. Now it’s time to get things flowing again. First, find that cold water shutoff valve you closed earlier. Slowly open it up. You want to let the water back into your pipes gently. Listen for the water filling up your system. It might take a minute or two, especially if you have a lot of pipes.
Once the water is back on and you’ve checked for any immediate drips, it’s time to power up the water heater. Head to your electrical panel and flip the breaker that controls the water heater back to the ‘on’ position. If you unplugged it, plug it back in. The water heater will start heating the water, and the expansion tank will be there to handle any pressure changes.
This is a super important step. As the system fills and the water heater starts working, you need to be vigilant. Go around and carefully check every connection you touched, especially where the new expansion tank is installed. Look and feel for any signs of water. A small drip now can turn into a bigger problem later. Don’t skip this check!
If you spot any leaks, don’t panic. You might just need to tighten the connection a little more or reapply some pipe-sealing tape. If you’re unsure, it’s always best to turn the water off again and double-check your work or call a pro.
Okay, so you’ve got the new expansion tank all hooked up. That’s awesome! But don’t just walk away and forget about it. The next day or two are pretty important. You’ll want to peek at the connections you just made. Look for any little drips or wet spots. Sometimes, a tiny leak might not show up right away, especially when the system is just getting back up to pressure. Keep an eye on it for a couple of days. It’s better to catch a small drip now than deal with a bigger water mess later.
Your expansion tank is there to help keep your home’s water pressure steady. But you might still see some small changes, and that’s usually normal. Think of it like a little buffer. If the pressure gets too high, the tank takes some of the extra water. If it dips a bit, the tank can help out. However, if you notice big swings in pressure, like your shower suddenly going from a trickle to a blast, or vice versa, that’s a sign something might not be quite right with the tank or its pressure.
Most of the time, after installing an expansion tank, things should run smoothly. But if you see persistent leaks that you can’t fix, or if your water pressure is all over the place even after a few days, it’s time to call in a pro. Also, if you ever hear strange noises from your pipes, like banging or knocking, that could mean the tank isn’t working like it should. Don’t hesitate to get a plumber to take a look. They can figure out what’s going on and make sure everything is safe and working right.
Think of an expansion tank as a safety cushion for your water heater. When water heats up, it expands, and this creates extra pressure. The expansion tank is designed to catch that extra water and pressure, preventing it from damaging your pipes or water heater. It’s like a small, built-in overflow for your hot water system.
You might need one if your plumbing system is a ‘closed loop,’ meaning there’s a check valve or backflow preventer stopping water from going back into the main supply. If you notice your water pressure going up a lot when the water heater is running, or if you hear strange noises in your pipes, it could be a sign that an expansion tank is needed or that your current one isn’t working right.
Most manufacturers prefer you install the tank upright because it works best that way. If you absolutely have to install it horizontally due to space, you need to make sure it’s well-supported with a bracket or strap. You can’t just let it hang from the pipe, as its weight could stress the connection and cause leaks.
It’s super important! Before you connect the tank to your plumbing, you need to make sure the air pressure inside it matches your home’s water pressure, or is just a little bit higher. If the pressure is off, the tank won’t be able to do its job of absorbing extra water and pressure correctly, which can lead to problems.
Many homeowners can install an expansion tank themselves if they have basic tools and follow the instructions carefully. However, if you’re not comfortable working with plumbing or shutting off water and power, it’s always a good idea to call a professional plumber. They can ensure it’s installed correctly and safely.
While expansion tanks are often installed near the water heater, they don’t have to be right next to it. It’s generally recommended to keep it at least 12 to 18 inches away from the water heater itself. As long as it’s connected to the cold water line and there are no valves in between, it can be placed further away if needed.
You’ll probably need some basic tools like pipe wrenches or channel-lock pliers, a pipe cutter if you’re working with copper, and possibly a soldering torch if you’re using that method for connections. You’ll also need pipe-sealing tape (like Teflon tape), possibly a dielectric union to prevent corrosion between different metals, and the necessary pipe fittings and short pieces of pipe to connect everything.
If your water heats up and expands without a place to go, that extra pressure has to go somewhere. It puts a lot of stress on your water heater, pipes, and fittings. Over time, this can lead to leaks, cause parts to wear out faster, or even result in burst pipes or a damaged water heater. It’s definitely better to have a working expansion tank!