How to Fix a Tankless Water Heater Leaking After Freeze: A Comprehensive Guide
If you’ve noticed your tankless water heater leaking after a freeze, you’re not alone. This issue can arise due to…

Thinking about installing a water heater expansion tank? It’s a good idea to protect your plumbing. This guide will walk you through how to install an expansion tank, step by step. We’ll cover everything from getting your tools ready to making sure everything is working right afterwards. It might seem like a lot, but with a little patience, you can get this done.
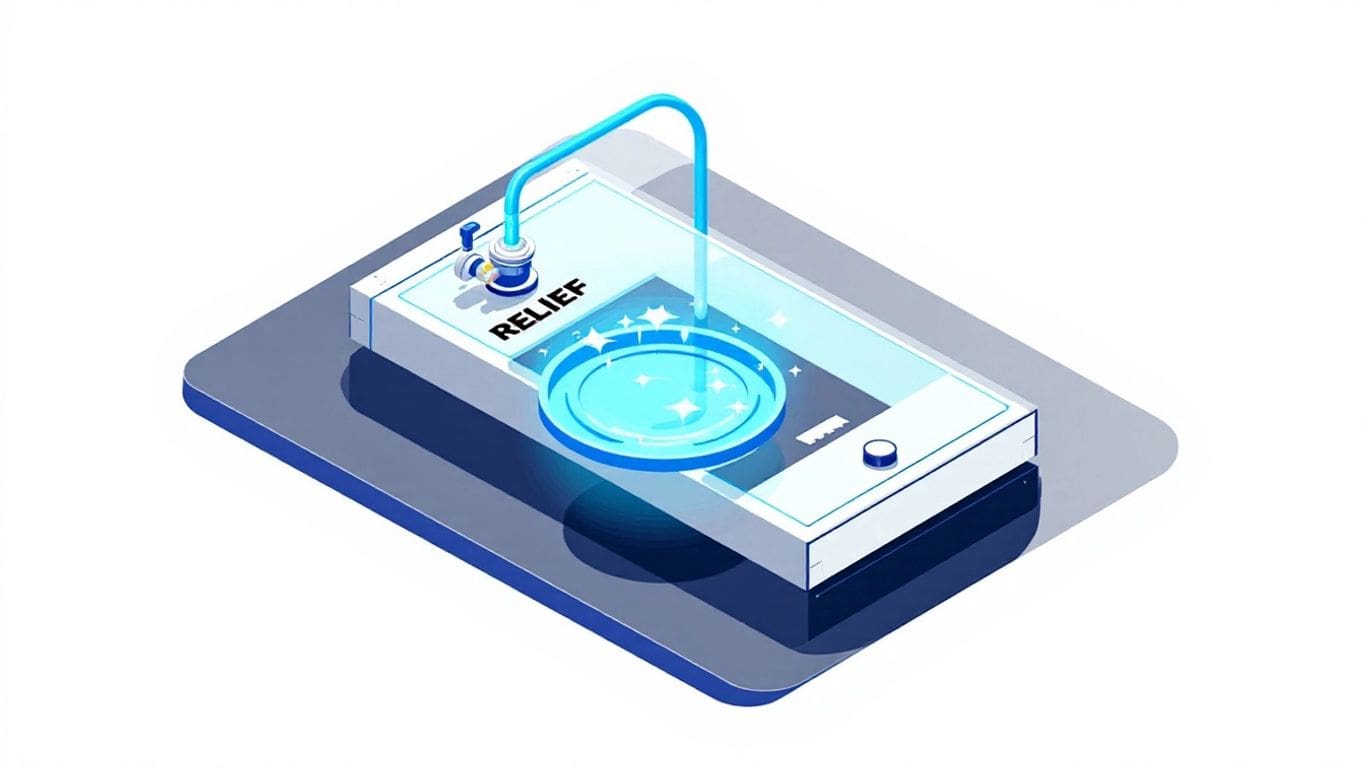
Think of an expansion tank as a small, helpful buddy for your water heater. It’s a sealed tank that connects to your home’s water pipes. Its main job is to handle the extra pressure that builds up when your water heats up. Inside, there’s a rubber part, like a balloon, that separates the water from a pocket of air. When the water gets hot and expands, this rubber part pushes in, letting the tank take in the extra water. This stops too much pressure from building up in your pipes and water heater.
When you turn on your hot water, the water inside your water heater gets hot and expands. This expansion creates more pressure in your plumbing system. If you have a closed system, meaning water can’t easily escape back to the main supply (like with a check valve), this extra pressure has nowhere to go. That’s where the expansion tank comes in. The extra hot water is pushed into the tank. Inside the tank, the air pocket gets squeezed, making room for the water. It’s like a shock absorber for your water pressure. When the water cools down and shrinks, the squeezed air pushes the water back out into the pipes, keeping the pressure steady.
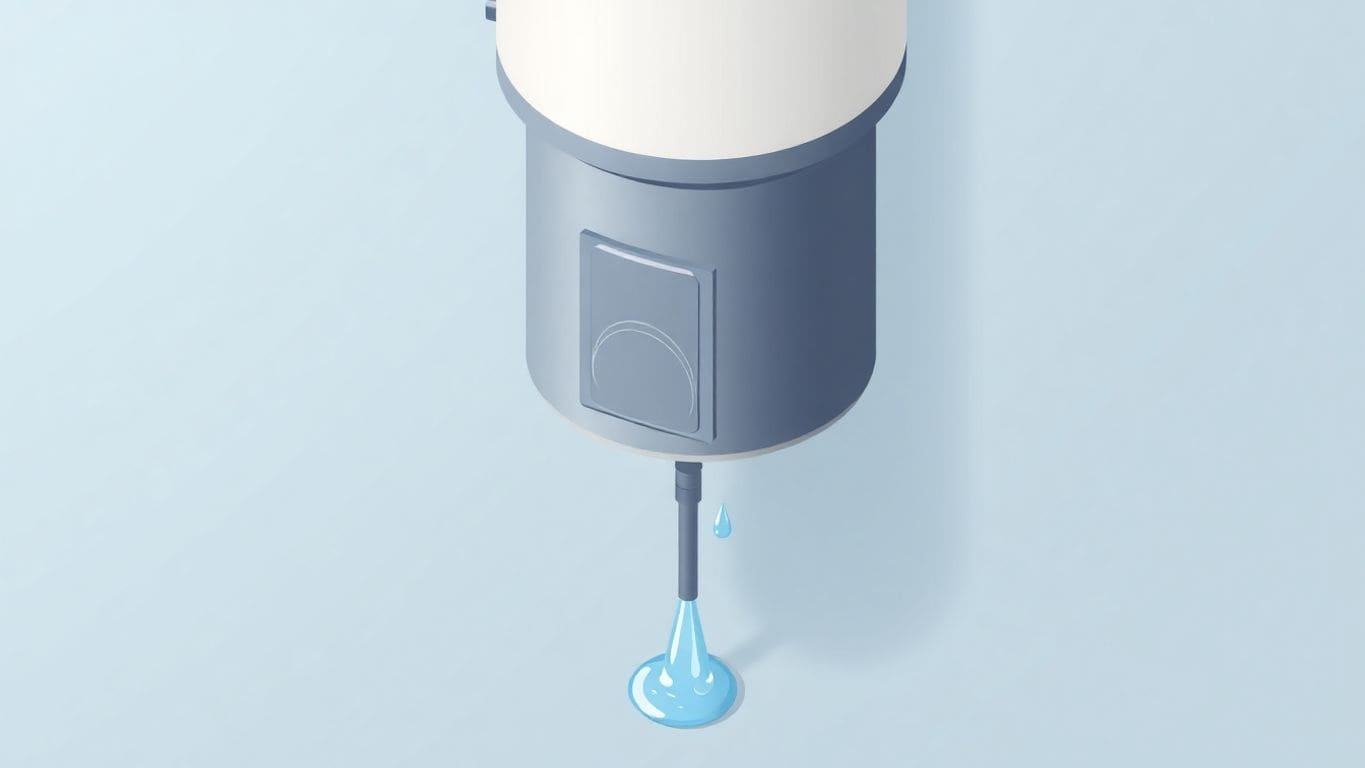
Sometimes, your plumbing system will give you hints that it needs an expansion tank or that the current one isn’t working right. If you notice your water pressure going up and down a lot, or if you hear strange noises like banging or knocking in your pipes, it could be a sign. Another big clue is if your system has a check valve or a backflow preventer. These stop water from flowing backward, which means expanded water needs a place to go – the expansion tank. Without one, you might see water leaking from your pressure relief valve, or your fixtures and appliances might wear out faster than they should.
If your expansion tank’s air pressure is too low, it can fill up with water and won’t be able to absorb any extra pressure. If the pressure is too high, it might not do its job at all, leaving your system vulnerable to high pressure.
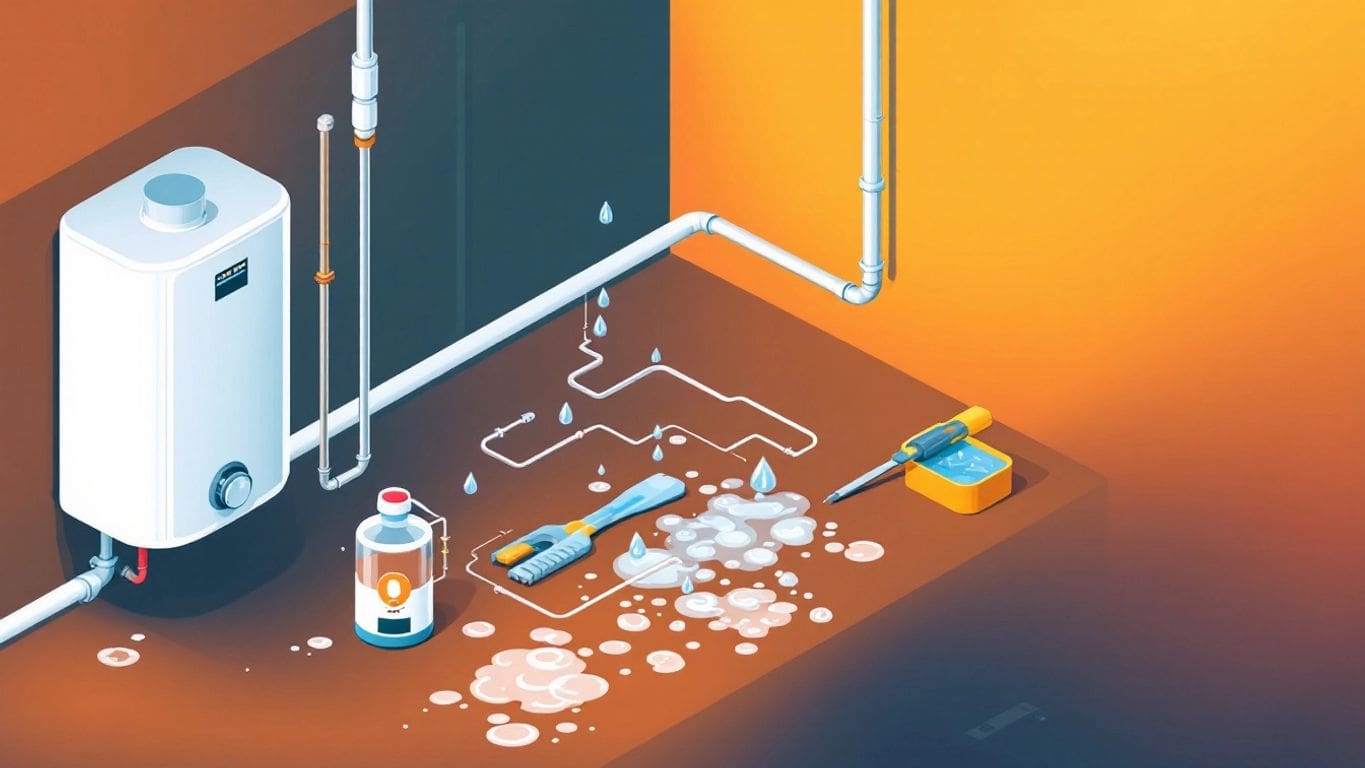
Before you start putting in the expansion tank, you need to get everything ready. Having the right stuff on hand makes the job go much smoother. It’s like baking a cake – you wouldn’t start without your flour and eggs, right? Same idea here.
You’ll need a few basic tools for this job. Most of these are pretty common and you might already have them in your toolbox.
Besides your tools, you’ll need some specific parts for the installation. Make sure you have these before you begin.
Getting the right size expansion tank is important. If it’s too small, it won’t do its job. If it’s too big, it’s just overkill. The best way to figure this out is to check your water heater’s manual or the expansion tank manufacturer’s guide. They usually have charts or calculators to help you.
Generally, the size of the tank depends on:
Don’t guess on the size. Using the wrong size tank can lead to problems down the road, like your water heater working harder than it needs to or not protecting your pipes properly. It’s worth taking a few minutes to get this right.
If you’re really unsure, it’s always a good idea to ask a plumber. They can tell you exactly what size you need for your specific setup.
Before you even think about touching your water heater or pipes, let’s talk about safety. Working with water and electricity can be dangerous if you’re not careful. Taking a few simple steps beforehand will make sure you stay safe and avoid any accidents.
This is super important. If you have an electric water heater, you need to cut off the power supply. Find the circuit breaker that controls your water heater in your home’s electrical panel and flip it to the ‘off’ position. For gas water heaters, you’ll need to turn the gas control valve to the ‘off’ or ‘pilot’ setting. Always double-check that the power or gas is off before you start working.
Next, you need to stop water from flowing into your water heater. Look for the cold water shut-off valve. This is usually located on the pipe that brings cold water into the heater. Turn this valve completely off. If you can’t find a specific valve for the water heater, you might need to shut off the main water supply to your entire house.
Hot water can cause serious burns. After shutting off the power and water, give your water heater some time to cool down. This might take an hour or two, depending on how hot the water is and how big your tank is. It’s better to wait a little longer than to risk getting burned.
When you’re working with pipes, you might need to cut them or make connections. Little bits of metal or debris could fly off. To protect your eyes, always wear a pair of safety goggles. They’re inexpensive and can prevent a painful injury. It’s a small step that makes a big difference.
Before you start messing with pipes and tanks, it’s a good idea to get your work area ready. This makes the whole job go smoother and safer. You’ll want to know where the main water line comes into your house and how to shut it off. Also, make sure there’s nothing nearby that could get damaged by water or that you could trip over.
First things first, you need to find the valve that controls the water going into your water heater. It’s usually on the cold water pipe that feeds the heater. Knowing where this valve is and how to turn it off is super important because you’ll need to shut off the water before you do anything else. It’s often a lever or a round handle. Just give it a turn to stop the water flow.
Once the main water supply to the heater is off, you need to get rid of any pressure still in the system. You can do this by opening a hot water faucet somewhere in your house, like the kitchen sink or a bathtub. Let the water run until it stops. This releases the built-up pressure, making it safer to work on the pipes. It’s kind of like letting the air out of a balloon before you tie it.
Your water heater might have electrical parts, especially if it’s a newer model or a tankless one. You’ve already turned off the power to the heater itself, which is great. But take a look around the area. Are there any exposed wires, outlets, or junction boxes nearby? You don’t want any water splashing onto them. If anything looks risky, you might want to cover it with a plastic bag or some tape just to be extra safe. It’s better to be a little cautious than to have a problem later.
Alright, so you’ve got your tools ready and you’re thinking about where this new expansion tank is going to live. Picking the right spot is pretty important for it to do its job right and to keep things safe.
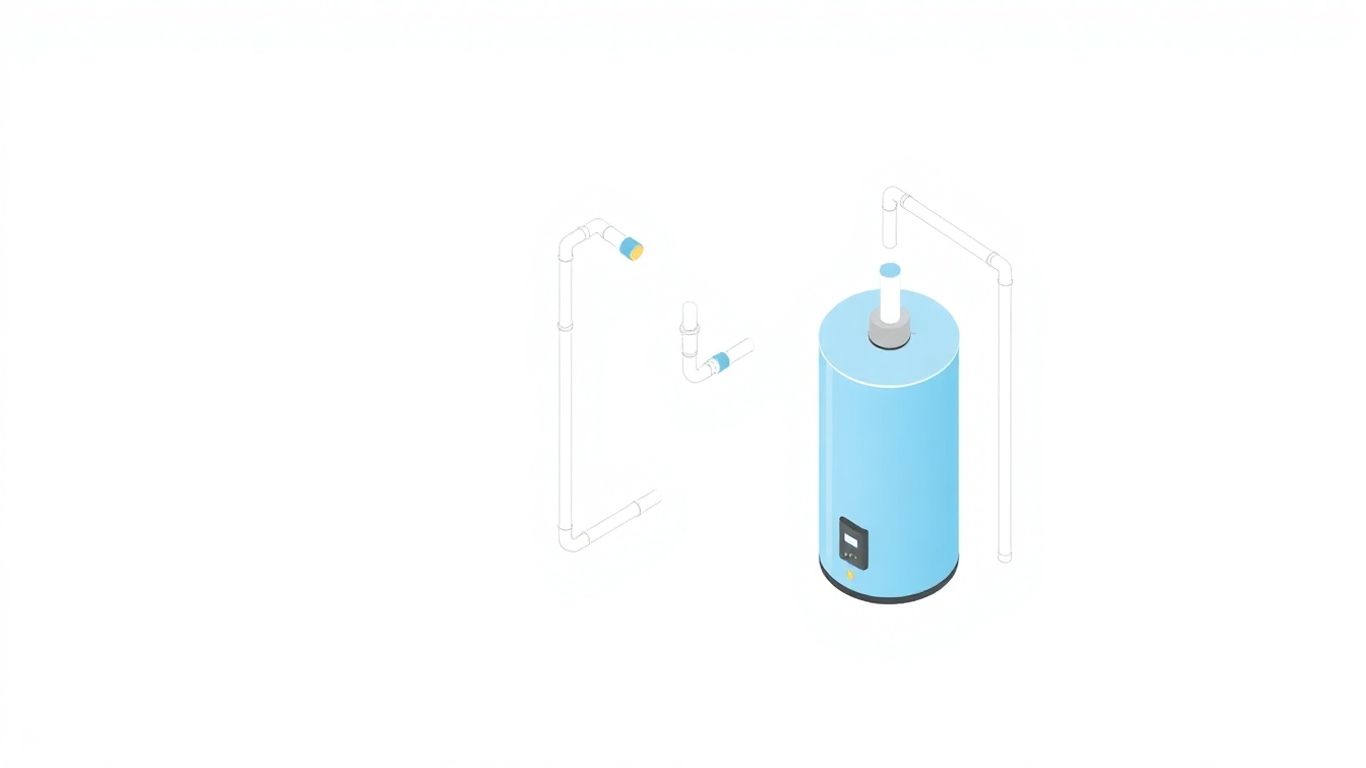
Most of the time, you’ll want to put the expansion tank on the cold water pipe that goes into your water heater. It should be pretty close to the heater itself. Think of it like giving the tank a good vantage point to see what the water pressure is doing right as it enters the heater. The general rule is to install it on the cold water line, between the shut-off valve and the water heater’s inlet. This way, it can catch any pressure changes before they really get going.
Now, your water heater has a vent connector, which is basically a pipe that lets exhaust gases escape. You need to keep the expansion tank a safe distance away from this. Manufacturers usually say to keep it at least 18 inches away. This is mainly for safety, to make sure heat from the vent doesn’t mess with the tank or its connections.
How the tank sits matters. Many newer tanks are designed to be installed upright. This means the air valve should be facing up. This orientation helps the tank work the way it’s supposed to, with the air bladder inside doing its job effectively. While some older tanks might have been okay lying down, it’s best to check your tank’s manual. If you do have to install it sideways for some reason, make sure it’s really well supported with a bracket or strap so it doesn’t just hang there. That can put stress on the pipes and lead to leaks down the road.
Before you connect the expansion tank to your plumbing, you need to set its air pressure. This is important because the tank needs to be ready to handle the pressure changes in your water system. Think of it like inflating a balloon just right – not too much, not too little.
First, find the air valve on the tank. It usually looks like a small cap, similar to what’s on a car tire. You’ll need a tire pressure gauge to check the pressure inside. The goal is to set the tank’s air pressure to match your home’s water pressure, or just a little bit higher.
To find your home’s water pressure, you might need a separate gauge that screws onto a faucet. Once you know your home’s pressure, adjust the air in the expansion tank using a bicycle pump or air compressor. Make sure you do this before connecting the tank to water lines, as water inside will mess up your reading.
Now that the air pressure is set, it’s time to get the tank ready to connect. To help prevent leaks, you’ll want to put some thread sealant on the threads of the tank’s connection point. This is like putting a little extra glue on a joint to make sure it holds.
Plumber’s tape, also called Teflon tape, is what most people use. You just wrap it around the threads a few times, going in the same direction the threads turn. Make sure it’s smooth and doesn’t hang over the edge. This tape creates a tighter seal when you screw the tank on.
This step is really about double-checking what you did earlier. Before you attach the tank, take one last look at the air pressure. You want to be sure it’s set correctly to match your home’s water pressure. If you skipped the previous step or aren’t sure, now’s the time to check it again. A properly pressurized tank is key to it working right and not causing more problems. It’s better to be safe and check twice than to have a leak later on.
First, you’ll need to add a "tee" fitting to your cold water pipe. Think of a tee fitting like a "T" shape. It gives you an extra spot to connect something. You’ll want to wrap some pipe thread sealant tape around the threads of the tee fitting. This helps make a good seal. Then, screw the tee fitting onto the cold water pipe. Make sure it’s snug, but don’t overtighten it. Some people use a pipe wrench for this, but hand-tight is often enough.
Now, you’ll connect the expansion tank to that new tee fitting. The expansion tank usually has a threaded end. You’ll wrap that threaded end with pipe thread sealant tape, just like you did with the tee fitting. Then, carefully screw the expansion tank onto the open side of the tee fitting. Again, hand-tight is usually best. You want it secure, but not so tight that you damage anything.
Next, you need to connect the tee fitting to the main cold water line. You might need to cut a piece of pipe to fit this space. Measure the distance between the tee fitting and the cold water pipe where it will connect. Use a pipe cutter to make a clean cut. If you’re not comfortable cutting pipes, this is a good time to ask for help.
With your pipes cut, it’s time to put everything together. You’ll connect one end of your new pipe to the tee fitting and the other end to the cold water line. Depending on your setup, you might use special push-fit connectors or need to solder the pipes. Whatever method you use, make sure all connections are tight and secure. This is where leaks can happen if not done right. After everything is connected, gently wiggle the pipes to make sure they feel solid.
Here’s a quick look at common connection types:
| Connection Type | How it Works |
|---|---|
| Push-fit (e.g., SharkBite) | You push the pipe into the fitting, and it locks in place. |
| Solder (Sweat) | You heat the joint and use solder to create a strong, sealed connection. |
Always double-check that all your connections are tight. A small leak now can become a big problem later. It’s better to be safe than sorry when it comes to your plumbing.
Alright, you’ve done the hard work of getting the expansion tank hooked up. Now it’s time to bring your water system back to life. First things first, find that main water shut-off valve you closed earlier. Slowly turn it back on. You want to let the water back into the pipes gently. Listen for the water filling up your pipes and the water heater. It’s like waking the system back up.
This is a super important step, so don’t skip it! As the system fills, keep your eyes peeled and your hands ready to feel around all the connections you just made. Look closely at where the new tee fitting is, where the tank connects, and any other spots where pipes meet. Feel for any drips or wet spots. Even a tiny leak now can turn into a bigger problem later. If you spot a leak, don’t panic. You might just need to tighten that connection a little more. If it keeps leaking, you might need to take it apart and reapply the thread sealant.
Once you’re confident there are no leaks, it’s time to get your water heater running again. Go to your electrical panel and flip the breaker back on for your water heater. If it’s plugged in, plug it back in. You should hear it start up. Now, give the system a little time to heat up the water. You’ve successfully installed your expansion tank!
Okay, you’ve got the new expansion tank hooked up. Now it’s time to make sure everything is working right. The first thing to check is the pressure inside the tank itself. This pressure needs to be just right – not too high, not too low. It should match the normal water pressure in your home. Think of it like a little air cushion. If it’s too low, the tank can’t do its job. If it’s too high, it might not help much at all.
So, how do you check your home’s water pressure? You’ll need a water pressure gauge. You can usually find these at a hardware store. Screw it onto an outdoor spigot or a washing machine hookup. Turn on the water and read the gauge. This reading is your home’s static water pressure. Now, compare this to the pressure you set in the expansion tank earlier. It should be the same, or maybe just a few pounds higher. If it’s off, you might need to adjust the air pressure in the tank. Remember, you usually do this when the water supply is off and a faucet is open to let the tank empty first.
Once you’ve confirmed the pressure is correct, it’s time to let the water back into the system. Slowly turn the main water supply back on. Listen for the water filling up your pipes and the water heater. You’ll want to check all the connections you made, especially where the expansion tank is attached. Look and feel for any drips or moisture. A small leak now can turn into a big problem later. If everything looks dry and sounds good, you’re almost done! Just make sure to restore power to your water heater after the system is full of water.
Every expansion tank comes with its own set of instructions from the company that made it. These guides are super important because they know their product best. Always read these instructions carefully before you start. They might have specific steps or warnings that apply only to your tank. It’s like getting a secret map to make sure everything goes right.
Think about adding an isolation valve when you install the tank. This is just a fancy name for a shut-off valve. If you ever need to take the expansion tank off later for repairs or to replace it, this valve lets you shut off the water just to that part of the system. You won’t have to turn off the main water supply to your whole house. It makes future work much easier.
Sometimes, even with the best instructions, things can get tricky. Plumbing can be complicated, and if you’re not comfortable with any part of the process, or if you run into a problem you can’t figure out, don’t be afraid to call a plumber. They have the tools and experience to fix things quickly and safely. It’s better to pay a pro than to risk a leak or damage to your system. Your peace of mind is worth it.
Think of an expansion tank as a small, helpful buddy for your water heater. Its main job is to catch extra water that expands when it gets hot. Inside, a rubber part separates the water and air. When pressure builds up, this rubber part squishes, letting the tank hold the extra water and easing the strain on your pipes. It’s like a safety cushion for your plumbing system!
When water heats up, it takes up more space, like popcorn popping! This makes the pressure in your pipes go up. The expansion tank is there to grab that extra hot water. The air inside the tank gets squeezed, making room for the hot water. Later, when the water cools down, the air pushes the stored water back into the system, keeping the pressure steady and protecting your pipes and water heater from damage.
If your plumbing system has a check valve or a backflow preventer (which stops water from flowing backward), your system is ‘closed.’ In a closed system, there’s nowhere for the expanding hot water to go. If you notice issues like leaks, strange noises, or your water heater seems to be under a lot of stress, it’s a good sign you might need an expansion tank to handle that extra pressure.
You’ll want to have some basic tools handy, like an adjustable wrench and maybe a pipe cutter. You’ll also need Teflon tape (also called pipe-sealing tape) to make sure connections don’t leak. Of course, the star of the show is the expansion tank kit itself, which usually comes with the tank and a special T-shaped fitting.
You’ll generally want to install the expansion tank on the cold water pipe that goes into your water heater. It should be pretty close to the heater itself. Make sure there’s a little bit of space around it, and most importantly, it needs to be installed upright, like a little soldier standing tall, according to most manufacturers.
Yes, this is super important! Before you connect the tank to your pipes, you need to check its air pressure. Use a gauge to find out your home’s water pressure, and then set the tank’s air pressure to be just a little bit higher – maybe 5 to 10 pounds per square inch (psi) more. This ensures it works correctly when it’s installed.
Without an expansion tank, that extra pressure from hot water has to go somewhere! It pushes hard against your pipes and the water heater itself. Over time, this can lead to leaks, cause parts to wear out faster, or even result in pipes bursting. It’s like letting a balloon get too full – eventually, something has to give!
Expansion tanks are pretty durable, but like most things, they don’t last forever. Typically, you can expect them to last anywhere from 5 to 10 years. However, this can change depending on your water quality and how much your system uses. If you start noticing problems, it might be time to think about replacing it.