Thinking about swapping out your old water heater for a new electric one? It’s not as hard as it sounds, I promise. With a bit of patience and the right steps, you can have your new heater up and running in no time. This guide will walk you through the process, making sure you do it safely and efficiently. Let’s get started!
Before you dive into installing your new electric water heater, it’s crucial to set the stage for a safe and smooth process. This means getting everything ready and ensuring your safety first. Let’s break it down step by step.
First things first, you’ll need to gather all the tools and materials required for the job. Here’s a quick checklist:
Having these tools on hand will make the installation process much easier and faster. Make sure everything is in good condition and ready to use.
Safety should be your top priority, especially when dealing with electricity. Always turn off the power at the circuit breaker before you start. Use a voltage tester to double-check that there’s no electricity running to the area where you’ll be working. This simple step can prevent accidents and keep you safe.
Before you bring in the new water heater, make sure the area is clear and clean. Remove any obstacles or debris that might get in the way. This makes it easier to move around and ensures nothing gets damaged during installation. A clear space also helps you focus better on the task at hand.
Preparing adequately sets the stage for a successful installation. By ensuring safety and having everything you need, you’re already halfway to finishing the job.
Taking these preparatory steps seriously can make the whole process smoother and more efficient. Remember, the key to a good installation is a solid start!
Before you can say goodbye to your old water heater, you’ll need to drain it. Start by connecting a garden hose to the drain valve at the bottom of the tank. Make sure the other end of the hose leads to a safe drainage area. Open the relief valve and the drain valve, and let the water flow out. This might take a bit, so be patient. It’s like watching a bottle empty—slow but steady.
Once the tank is empty, it’s time to disconnect everything. Grab a pipe wrench and carefully loosen the cold water inlet and hot water outlet pipes at the top of the tank. Be ready for a few drips of water. Next, turn off the power at the circuit breaker and disconnect the electrical wires. Treat these wires with care—they’ve been doing their job for years.
Now comes the heavy lifting. These tanks aren’t light, so you might want a friend to help. Carefully maneuver the old heater out of its spot. Watch out for any tight corners or narrow doorways. It’s like moving a small fridge—take it slow and steady. Make sure not to damage any floors or walls in the process. With the old unit out, you’re ready to welcome the new one!
Finding the perfect spot for your new electric water heater is important. Make sure it’s close to where you need hot water. This reduces heat loss and saves energy. Look for a spot that’s easy to reach for maintenance. Avoid tight spaces where you might have trouble getting to the heater later.
Once you’ve picked the spot, it’s time to level the heater. Use a carpenter’s level to check. If the floor is uneven, use shims or small wedges to balance it out. You don’t want your heater to wobble. A stable heater is a happy heater!
Even electric heaters need some breathing room. Make sure there’s enough space around the unit for air to circulate. This helps keep it cool and running smoothly. If it’s in a closet or small room, check that there’s a vent or opening to let air in and out.
Proper positioning of your water heater can make a big difference in how well it works and how long it lasts. Take your time with this step to avoid headaches down the road.
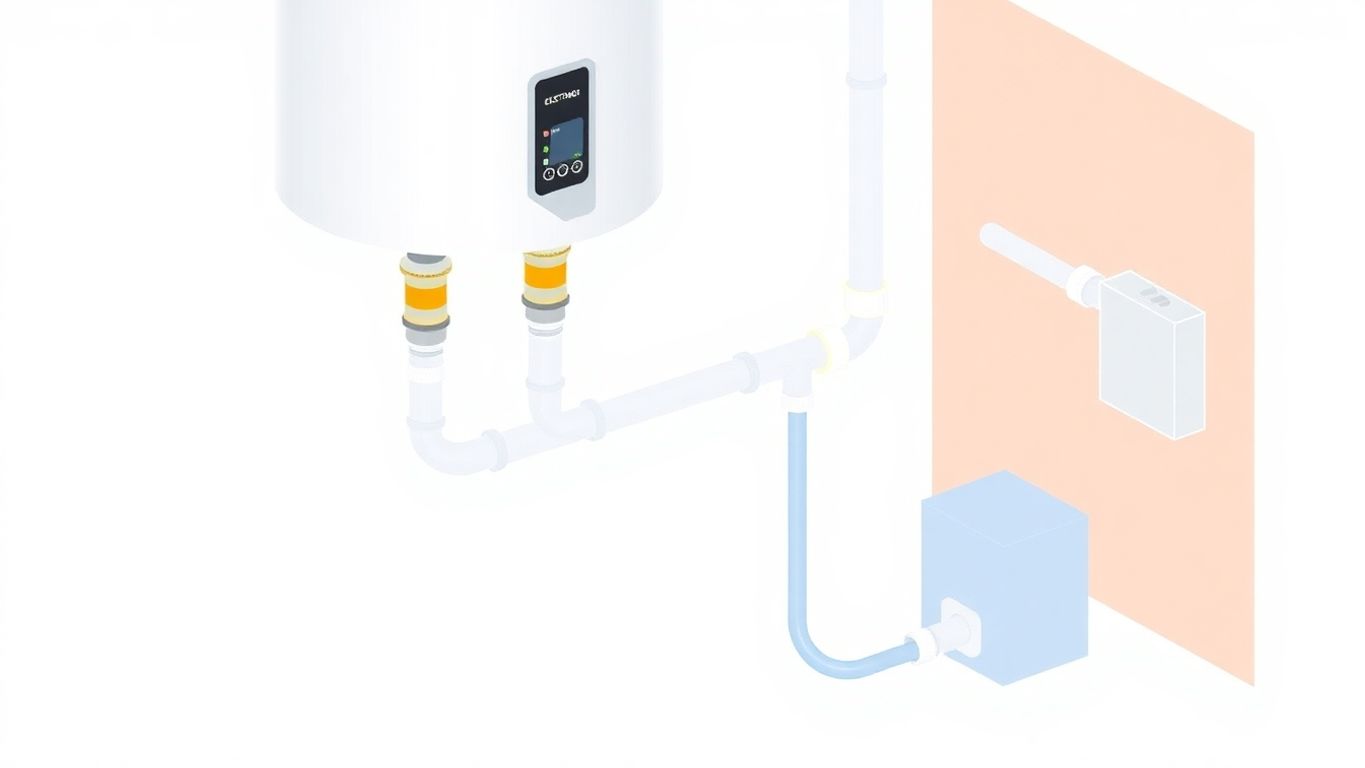
First, you’ll need to connect the cold water line to the inlet and the hot water line to the outlet on your new water heater. Use flexible hoses for this task—they make the job easier and allow for some movement. Make sure the hoses are the right length and not kinked.
If your plumbing involves different metals, like copper and steel, you should use dielectric nipples. These are special fittings that help prevent rust and corrosion. They act like a barrier between the metals, stopping any chemical reaction that could damage your pipes.
After connecting the water lines, it’s crucial to ensure everything is tight and secure. Use a wrench to tighten the connections, but be careful not to overtighten. You don’t want to damage the fittings.
Remember, taking the time to do this step right will save you from future headaches. A small leak now can turn into a big problem later. So, double-check your work and make sure those connections are solid.
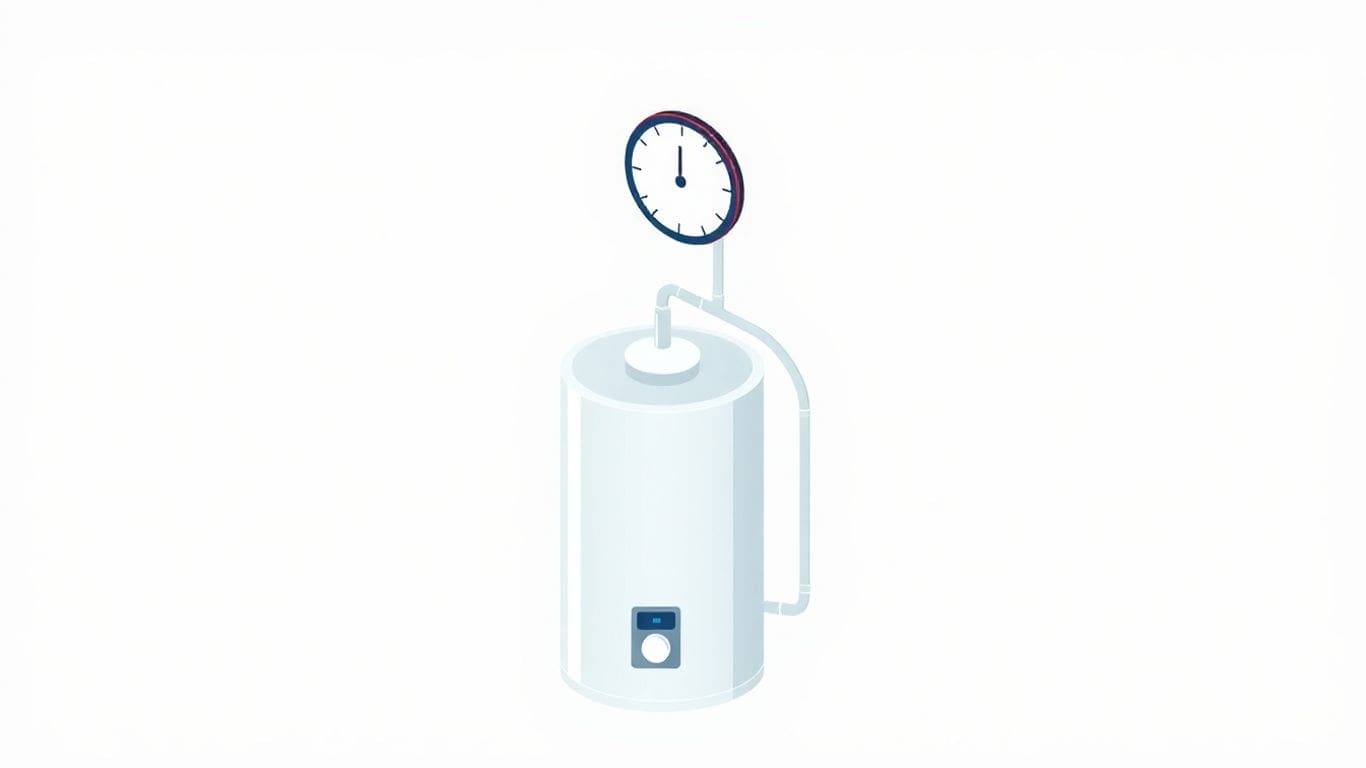
The Temperature and Pressure Relief (T&P) valve is a small part with a big job. It keeps your water heater safe by letting out water if the temperature or pressure gets too high. This helps prevent the tank from bursting, which could cause a lot of damage.
To install the T&P valve, start by wrapping Teflon tape around the threads of the valve. This tape helps make a tight seal. Make sure you wrap it clockwise so it won’t come undone when you screw it in. Next, find the right spot on your water heater and screw the valve in by hand. Once it’s snug, use a wrench to tighten it a bit more, but don’t go too far or you might crack something.
The discharge pipe is important because it safely directs any water released by the T&P valve to a drain or the floor. First, attach a pipe to the valve. Use materials like copper or CPVC that can handle hot water. The pipe should point down and end about 6 inches from the floor. Make sure there are no kinks in the pipe so water can flow freely. Secure it well, but don’t block the valve’s movement.
Always double-check your work. A well-installed T&P valve is key to keeping your water heater running safely.
Before you start, make sure the power is off. Head to your circuit breaker and flip the switch for the water heater. This is the most important step to ensure your safety. It’s like hitting pause before you start a big project—everything stops so you can work safely.
Now, let’s get into the wiring. Grab the manufacturer’s diagram that came with your heater. This is your map. Connect the wires just like it shows. Usually, you’ll match colors—black to black, white to white, and green or bare for ground. If you’re unsure, double-check the diagram. Remember, this is not the time to guess.
After connecting the wires, make sure everything is tight. Use wire nuts to cover the connections, and wrap them with electrical tape for extra security. This keeps the connections safe and prevents any accidents. A secure connection is a safe connection.
Remember, working with electricity can be dangerous. If you’re not comfortable, it’s okay to call a professional. Safety first, always.
Once everything is connected and secure, you can move on to filling and testing your water heater. But for now, take a moment to check all your work. Make sure everything is just right before you continue.
Setting up the electrical wiring might seem tricky, but with careful steps, you can handle it. It’s all about taking your time and following each instruction closely.
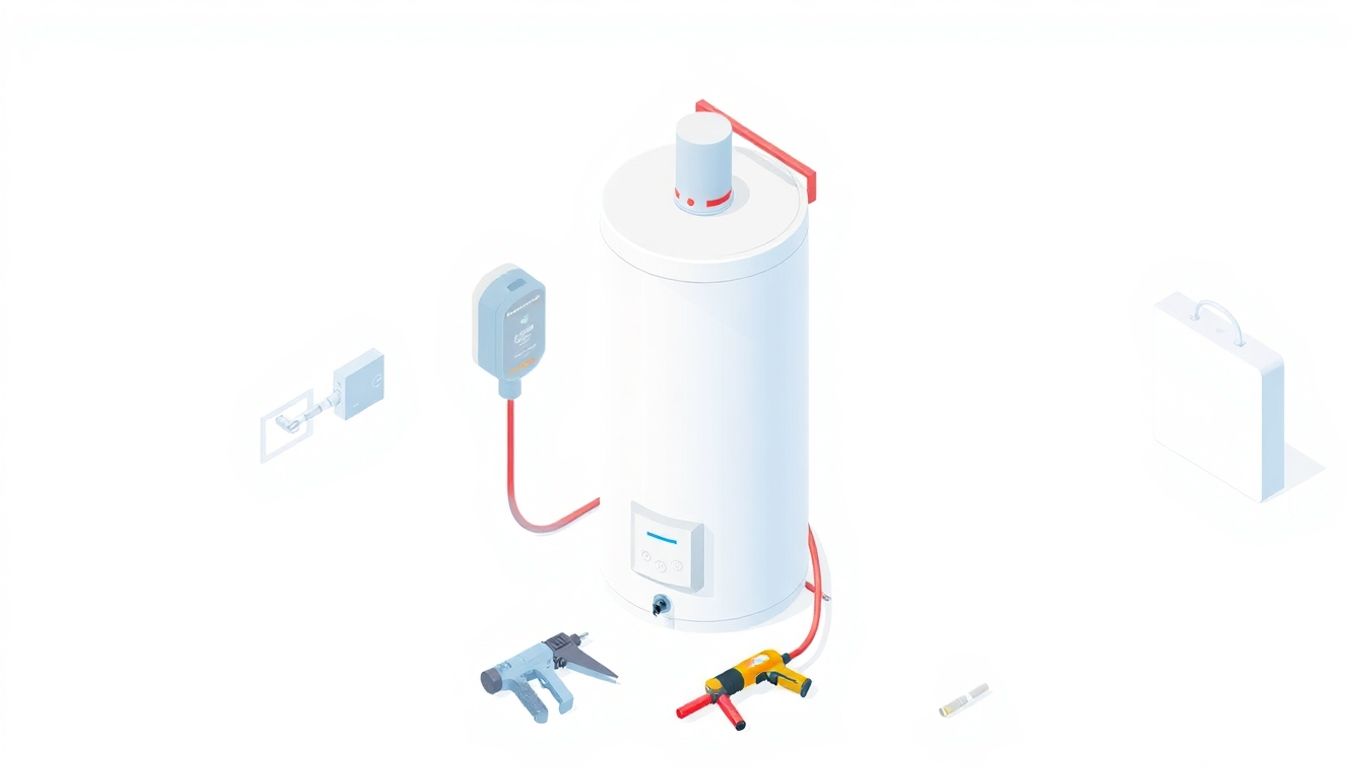
First, you need to fill the tank. Turn on the cold water supply valve. This lets water flow into the tank. Keep an eye on it to make sure it’s filling up correctly.
Next, open a hot water faucet somewhere in your house. This step is important! It lets out any air trapped in the system. You’ll know all the air is out when water flows steadily from the faucet.
Now, check around the water heater for any leaks. Look at all the connections. If you see water dripping, tighten those spots. Once everything looks good, your water heater is ready to go.
Remember, never turn on the power before the tank is full. This could damage the heating elements.
If your water heater is old, like over 20 years, it might be time to think about a new one. Eco-friendly options can save energy and money.
Alright, you’ve got your electric water heater all set up. Now, it’s time to bring it to life. First things first, make sure the circuit breaker is off. Double-check all your electrical connections are snug and the cover panel is back in place. You don’t want any surprises, right? Once everything looks good, flip the circuit breaker for the water heater to "on". This will start the flow of electricity to your unit.
Next up, let’s talk about getting the right water temperature. Most water heaters come with a thermostat dial or a digital display. You’ll want to set this to around 120°F. It’s a good balance between saving energy and having hot water when you need it. If your heater has a programmable thermostat, consider setting lower temperatures when you don’t need hot water often. This can help save some bucks on your energy bill.
Now for the fun part—seeing if your hard work paid off. Let the water heater do its thing for a bit, then go to a faucet and turn on the hot water. Is it warming up? Great! Check a couple of different taps to be sure everything’s working smoothly. Listen for any weird noises or check if the water isn’t getting hot enough. If something seems off, you might need to do a bit of troubleshooting.
Remember, if you run into trouble with your water heater not heating properly, it’s smart to check the power supply and thermostat settings. Regular maintenance can help keep things running smoothly and avoid headaches down the road. Also, if your heater is getting old or acting up a lot, it might be time to think about replacing it.
After installing your electric water heater, it’s important to check all the connections. Look at the pipes and fittings for any signs of water leaks. Tighten any loose connections to prevent water from escaping. A small drip can turn into a big problem if ignored.
Before you finish, make sure the electrical connections are safe. Double-check that the power is off at the circuit breaker before touching anything. Look at the wires and make sure everything is connected according to the manufacturer’s instructions. If something doesn’t look right, it might be best to call a professional.
Your water heater should come with a manual. Take some time to read through it. The manual will have important information about how to keep your heater running well. Follow the maintenance tips they provide to ensure your heater lasts a long time.
Remember, keeping your water heater in good shape helps avoid expensive repairs later. Regular checks and maintenance can save you a lot of trouble.
For more tips on maintaining your water heater, consider scheduling regular inspections. This can help you catch small issues before they become big problems. Regular maintenance can include flushing the tank to remove sediment and checking the pressure relief valve for proper function.
To keep your water heater running smoothly, make a habit of checking it out regularly. Routine inspections help catch small issues before they turn into big problems. Aim to inspect your heater at least once a year. During these check-ups, look for any signs of wear and tear or leaks. This is a good time to ensure everything is in top shape.
Over time, sediment can build up at the bottom of your water heater tank. This can make your heater less efficient and even cause damage. To prevent this, flush the tank every six months. Here’s a simple way to do it:
Flushing helps keep your heater working well and can extend its life.
The anode rod is a crucial part of your water heater. It helps prevent rust inside the tank. Check it every year and replace it if it’s worn down. A worn-out anode rod can lead to a rusty tank and, eventually, a leaky heater.
Keeping up with these maintenance tasks will help your water heater last longer and work better. You’ll save money on repairs and energy bills, too. Remember, a little effort now can prevent a lot of hassle later on.
You’ll need a pipe wrench, adjustable wrench, screwdrivers, a pipe cutter, and Teflon tape. Make sure to have safety gear like goggles and gloves too.
First, turn off the power and water supply. Drain the heater using a hose, then disconnect the plumbing and electrical connections before removing the unit.
Choose a spot that is level and stable, with enough space around it for maintenance. Make sure there’s proper ventilation too.
Attach the cold and hot water lines securely, using dielectric nipples to prevent corrosion. Check for leaks after connecting.
The T&P valve releases water if the temperature or pressure inside the tank gets too high, preventing possible explosions.
Turn off the circuit breaker first. Follow the manufacturer’s wiring diagram to connect the wires securely, ensuring all connections are tight.
Open the cold water valve to fill the tank, release trapped air by opening a hot water tap, and check for leaks. Then, turn the power back on and set the temperature.
Regularly inspect for leaks, flush the tank to remove sediment, and check the anode rod to extend the heater’s life.

