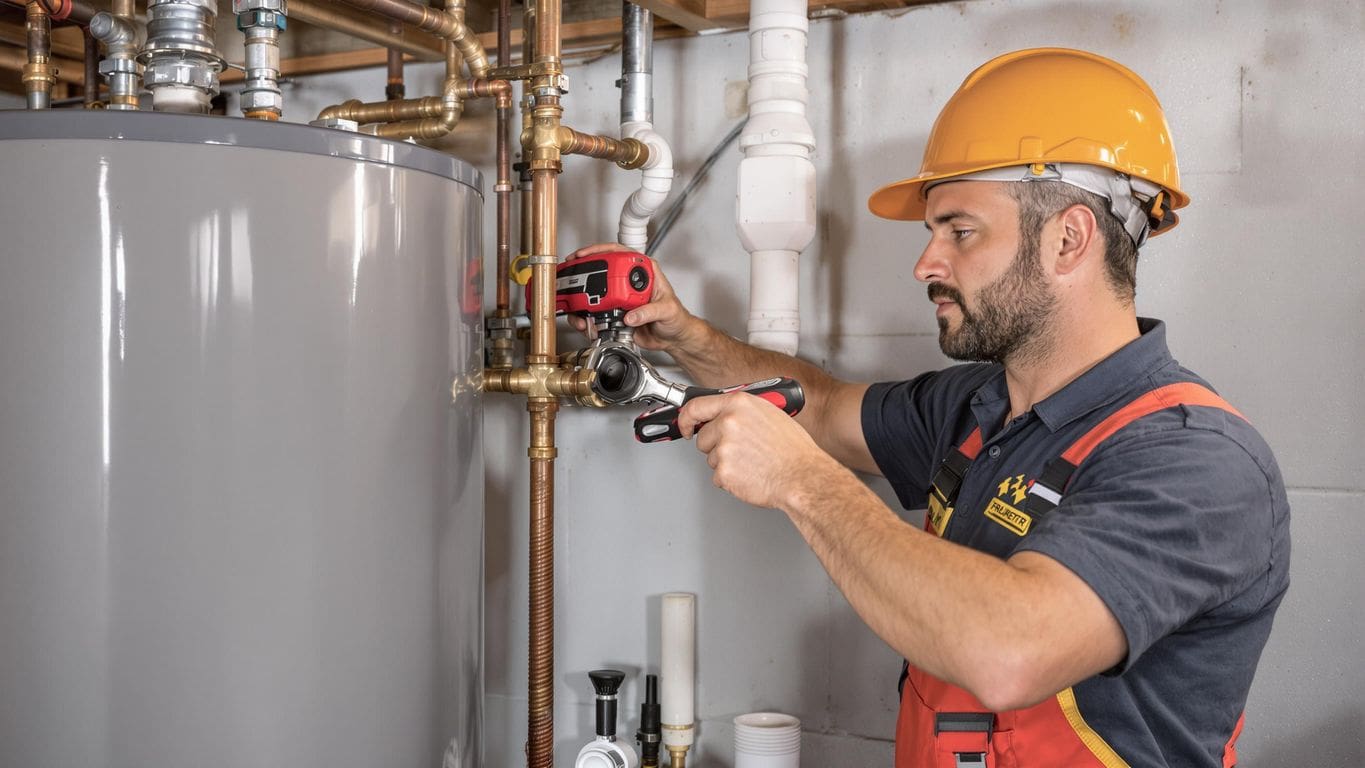
Fixing a thermocouple in your water heater can seem tricky, but with the right steps, you can do it yourself. This guide will walk you through everything you need to know about thermocouples, how to replace them, and keep your water heater running smoothly. You’ll learn about the tools you’ll need, safety tips, and how to troubleshoot any problems that may come up after the repair. By the end of this guide, you’ll feel confident in knowing how to fix the thermocouple on your water heater for optimal performance.
A thermocouple is a small device that helps keep your water heater safe. It senses the temperature and makes sure the pilot light stays on. If the pilot light goes out, the thermocouple stops the gas flow. This helps prevent dangerous gas leaks. In short, it’s a safety feature.
Thermocouples work by using two different metals. When they get hot, they create a small electric current. This current tells the gas valve to stay open. If the pilot light goes out, the current stops, and the gas valve closes. This is how your water heater stays safe and efficient.
If your thermocouple is not working right, you might notice:
If you see any of these signs, it’s time to check the thermocouple. Remember, safety is the most important thing when dealing with gas appliances.
Always be careful when working with gas. If you’re unsure, it’s best to call a professional.
In conclusion, understanding the role of a thermocouple is key to keeping your water heater running well. It’s a small part, but it plays a big role in safety and performance. If your water heater is over 10 years old, consider checking the thermocouple regularly to avoid issues.
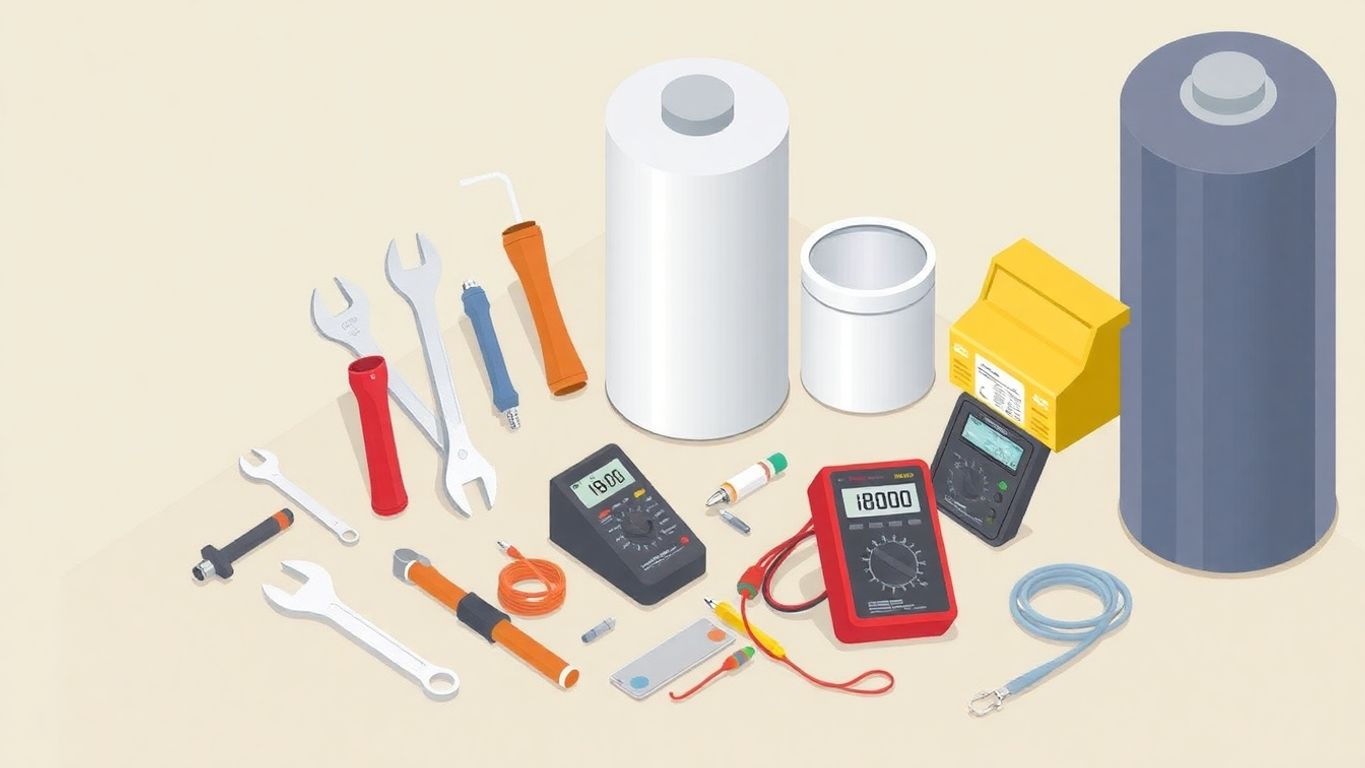
Before you start fixing your water heater, you need to gather some tools and materials. This will make the job easier and faster. Having the right tools is key to a successful repair.
Here are some tools you will need:
Safety is very important when working with gas and water. Make sure to wear:
You can find replacement parts at:
Always check the part number to ensure you get the right thermocouple for your water heater.
Before you start, make sure to turn off the gas supply to your water heater. This is very important for your safety. You can usually find the gas shut-off valve near the heater.
Good air flow is key. Open windows or doors to let fresh air in. This helps to avoid any gas buildup.
Always wear protective gear. This includes gloves and safety glasses. They will keep you safe from any sharp parts or hot surfaces.
Remember, safety first! Taking these steps will help you avoid accidents while you work on your water heater.
To fix your water heater, you first need to find the thermocouple. It is usually near the pilot light. Look for a thin metal rod that connects to the gas valve. This is the part you need to access.
Next, you will need to remove the access panel. This panel covers the area where the thermocouple is located. Use a screwdriver to take off the screws. Keep them in a safe place so you don’t lose them.
Once the panel is off, you can see the thermocouple clearly. It looks like a small metal tube. Make sure you can see it well before you start working. If you have trouble, check your water heater’s manual for help.
Remember, safety is key! Always turn off the gas before you start working on your water heater.
By following these steps, you can easily access the thermocouple. This will help you in fixing your water heater for better performance.
The heating geek blog provides great tips on water heater maintenance. You can find more information there to help you with your repair.
To start, you need to disconnect the thermocouple from the water heater. First, turn off the gas supply to ensure safety. Then, locate the connection point where the thermocouple meets the gas valve. Gently unscrew the connection using a wrench. Be careful not to damage any surrounding parts.
Once disconnected, carefully remove the thermocouple from its place. Hold it by the metal end to avoid any damage. If it feels stuck, wiggle it gently. Remember, you want to keep everything safe and sound.
After removing the thermocouple, take a moment to check for any other issues. Look for:
If you find anything unusual, it might be time to call a professional.
Always prioritize safety when working with gas appliances. If you feel unsure, don’t hesitate to ask for help.
First, take your new thermocouple and place it in the correct spot. Make sure it fits snugly where the old one was. This is important for it to work properly.
Next, you need to secure the thermocouple. Use the screws or clips that came with it. Tighten them gently, but don’t overdo it. You want it to be firm but not too tight.
Finally, check the alignment of the thermocouple. It should be straight and not bent. If it’s not aligned, it may not work right.
Remember, a well-installed thermocouple helps your water heater run efficiently.
By following these steps, you can ensure that your new thermocouple is installed correctly. This will help your water heater perform at its best.
Before you can test the new thermocouple, you need to reconnect the gas supply. Make sure everything is secure. Turn the gas valve back on slowly. This will allow gas to flow to the water heater again.
Next, you will need to light the pilot light. Follow these steps:
Finally, check if the water heater is working correctly. Here’s what to do:
If the pilot light goes out, you may need to adjust the thermocouple or check for other issues.
By following these steps, you can ensure that your new thermocouple is working properly. If everything looks good, you’re all set!
After you install the new thermocouple, you might face some problems. Don’t worry! Here are some common issues and how to fix them.
If the pilot light keeps going out, it can be frustrating. Here are some reasons why this might happen:
Make sure to check these things first!
Sometimes, the gas supply can cause problems. If you smell gas or hear a hissing sound, follow these steps:
If the thermocouple is not aligned correctly, it may not work. To fix this:
Remember, safety is the most important thing. If you feel unsure, don’t hesitate to ask for help from a professional.
Taking care of your water heater can help it last longer. Here are some tips:
Regular maintenance can save you money and keep your water heater running well.
Sometimes, your water heater might have problems that are hard to fix on your own. If you notice any of these signs, it’s time to call a pro:
Getting help from a professional can save you time and stress. Here are some benefits:
Before you decide to call a professional, think about the costs. Here are some things to consider:
If you feel unsure about fixing your water heater, it’s always best to ask for help. Safety should come first!
A thermocouple is a small device that helps keep your water heater safe. It checks the temperature and makes sure the pilot light stays on. If it’s not working right, your heater might not work or could be dangerous.
You might notice the pilot light goes out often, or the water heater doesn’t heat water properly. If you see these signs, your thermocouple might need to be checked or replaced.
You’ll need a few basic tools like a wrench, a screwdriver, and maybe some pliers. Having safety gear like gloves and goggles is also a good idea.
If you follow safety steps and know what to do, you can replace it yourself. But if you feel unsure, it’s best to ask a professional for help.
The cost can vary. The part itself might be around $20 to $50, but if you hire someone to do it, the total could be $100 or more, depending on where you live.
A thermocouple can last several years, usually between 5 to 10 years. If your water heater is older, it might be a good idea to check it.
If the pilot light still won’t stay on, check if the thermocouple is installed correctly. You might also need to look at the gas supply or other parts of the heater.
If you try to fix it and it still doesn’t work, or if you notice any gas leaks or strange noises, it’s best to call a professional. They can help keep you safe.

