Can You Transport a Water Heater on Its Side? Expert Advice and Safety Tips
So, you’ve got a water heater that needs moving. Maybe you’re swapping out an old one, or perhaps you’re just…

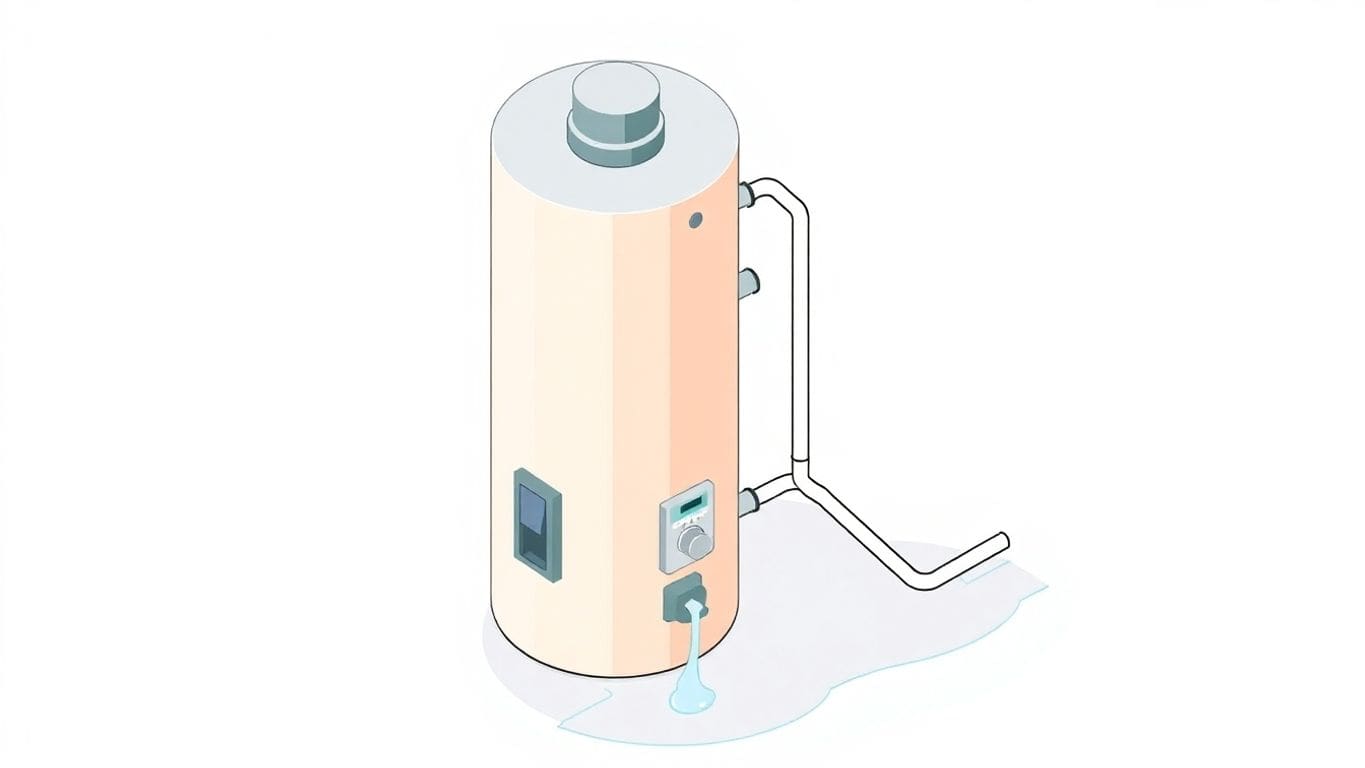
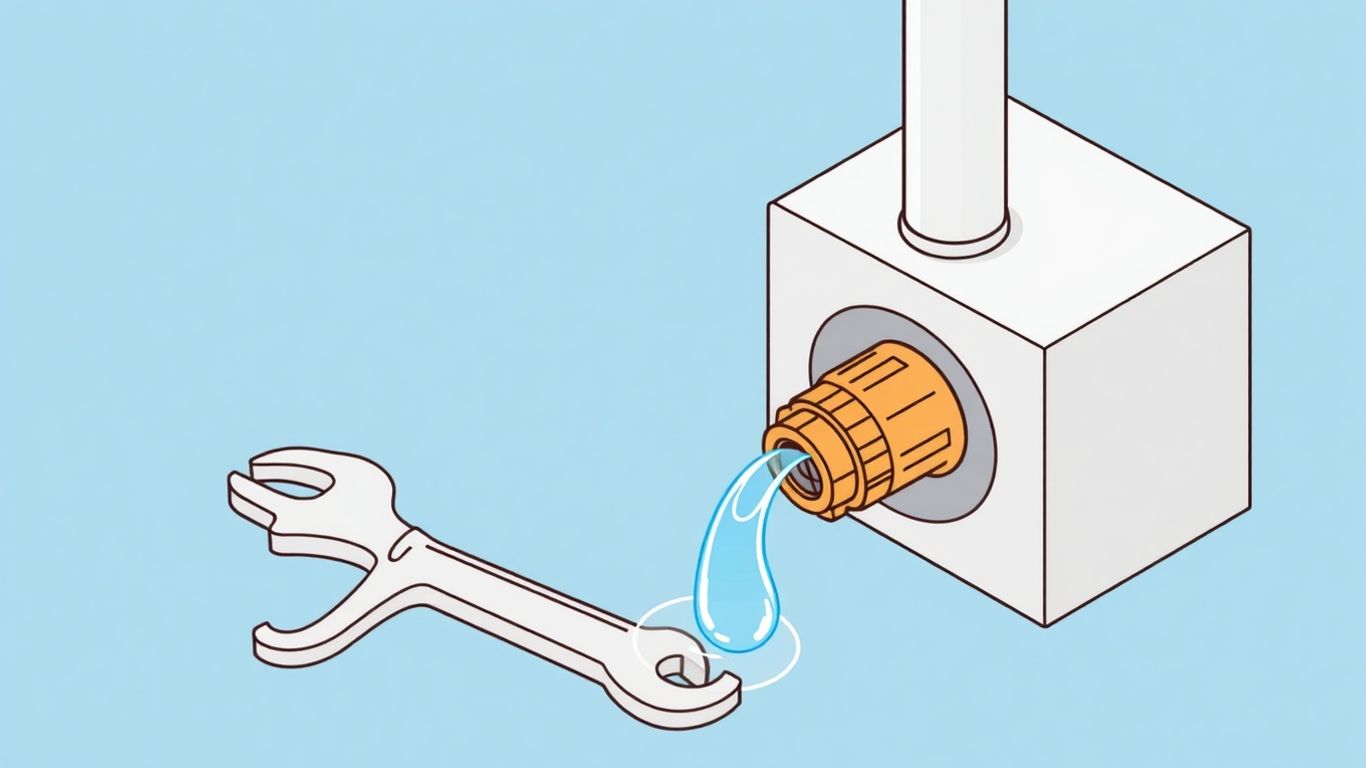
So, you’ve noticed water dripping from your water heater’s pressure relief valve. It’s a common issue, and honestly, it can be a bit alarming. But don’t panic just yet. Often, a water heater leaking from the pressure release valve isn’t a sign of a disaster waiting to happen. It usually points to a specific problem that you can likely fix yourself with a little guidance. This guide will help you figure out what’s going on and how to get that leak stopped.
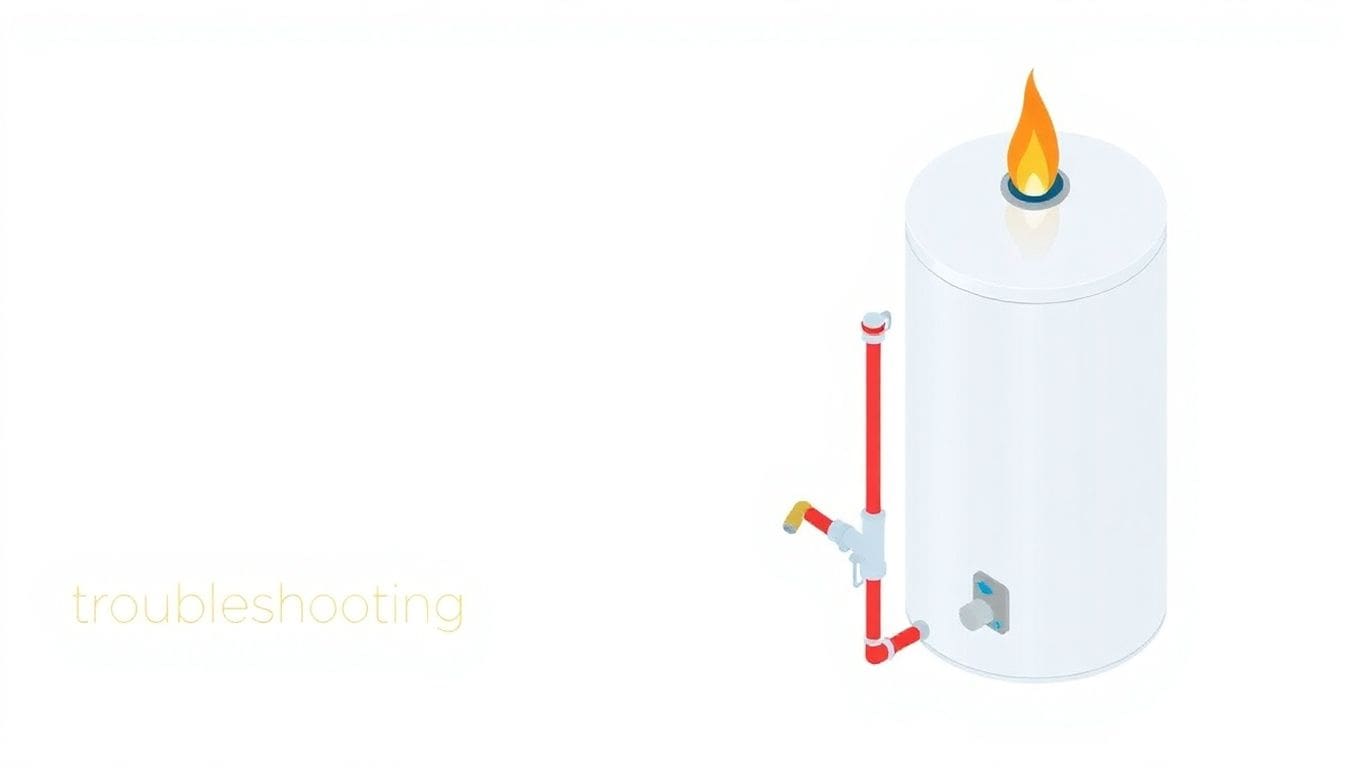
Think of your water heater’s pressure relief valve as a safety guard. Its main job is to let out extra pressure or heat from the tank. This stops the tank from getting too full of pressure, which could cause damage or even a dangerous situation. It’s a simple but really important part.
This valve is like your water heater’s emergency exit. When the water inside gets too hot or the pressure builds up too much, the valve opens up. It lets out some hot water or steam through a pipe. This keeps the pressure at a safe level. Without a working pressure relief valve, your water heater could become a serious safety hazard. It protects your home from potential damage caused by too much pressure.
So, why would this safety guard start leaking? There are a few common reasons:
Spotting a leak early is key. Here’s what you might see or hear:
If you see water around your water heater, don’t ignore it. It’s your water heater’s way of telling you something isn’t quite right, and it’s best to check it out sooner rather than later.
Okay, so you’ve noticed some water where it shouldn’t be. That’s never a fun discovery. Before you start grabbing tools, let’s figure out exactly where that leak is coming from. It might be something simple, or it might point to a bigger issue. We need to be detectives here.
First things first, take a good look around the base of your water heater. Is there a puddle? Is the floor just damp? Sometimes, the water might not be coming directly from the heater itself, but from a pipe connected to it. Wipe down the area with a dry cloth or paper towels. Then, just watch for a bit. See where the water starts to show up again. This simple step can save you a lot of guesswork.
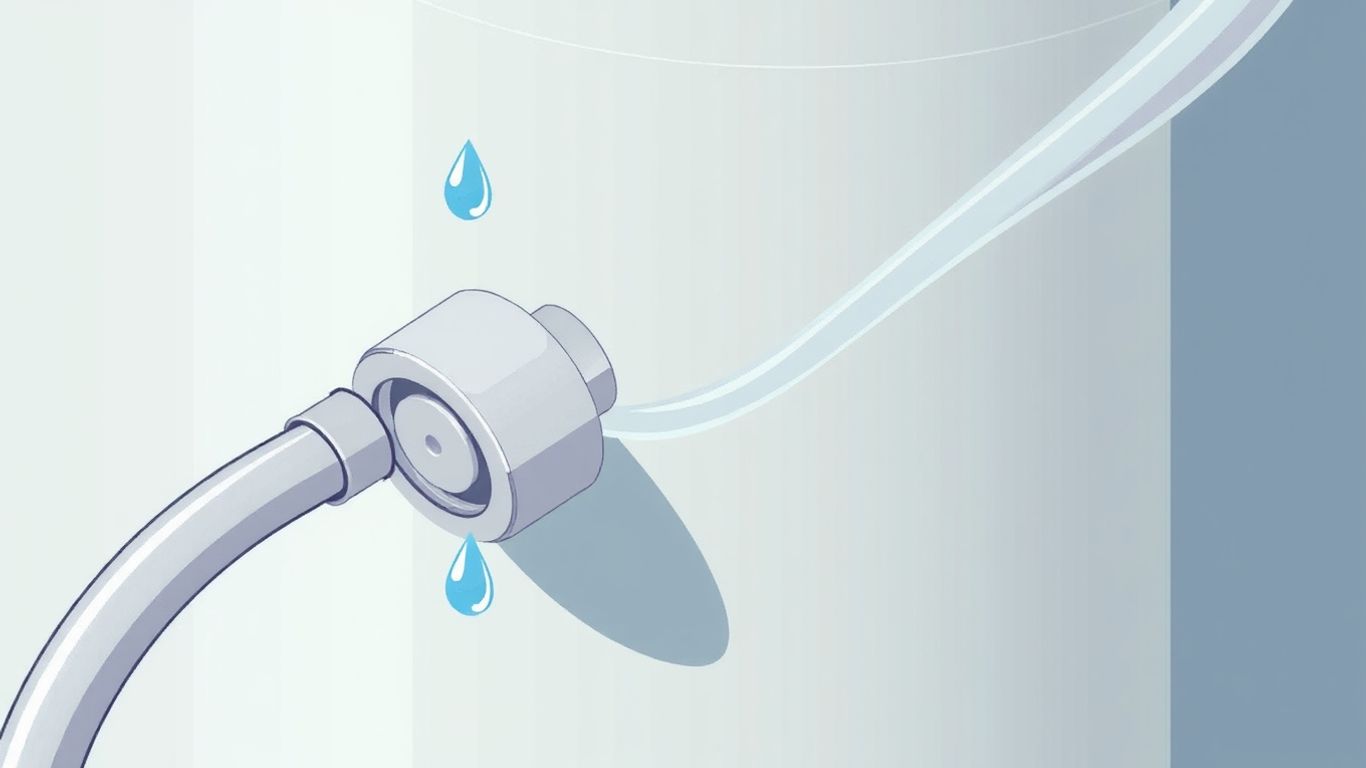
This valve, often called the T&P valve (Temperature and Pressure relief valve), is a safety feature. It’s designed to let out water if the pressure or temperature inside the tank gets too high. If you see water dripping from this valve or the pipe attached to it, that’s a big clue. It could mean the valve itself is faulty, or there’s too much pressure building up inside the tank. You’ll usually find it on the side or top of the tank with a small lever on it.
Water heaters have several pipes and fittings connected to them. There’s the cold water coming in, the hot water going out, and a drain valve at the bottom. Give each of these connections a good look. Are any of them wet? Do you see drips forming? Sometimes, a connection might just be loose, or a seal might have worn out over time. Don’t forget to check the fittings where heating elements might be on electric models.
This is usually the most serious issue. If the inside of your water heater tank has rusted through, you’ll likely see rust-colored water coming out of your faucets, especially when you first turn on the hot water. You might also see rust spots or a general rusty appearance on the outside of the tank itself, particularly near the bottom. If the tank itself is corroding, it’s often time for a new water heater.
Before you even think about touching that water heater, safety has to be your number one priority. Working with water and electricity or gas can be dangerous if you’re not careful. Let’s make sure you’re protected before we get started.
If your water heater runs on electricity, you need to cut off the power supply. This stops any chance of getting an electric shock. You’ll usually find a breaker switch for the water heater in your home’s main electrical panel. It might be labeled something like "Water Heater" or "WH." Flip that breaker to the "Off" position. It’s a good idea to double-check that the power is off by trying to turn on the hot water. If it’s cold, you’ve likely done it right.
For water heaters that use natural gas or propane, you need to shut off the gas. Look for a gas shut-off valve on the gas pipe leading to the water heater. This valve usually has a handle that runs parallel to the pipe when it’s open. To shut it off, turn the handle so it’s perpendicular (like a "T") to the pipe. You might also want to turn the temperature control knob on the water heater itself to the "Off" or "Pilot" setting, depending on your model.
Finally, you need to stop any more water from entering the tank. Find the cold water pipe that goes into your water heater. There should be a shut-off valve on this pipe. This valve is often located just above the water heater. Turn the handle of this valve to the "Off" position. This stops water from flowing into the tank while you’re working on it.
Sometimes, the water heater’s pressure relief valve might leak because there’s simply too much pressure building up inside the tank. Think of it like a soda bottle that’s been shaken too much – eventually, something has to give!
Your home’s main water line has a certain amount of pressure. If this pressure is too high, it can push against the water heater and cause the relief valve to open. Anything over 80 pounds per square inch (psi) is generally considered high water pressure. This can happen for a few reasons, including issues with the city’s water supply or problems with your home’s own pressure-reducing valve, if you have one.
To check your home’s water pressure, you’ll need a simple gauge that screws onto an outdoor faucet or a laundry room faucet. Here’s how to do it:
If the pressure is consistently above 80 psi, you might need to have a plumber check or adjust your home’s main pressure-reducing valve. This valve is usually located where the water line enters your house.
If your home has a pressure-reducing valve or a check valve on the main water line, you might also need an expansion tank. When water heats up, it expands. In a closed system (like one with a pressure-reducing valve), this expansion has nowhere to go, causing pressure to rise. An expansion tank is like a small, extra tank that gives the heated, expanding water a place to go. This helps keep the pressure steady and prevents it from stressing your water heater’s relief valve.
Installing an expansion tank is usually a job for a plumber, but knowing why it’s important can help you understand if this is the right solution for your leaky valve.
Over time, minerals from your water can settle at the bottom of your water heater tank. This stuff is called sediment. It can cause a few problems, and one of them is making your pressure relief valve leak.
Sediment can get packed in around the valve seat, which is where the valve seals shut. When this happens, the valve might not be able to seal completely, causing a slow drip. It can also make the valve stick, or it might cause the valve to open when the pressure isn’t actually too high. Think of it like grit getting stuck in a door hinge – it makes things not work right.
One of the best ways to deal with sediment is to flush out your water heater tank. This is something you can often do yourself. It involves draining the tank to remove the loose sediment.
Here’s a basic idea of how it’s done:
Sometimes, the inside of your water heater tank can start to rust. This is called corrosion. If you see signs of rust around the pressure relief valve or if the tank itself looks damaged, it might be time for a new water heater. Corrosion can weaken the tank and lead to bigger problems than just a leaky valve. If you suspect your tank is badly corroded, it’s usually best to replace the whole unit. It’s not worth the risk of a tank failure. A professional can help you figure out if it’s just the valve or if the whole tank needs to go.
If your water heater’s pressure relief valve is leaking, it might be time to swap it out. Don’t worry, it’s a job you can tackle yourself with a few tools and some patience. We’ll guide you through it.
First things first, you need to make sure the water level in the tank is below the valve. This stops a flood when you take the old one out.
Now that the water level is down, you can remove the old valve.
Time to put in the new valve. Make sure you have the right replacement part for your water heater model.
Using Teflon tape correctly is key. It’s a thin, white tape that you wrap around the threaded part of the valve before screwing it in. This tape fills in tiny gaps, stopping water from leaking out. Wrap it around the threads about three to five times in the same direction the valve will be screwed in. Too much tape can actually cause problems, so a few wraps are usually enough to get a good, watertight seal.
Now that you’ve replaced the valve, it’s time to make sure everything is working right and get your water heater back online. This is a pretty important step, so let’s take our time.
First things first, let’s get that discharge pipe hooked back up to the new pressure relief valve. You’ll want to use a pipe wrench to make sure it’s snug. We don’t want any leaks here, so tighten it up, but don’t go crazy and strip the threads. A good, firm connection is what we’re aiming for.
Before we turn the power or gas back on, we need to fill the tank back up with water. Open the cold water supply valve slowly. Let the tank fill completely. As it fills, keep an eye on the new valve and the pipe connection. Look and feel for any drips or leaks. If you see any water escaping, shut off the supply and double-check those connections. It’s much easier to fix a small leak now than a big mess later.
Once you’re sure there are no leaks, it’s time to bring your water heater back to life.
This is the final check. We need to test that new pressure relief valve to make sure it’s doing its job.
If water keeps dripping or flowing after you release the lever, or if the lever feels stuck, you might have a problem. It’s possible the new valve is faulty, or maybe there’s still an issue with the pressure in your system. If this happens, it’s time to stop and call a professional.
Sometimes, a leaky water heater is more than just a simple fix. While you’ve learned a lot about your pressure relief valve, there are times when it’s best to let a pro handle it. Don’t feel bad if you need to call for help; some jobs are just too tricky or dangerous for a DIYer.
Your pressure relief valve has a lever on it. You can test this lever by gently lifting it for a second or two. If it feels stuck or doesn’t move freely, that’s a red flag. A stuck lever means the valve might not work when you really need it to. This is a serious safety issue. If you try to force it and it still won’t budge, it’s time to call a plumber. They have the right tools and know-how to free it up or replace it safely.
You’ve followed the steps, replaced the valve, and used the Teflon tape. You turn the water back on, and… it’s still dripping. This can be frustrating, but it happens. A persistent leak could mean a few things: maybe the new valve isn’t seated quite right, there’s a problem with the threads on the tank opening, or perhaps the issue isn’t the valve at all. If your leak continues after you’ve done the work, it’s a good sign to bring in someone with more experience.
When you inspected your water heater, did you notice a lot of rust or corrosion, especially around the valve or the tank itself? Rust isn’t just ugly; it can weaken metal. If the corrosion looks bad, it might mean the tank itself is starting to fail. This is a major problem that could lead to a much bigger leak or even a burst tank. A professional can assess the extent of the corrosion and tell you if the tank needs replacing.
Here are a few more situations where calling a professional is the smartest move:
Remember, your water heater is a complex appliance. While DIY is great for many things, safety comes first. If you’re ever in doubt, calling a qualified plumber is always the best choice. They can get the job done right and give you peace of mind.
Your water heater’s pressure relief valve might be leaking for a few reasons. Sometimes, the water pressure in your home is just too high, making the valve do its job by letting out extra pressure. Other times, minerals and gunk can build up inside the valve, stopping it from closing properly. It’s also possible the valve is just old and worn out and needs to be replaced. Think of it like a faucet that won’t quite shut off – the same idea applies here.
A tiny drip now and then might be normal, especially as the water heats up and expands. This is the valve doing its job to keep things safe. However, if you see a steady stream or a lot of water coming from it, that’s a sign something isn’t right and you should look into it further.
You can test it yourself! First, make sure you turn off the power or gas to your water heater. Then, place a bucket under the pipe connected to the valve. Gently pull the lever on the valve for a few seconds. You should see water flow out. Let go of the lever, and the water should stop flowing pretty quickly. If it keeps dripping or the lever is stuck, it’s time to consider replacing it.
If the valve is leaking because of high pressure, ignoring it means that high pressure could damage other parts of your water heater or plumbing system. If the valve itself is faulty and not releasing pressure when it should, the tank could become dangerously over-pressurized, which is a serious safety risk. Plus, constant leaks can lead to water damage around your heater and even mold growth.
Not usually! Most of the time, a leaking pressure relief valve can be replaced on its own. It’s a fairly common part to swap out. You’ll only need to replace the entire water heater if the tank itself is rusted through or severely damaged, which is a separate issue from the valve leaking.
They do different jobs. The pressure relief valve (often called a T&P valve for Temperature and Pressure) is a safety device that opens automatically if the water gets too hot or the pressure gets too high. The drain valve is usually at the bottom of the tank and is there for you to manually drain the water out, like when you need to flush the tank or replace the valve.
You shouldn’t try to just tighten the pressure relief valve to stop a leak. These valves are designed to open and close at specific pressure levels for safety. Tightening it might seem like a quick fix, but it could prevent it from working correctly when it really needs to, creating a dangerous situation. If it’s leaking, it usually needs to be tested, flushed, or replaced.
It’s a good idea to test your pressure relief valve at least once a year. This helps ensure it’s not stuck and will work when needed. You can do this by following the steps to lift the lever, making sure water flows out and then stops. If you have hard water or notice any issues, testing it more often might be wise.