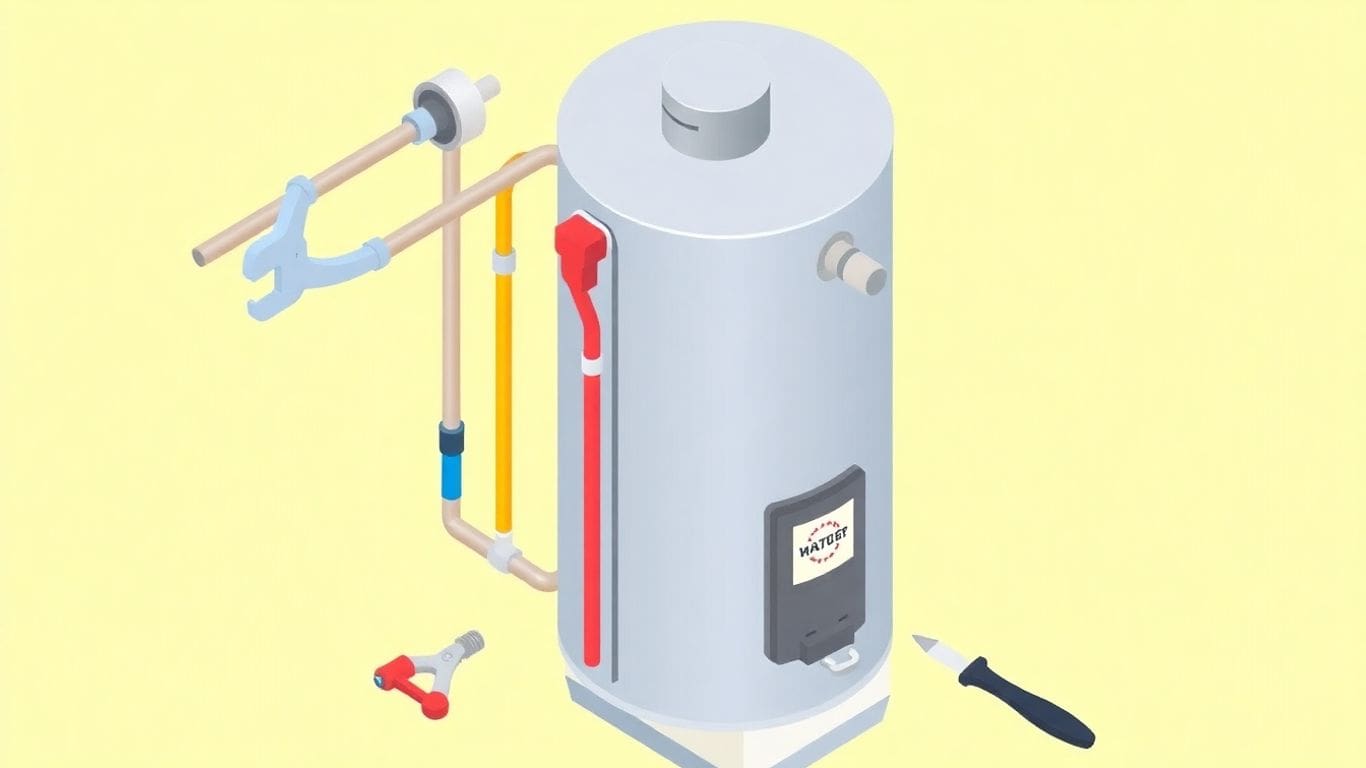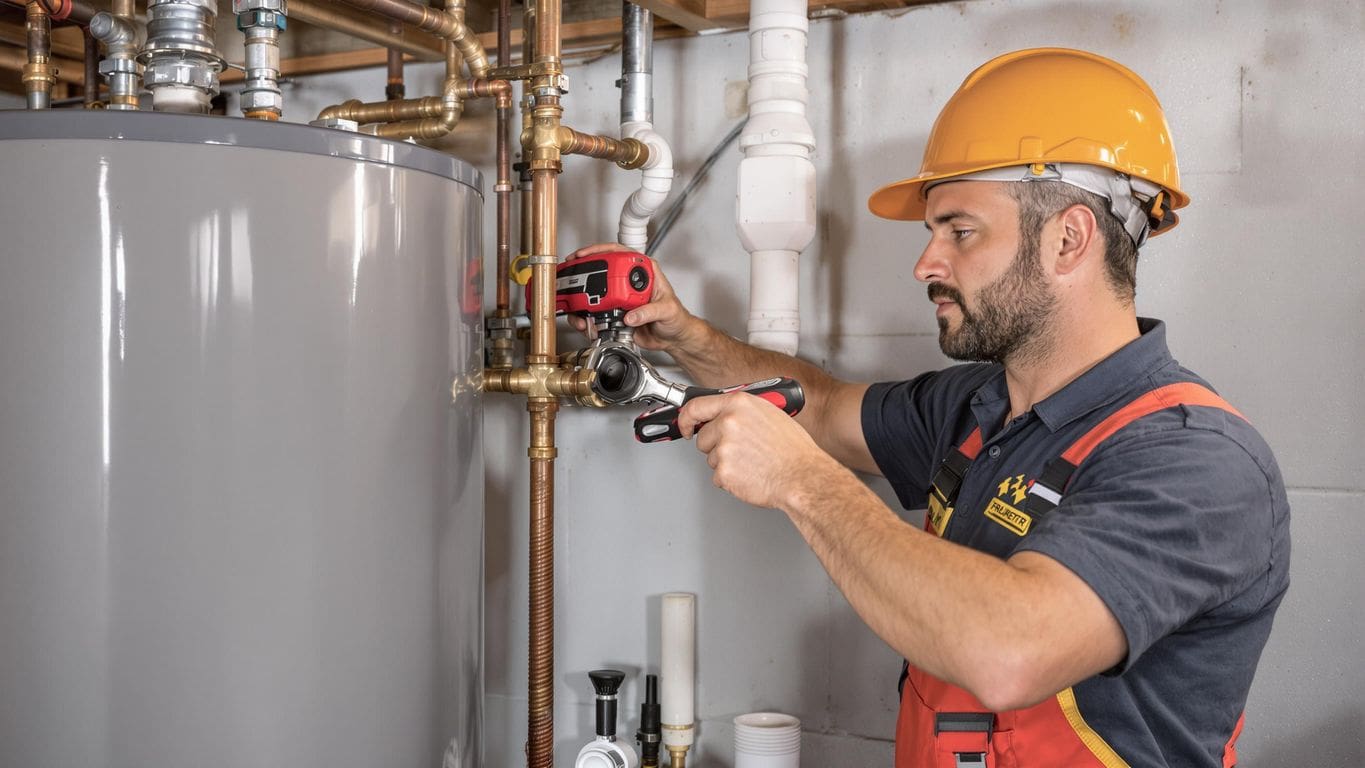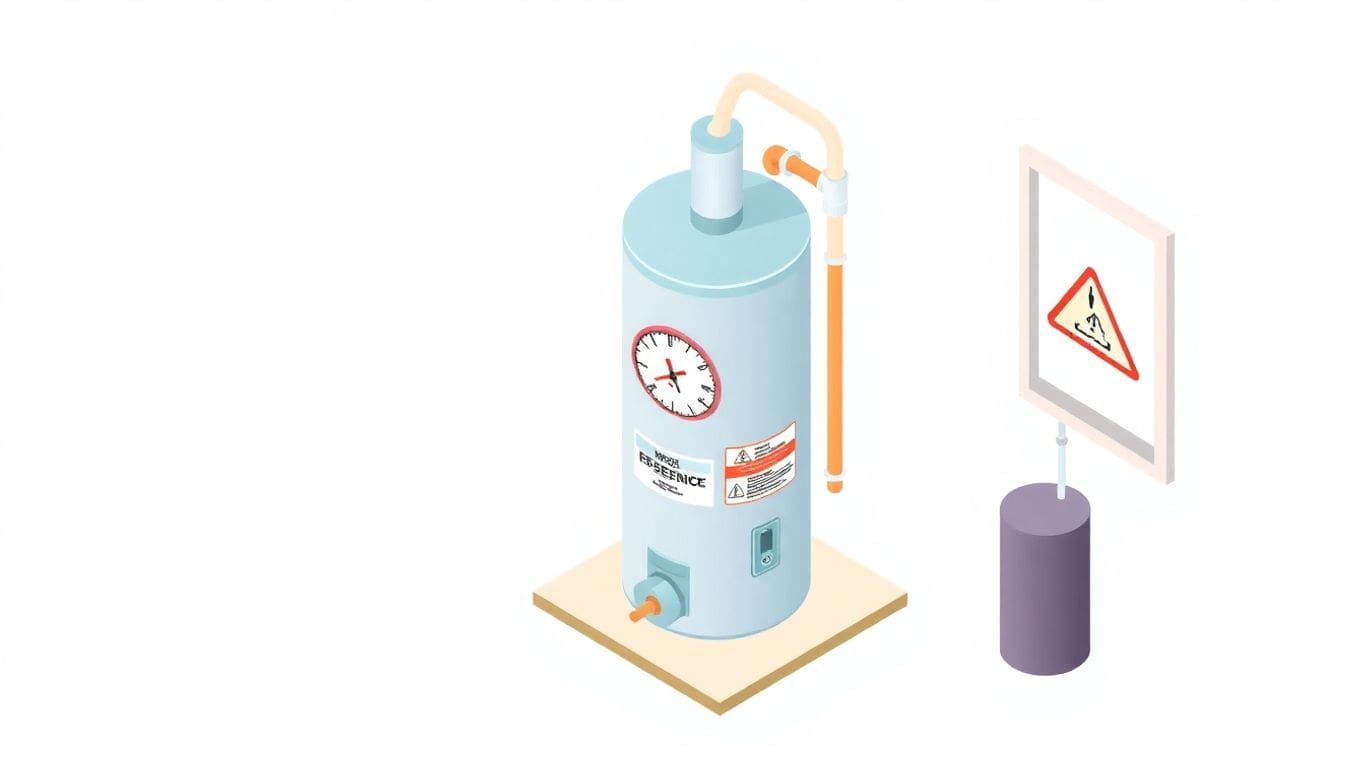
Ever thought about installing a water heater expansion tank but didn’t know where to start? You’re in the right place. This guide breaks it down for you step-by-step, making sure you get the job done without a hitch. Whether you’re a seasoned DIYer or just trying your hand at something new, this article will walk you through everything you need to know about how to install a water heater expansion tank. Let’s dive in and get your water heater running smoothly!
When you heat water, it expands. This expansion increases the pressure inside your water heater and plumbing. A water heater expansion tank is a small tank that helps manage this pressure. It acts like a safety valve, preventing potential damage to your water heater and pipes. The tank has two sections divided by a rubber diaphragm. One side is connected to your plumbing and fills with water, while the other side has air under pressure. As the water heats and expands, it moves into the tank, compressing the air and absorbing the extra pressure.
Without an expansion tank, the pressure from heated water can cause serious issues. This pressure might lead to leaks or even burst pipes. Expansion tanks are especially important in homes with closed water systems. These systems have backflow prevention devices or check valves that stop water from flowing back into the main water line. In such setups, the expansion tank is crucial to relieve the pressure that builds up.
Using an expansion tank gives you peace of mind, knowing your home’s plumbing is protected from pressure-related problems.
Expansion tanks come in various types and sizes to suit different water heating systems. Here’s a quick list of what you might find:
Choosing the right size is crucial. If the tank is too small, it won’t effectively manage the pressure. If it’s too large, it might not fit well or could be unnecessary. Always check your water heater’s specifications to ensure compatibility. Consulting a professional can also help you pick the right tank for your needs.
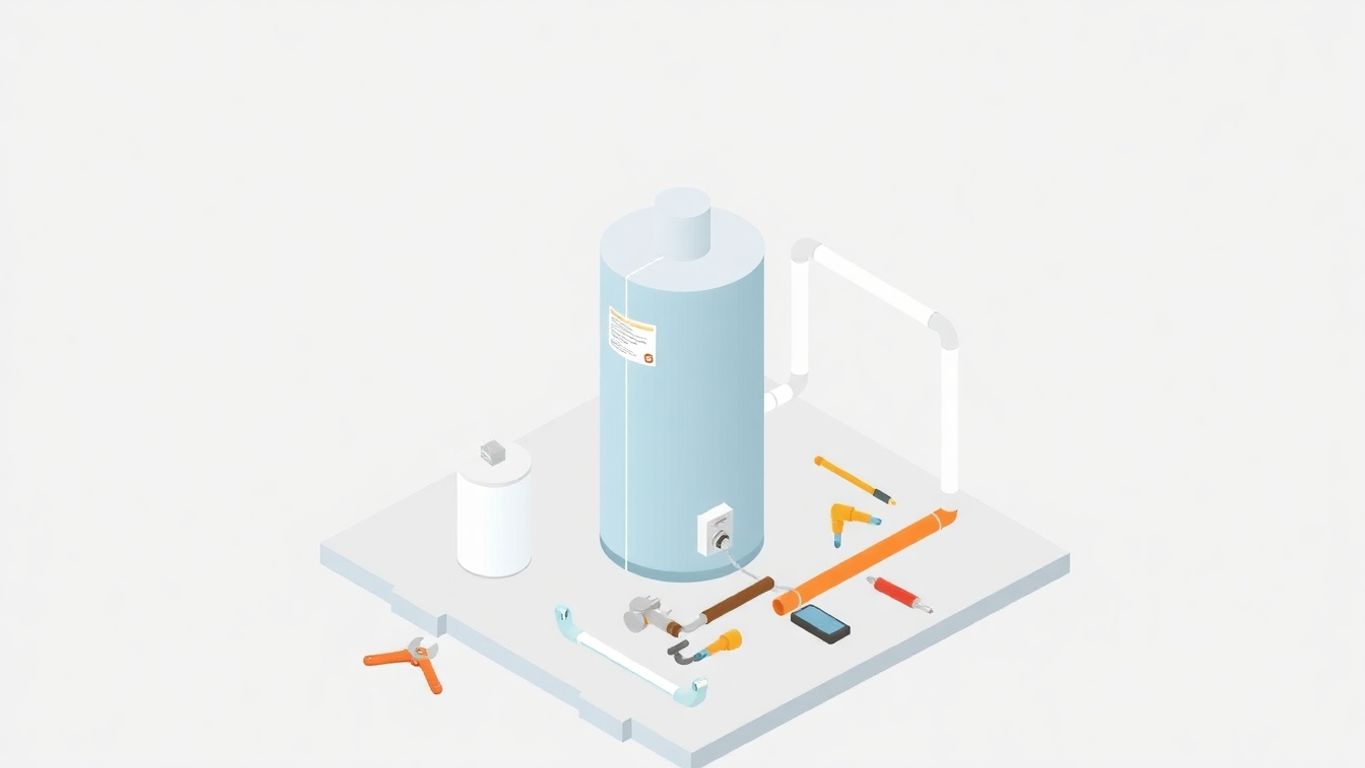
Before you begin installing your water heater expansion tank, gather all the tools you’ll need. This way, you won’t have to stop midway to hunt for something. Here’s a handy list:
Having these tools ready can save you a ton of time and make the process smoother.
Picking the best spot for your water heater is key. You want it to work well and be safe. Think about these points:
Choosing the right location helps your water heater last longer and run efficiently.
Safety first! Before you start, take these precautions:
Remember, being prepared and cautious can prevent accidents and ensure a successful installation. Take your time and follow each step carefully.
To start, you need to shut off the power and water supply to your water heater. This step is really important for your safety. You don’t want any water flowing while you’re working. Look for the main water valve and turn it off. Also, make sure the heater’s power is completely off.
Next, you’ll need to check the air pressure in your expansion tank. Use a simple pressure gauge for this. The pressure should match your home’s water pressure. If it’s not right, adjust it with a hand pump. This makes sure the tank works properly.
Find a good spot near your water heater to put the expansion tank. It should be on the cold water supply line. Use strong brackets or straps to keep it in place. Make sure it’s tight and won’t move around. This prevents any damage from vibrations.
First, you need to connect the cold water inlet pipe. This pipe brings cold water into your water heater. You’ll start by turning off the water supply. Make sure to use a pipe cutter or hacksaw to cut the cold water pipe near the heater. Clean the ends of the pipe with sandpaper or emery cloth to make sure they’re smooth. Then, attach a T-fitting to the cold water pipe. Use either solder for copper pipes or compression fittings for PEX pipes. This T-fitting will help you connect the expansion tank.
Next, let’s hook up the hot water outlet pipe. This pipe carries hot water out of your heater to the rest of your home. Make sure the connection is secure by using the right fittings. You might need to use Teflon tape on the threads to prevent leaks. Once the hot water pipe is connected, check that everything is tight and snug.
Finally, you need to check for leaks. Turn the water back on slowly and watch the connections closely. Look for any drips or wet spots. If you see bubbles when you apply a soap and water mix, you have a leak. Tighten any loose connections or add more Teflon tape if needed.
Taking time to ensure your connections are leak-free now can save you from big headaches later. A small leak can turn into a big problem if not fixed right away.
Connecting these pipes might seem tricky, but with patience and attention, you can do it. Remember, if your water heater is over 20 years old, it might be time to think about a modern, eco-friendly model.
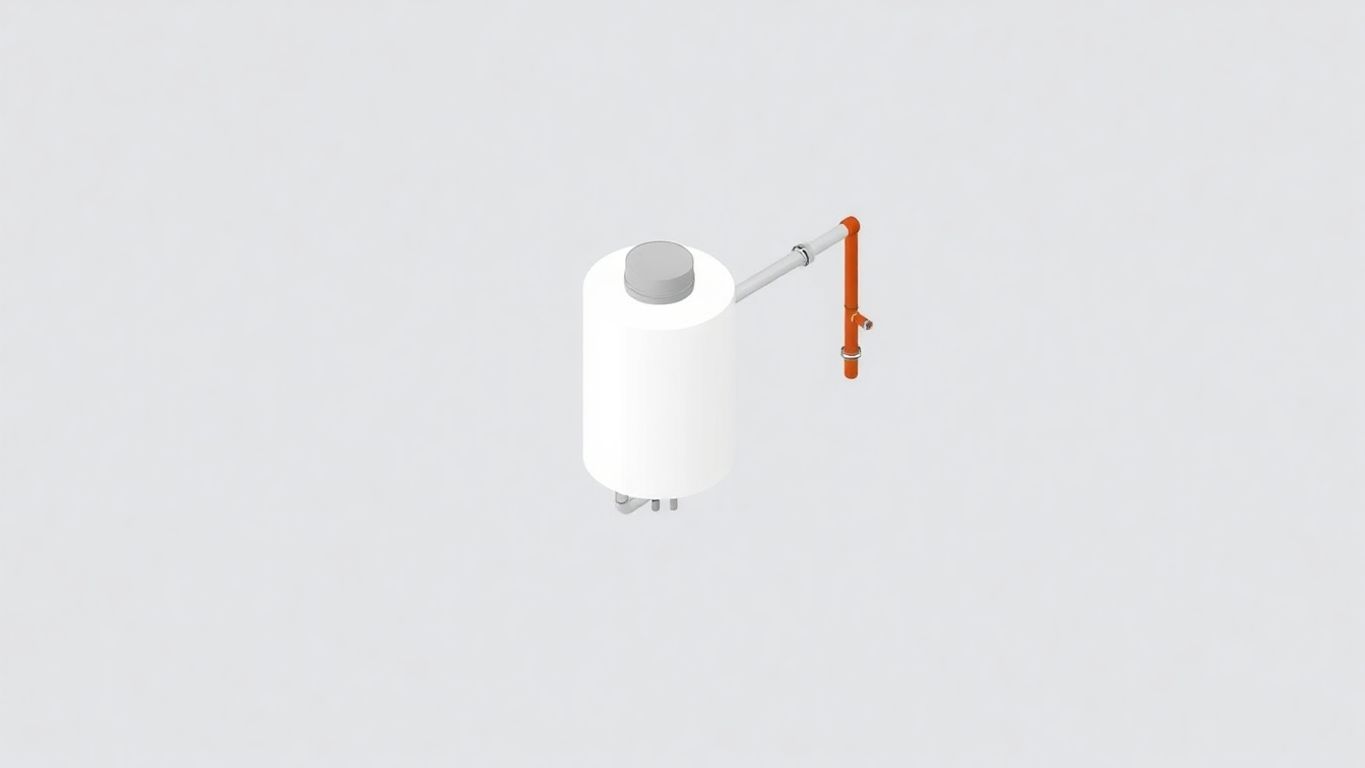
When you install an expansion tank, it’s super important to keep it stable. Use sturdy straps or brackets to hold it in place. This prevents it from moving around or vibrating, which can cause damage over time. Make sure the straps or brackets are strong enough to support the tank’s weight. You don’t want it wobbling or shifting every time the water pressure changes.
Proper alignment is a big deal. If the tank isn’t lined up correctly, it might not work right. Place it vertically, close to the water heater. This makes it easier to check and maintain later. A well-aligned tank helps keep the whole system running smoothly.
Movement and vibration aren’t just noisy—they can lead to leaks and other issues. To stop this, check that everything is tightened securely. Use rubber pads or similar materials to absorb vibrations. This little step can extend the life of your tank and save you from future headaches.
Keeping your expansion tank secure isn’t just about following steps—it’s about making sure your whole water system stays safe and sound. A little extra care now can prevent big problems later.
Once your expansion tank is in place, it’s time to check for leaks. Turn the water supply back on and carefully inspect all the connections. Look for any drips or moisture around the fittings. If you spot a leak, tighten the connections using a wrench. You might need to add some pipe dope or Teflon tape to ensure a snug fit.
After securing the connections, it’s important to verify the pressure inside the expansion tank. Use a tire pressure gauge to check the air pressure. This should match the water pressure in your system, which is usually around 50-60 psi. Adjust the pressure as needed to align with your system’s requirements.
With everything checked and adjusted, it’s time to restore the power and water supply to your heater. Flip the switch or plug it back in if it’s electric. For gas heaters, make sure the pilot light is on. Once powered, let the system run for a bit and do a final check for leaks or unusual noises.
Take your time with these checks. They help ensure your expansion tank and water heater work together smoothly, preventing future headaches. A well-installed system means less worry about sudden leaks or pressure problems. If you’re replacing an old water heater, these steps are crucial for a seamless transition to a new setup. Regular checks also help keep your system efficient and safe.
One of the simplest yet most important tasks is regularly checking the air pressure in your expansion tank. This is key to making sure it works right. You can use a standard air pressure gauge for this. Make sure the air pressure matches the water pressure in your plumbing system. If it doesn’t, your tank might not handle the water expansion properly, which can cause problems.
Your expansion tank can get worn out or damaged over time. Look for signs like rust or leaks around the fittings. If you spot any issues, it might be time for a repair or replacement. Regular inspections help catch these problems early, preventing bigger issues down the road.
To keep your expansion tank working for a long time, regular maintenance is crucial. By staying on top of these checks, you help your water heating system run smoothly. This not only extends the tank’s life but also keeps your plumbing system safe and efficient.
Regular maintenance isn’t just about fixing problems; it’s about preventing them. By keeping an eye on your expansion tank, you can save yourself from unexpected failures and costly repairs.
Remember: A well-maintained expansion tank means a healthier plumbing system overall.
Leaks around your water heater expansion tank can be a real headache. The first thing you want to do is check all the connections. Make sure they’re tight and use Teflon tape or pipe dope to seal them up if needed. If the leak is coming from the tank itself, it might be a bladder failure. Unfortunately, if the bladder inside the tank is busted, you’ll probably need to replace the whole tank.
Pressure issues can mess up your whole system. You should start by checking the air pressure in the expansion tank with a tire pressure gauge. The pressure should match your home’s water pressure. If it’s off, adjust it using a standard air pump. Sometimes, pressure problems are a sign of a bigger issue, like a faulty pressure valve. In that case, you might need to call in a pro.
Sometimes, despite your best efforts, things just don’t work out. If you’ve tried fixing leaks and adjusting pressure but still face problems, it might be time to call a professional. They can help diagnose the issue and offer solutions that might not be obvious to a DIYer. Remember, it’s always better to ask for help than to risk causing more damage.
Picking the right expansion tank is like finding the perfect shoe. It needs to fit just right. Too big or too small, and it won’t work properly. Consider the size of your water heater and the pressure in your plumbing system. A tank that’s too small might not handle pressure well, while a too-large tank might not fit your space. It’s important to match the tank to your system’s needs.
Always read the instructions that come with your expansion tank. Manufacturers know their products best. They provide guidelines to ensure everything works smoothly. Skipping this step can lead to mistakes during installation or operation.
Local building codes are rules that ensure safety and efficiency in your home. Before installing an expansion tank, check these codes. They might have specific requirements for installation. Following these rules not only keeps you safe but also prevents any legal issues.
Remember, a well-installed expansion tank helps your water heater work better and last longer. It’s all about keeping things running smoothly and safely.
For more insights on maintaining your water heating system, check out our comprehensive guides on water heater maintenance, including fixing thermocouples, installing recirculating pumps, and addressing leaks. Regular upkeep is key to optimal performance and safety.
A water heater expansion tank helps control the pressure inside your plumbing system. When water heats up, it expands, and the tank provides a place for this extra water to go, preventing pressure buildup.
While not always required, installing an expansion tank can be very beneficial. It prevents excess pressure that can damage your water heater and plumbing, extending their lifespan.
The size of the expansion tank depends on the size of your water heater and the pressure in your plumbing system. It’s best to consult the manufacturer’s guidelines or a professional plumber.
Yes, if you’re comfortable with basic plumbing tasks. However, if you’re unsure, it’s best to hire a professional to ensure it’s done correctly and safely.
You’ll need a pipe wrench, Teflon tape, and possibly a pipe cutter. Make sure to have all the necessary tools before starting the installation.
The expansion tank should be installed on the cold water line near your water heater. This helps manage the pressure from thermal expansion effectively.
It’s a good idea to check your expansion tank at least once a year. Look for signs of wear or damage, and ensure the air pressure matches your water pressure.
If you notice a leak, it might be due to a loose connection or damage. Tighten any loose fittings, and if the leak persists, consider replacing the tank or consulting a professional.

