So, you’ve noticed a leak in your water heater shut off valve, and now you’re wondering what to do next. Don’t worry, you’re not alone. Many homeowners face this issue, and while it might seem daunting, fixing it is often a straightforward task. This guide will walk you through the process step-by-step, helping you tackle the problem head-on and get things back to normal.
Water heater shut off valves can leak for a bunch of reasons. Worn-out seals are a biggie. Over time, the seals inside the valve wear down and start to let water seep through. Another common cause is corrosion. If your valve is old or the water is hard, rust can build up and make the valve leak. Sometimes, it’s just a matter of loose fittings. If the valve wasn’t installed tightly or has come loose over time, water can sneak through those gaps.
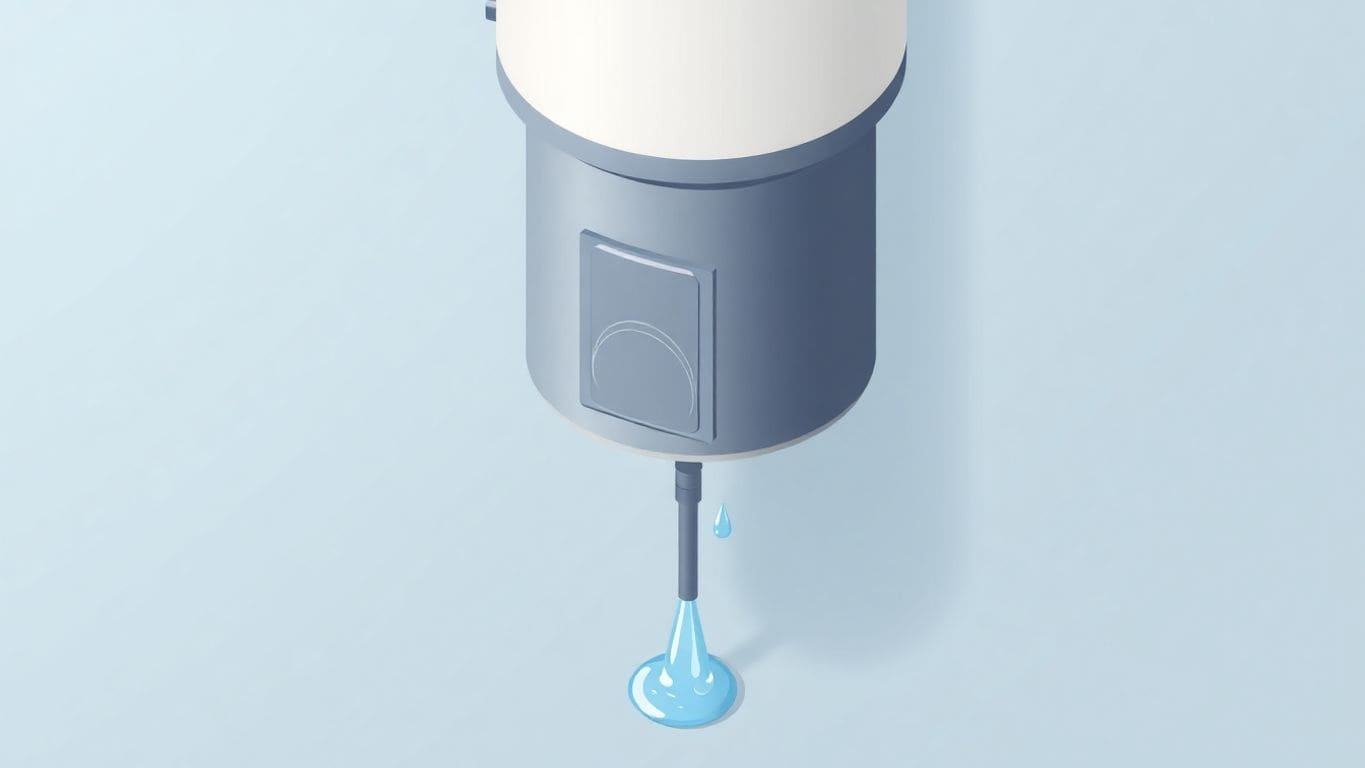
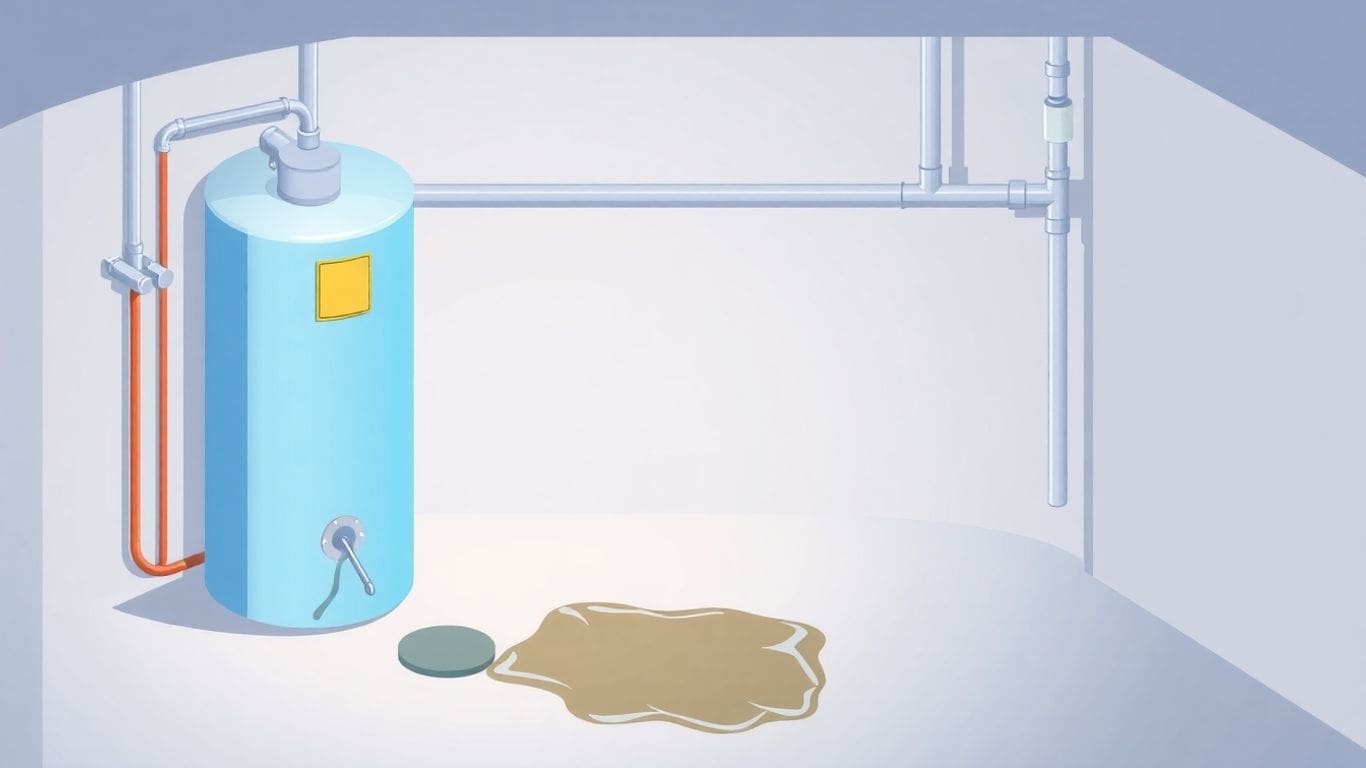
Spotting a leaky valve early can save you a lot of trouble. Look out for water droplets or puddles around the valve. If you notice your water pressure dropping, that might be a sign too. Keep an eye out for any rust or mineral deposits on the valve. These are telltale signs that water is getting where it shouldn’t.
Getting on top of a leaky valve quickly is super important. A leak might seem small, but it can lead to big problems. Water damage can mess up your floors and walls, and it can even cause mold. Plus, a leaky valve means wasted water, which can hike up your water bill. Fixing it sooner rather than later can save you money and headaches down the road.
Don’t wait until it’s too late. A little leak can turn into a big disaster if you ignore it. Taking care of it now will save you from future stress and cost.
Before you dive into fixing that leaky water heater shut-off valve, let’s take a moment to focus on safety. Your safety is the most important thing here. Water and electricity don’t mix well, and hot water can cause burns. So, follow these steps to keep yourself safe during the repair.
Taking these safety precautions seriously can help you avoid accidents and injuries. If you’re ever unsure about any step, it’s always better to call a professional plumber for help.
Before you get started on fixing that leaky shut-off valve, you’ll need a few tools. Having the right tools makes the job easier and faster. Here’s what you’ll need:
You’ll want to have some materials on hand to ensure a solid repair. Here’s a quick list:
Finding the right parts is crucial. Most of these can be found at your local hardware store. You can also check:
Before you start, make sure you have everything you need. Running back and forth to the store can be frustrating and slow down your progress. Being prepared helps you fix the leak quickly and efficiently.
First, you need to turn off the main water supply. This is crucial to prevent water from gushing out while you work. Grab an adjustable wrench and loosen the bonnet nut on the leaky valve. This nut is usually located just below the handle. Be gentle and patient; you don’t want to damage the valve.
Once the nut is loose, pull it back to reveal the spindle. Wrap Teflon packing around the spindle. This material helps seal the valve and stop the leak. Make sure you wrap it snugly but not too tight.
Now, slide the bonnet nut back into place. Use your wrench to tighten it, but be careful not to overtighten. Overdoing it might cause more leaks or damage.
Take your time with each step. Rushing can lead to mistakes and more leaks later on.
After reassembling, turn the water supply back on slowly. Check the valve to ensure it’s not leaking anymore. If it is, you might need to repeat the steps or consult a plumber.
Alright, you’ve done the hard part. Now it’s time to see if your efforts paid off. Slowly turn the water supply back on. Don’t rush this step. Turning the water on too fast can cause a sudden pressure change, which might mess things up again. Keep an eye on the valve as the water starts to flow.
Once the water is running, check the valve closely. Look for any signs of water seeping out. If you see drips or moisture, the repair might not be complete. Make sure everything is tightened properly. If the leak is still there, you might need to add more Teflon packing or even replace the valve.
After confirming there are no leaks, test the valve’s functionality. Turn it off and on a few times. It should move smoothly without any resistance. If it feels stiff or doesn’t close properly, there might still be an issue. A properly working valve is key to preventing future problems.
Remember, a little patience goes a long way. Fixing leaks isn’t just about stopping the water; it’s about making sure everything works right for the long haul.
If you’re still having trouble, or if things seem more complicated than expected, don’t hesitate to reach out to a professional plumber. They can offer the expertise needed to get your plumbing back in top shape.
Sometimes, even after fixing the valve, you might notice it still leaks a bit. This can be super annoying! Here are a few things you can try:
If the leak persists despite your best efforts, it might be time for a new valve. Here’s when you should consider replacing it:
Sometimes, it’s best to call in the pros. If you’re not confident in your repair skills or if the leak is complex, a professional can help. They have the tools and expertise to fix the problem quickly and safely.
Tip: When a water heater stops heating, it’s not just about fixing leaks. Sometimes, bigger issues lurk, so don’t hesitate to get expert advice.
Regularly checking your shut-off valves can help you spot issues before they become big problems. Inspect the valves every few months to ensure everything is in good shape. Here’s what to look for:
Keeping your valves clean and well-lubricated is crucial. Dirt and grime can cause the valve to stick or not seal properly. Follow these steps to clean and lubricate:
Over time, parts of the valve may wear out and need replacing. This is normal and part of regular maintenance. If you notice any damaged or worn parts, such as seals or washers, replace them promptly to prevent leaks. You can find replacement parts at most hardware stores.
Remember, regular maintenance of your shut-off valves not only helps prevent leaks but also extends their lifespan. Keeping them in good working order is a simple way to avoid bigger plumbing issues down the road.
By taking these steps, you can ensure your shut-off valves remain in top condition, saving you time and money in the long run. If your water heater is over 15 years old, consider upgrading to a new model for better safety and efficiency.
Knowing the different types of shut off valves can help you choose the right one for your needs. Here’s a look at some common types:
Ball valves and gate valves are two popular types of shut off valves. Ball valves use a ball to control the flow of water. When you turn the handle, the ball rotates to either allow or block water flow. They’re great for quick shut-offs and are very durable. On the other hand, gate valves use a gate to stop the flow of water. They’re best for on/off control but not for adjusting water flow. They have a simple design and are great for minimizing pressure drop.
Compression valves are often used in plumbing. These valves work by compressing a rubber or fiber washer against a valve seat. This creates a seal, making them good for controlling water flow in smaller pipes. They are easy to install and replace, which is a plus.
When picking a shut off valve, think about what you need it for. Here are a few things to consider:
Picking the right shut off valve is important for your plumbing system. It can make a big difference in how well your system works and how long it lasts. If your water heater is over 20 years old, it might be time to consider upgrading to avoid leaks and save on energy costs.
Sometimes, fixing a leaky valve isn’t as simple as it seems. If you’re unsure about what’s wrong or how to fix it, it’s best to call in a professional. Here are some signs that you might need expert help:
Calling a professional plumber can save you time and stress. Here’s why:
Getting a professional involved can mean the difference between a quick fix and a never-ending problem. They bring peace of mind by ensuring everything is done correctly.
When you’re ready to hire a plumber, it’s important to find someone you can trust. Here are some tips:
If your water heater is over 16 years old, it might be time for an upgrade. Upgrading to a more energy-efficient model can lead to significant savings on utility bills. Hiring a qualified technician is crucial for safe installation.
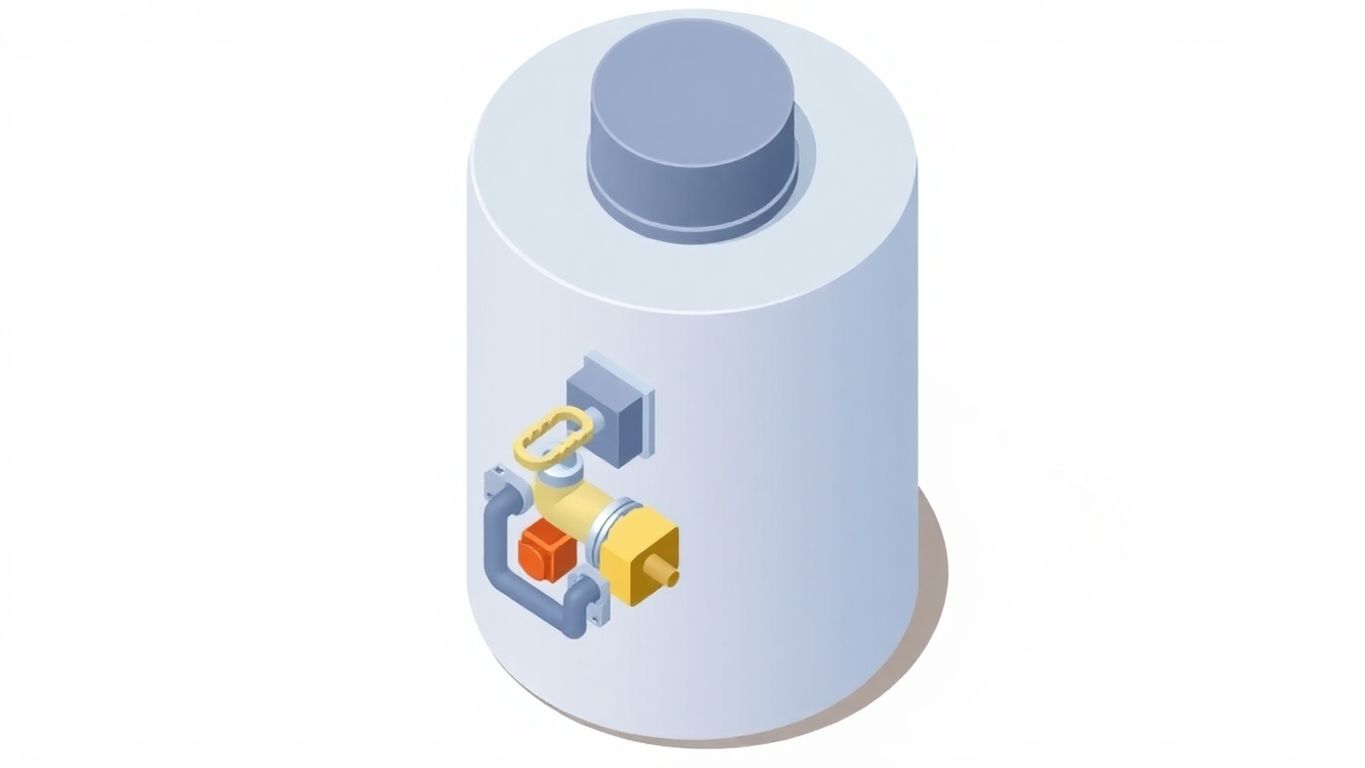
Keeping an eye on your water heater is super important. Make it a habit to check your system at least once a year. Look for any signs of wear or rust. Spotting issues early can save you a lot of trouble down the road. If you notice anything odd, like rust or strange noises, it might be time to consider a replacement.
Not all valves are created equal. Investing in good quality valves can make a big difference. High-quality valves are less likely to leak and can last longer. When shopping for valves, look for ones that are known for durability and have good reviews.
Everyone in your house should know how to handle the water heater. Teach them to recognize signs of leaks or problems. This way, if something goes wrong, they can act fast. Knowing how to turn off the water supply or the heater itself can prevent bigger issues.
Regular maintenance and a bit of vigilance can keep your water heater running smoothly for years. It’s all about catching problems early and using quality parts. Don’t wait until it’s too late!
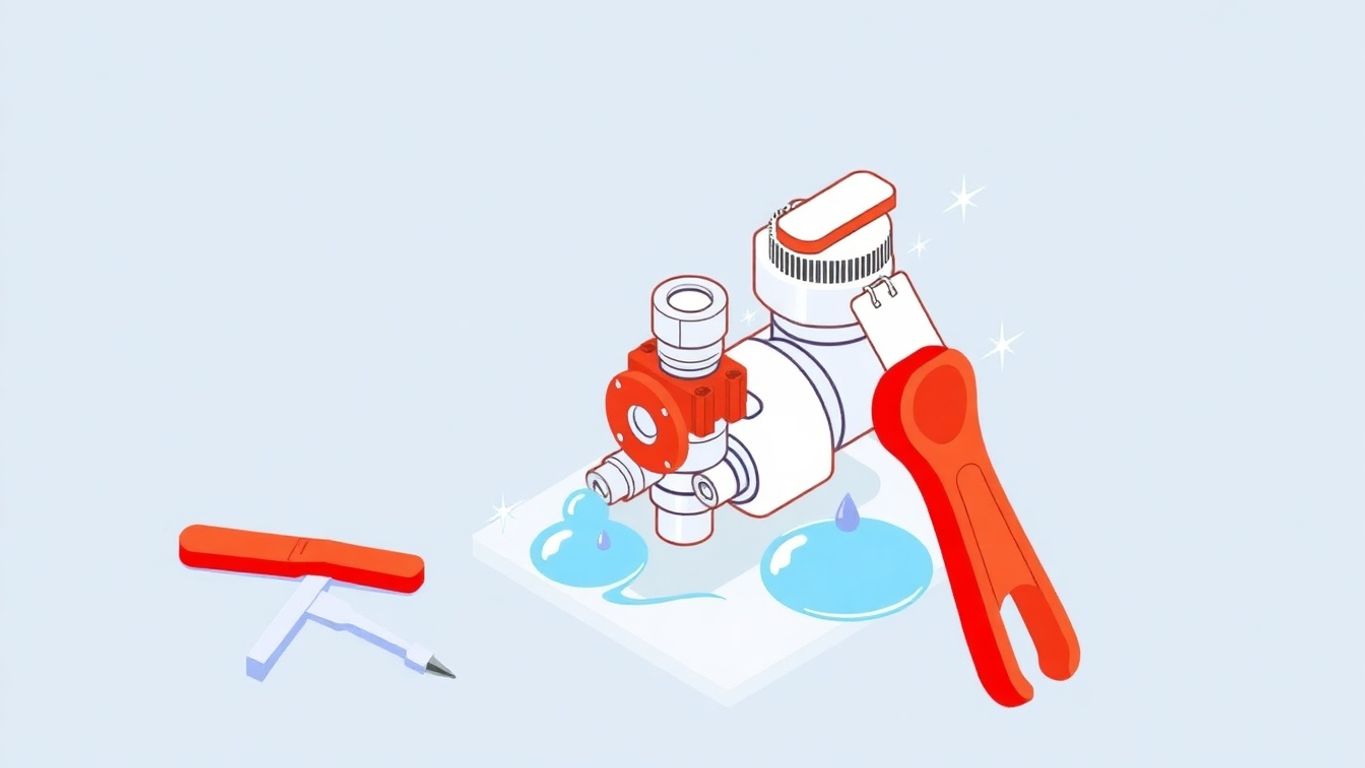
One of the most common mistakes is overtightening the valve. When you tighten too much, you can damage the valve or the pipes. This can lead to bigger leaks or even breakage. When reassembling, make sure to snug the parts just enough to stop the leak, without using excessive force.
Using the wrong tools can make a simple job much harder. You might strip the nuts or damage the valve. Always use the right size wrench and avoid using pliers, which can slip and cause injury.
Don’t ignore small leaks. A tiny drip can turn into a big problem over time. If you notice any moisture or rust around the valve, it’s time to take action right away.
It’s easy to overlook these mistakes when you’re focused on fixing the problem. But keeping these in mind can save you time and trouble in the long run.
Leaks can happen due to worn-out seals, corrosion, or loose connections. Regular use and age can also cause the valve to wear out.
Look for water droplets, puddles, or a drop in water pressure. You might also notice rust or mineral buildup around the valve.
First, turn off the water supply to prevent further leaking. Then, gather tools and materials needed for the repair.
Yes, many leaks can be fixed with simple tools and materials like Teflon tape. However, if you’re unsure, it’s best to call a professional.
You’ll need an adjustable wrench, Teflon tape, and possibly a replacement valve if the old one is too damaged.
Regularly inspect and maintain your valves. Clean and lubricate them and replace any worn-out parts promptly.
If the leak persists after your repair attempts or if you’re uncomfortable doing the repair yourself, contact a plumber.
Yes, common types include ball valves, gate valves, and compression valves. Each has different uses and advantages.

